Skip to content
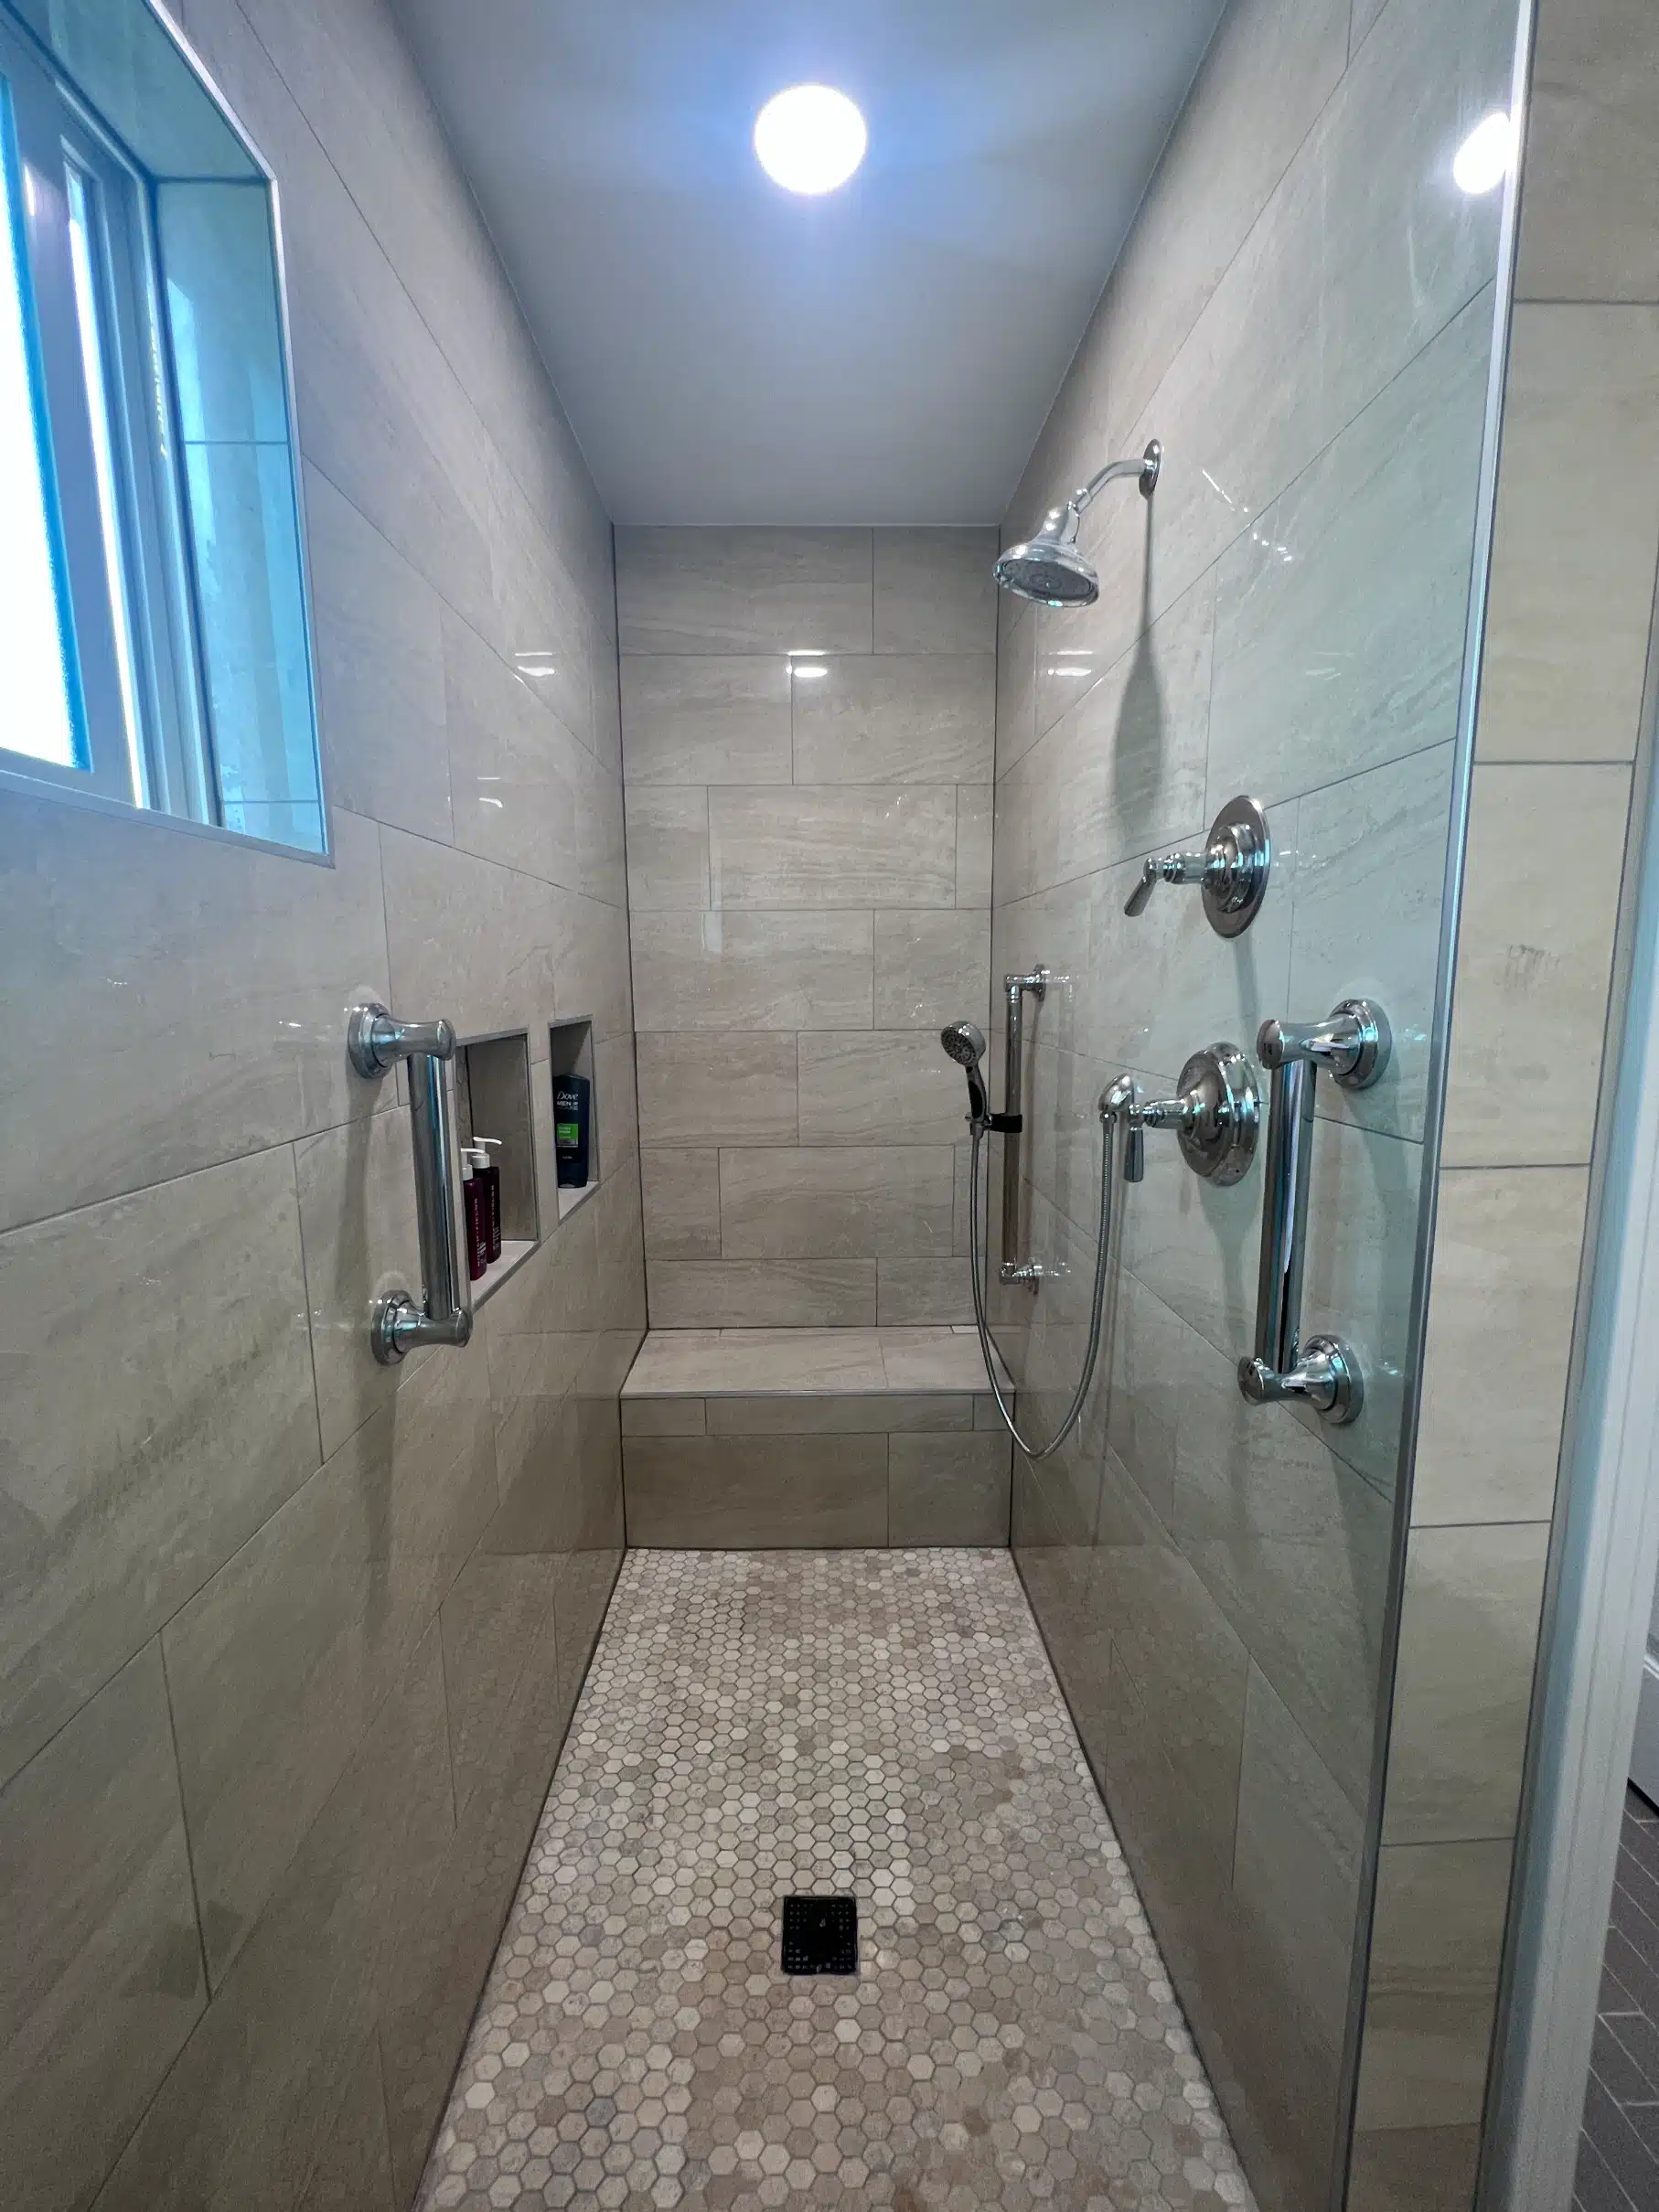
Accessible walk-in shower with grab bars and a bench, built as part of a San Diego bathroom and closet addition
Room AdditionMira Mesa, San Diego

Bathroom & Closet Addition in Mira Mesa

An existing bedroom given a full bathroom and a walk-in closet — foundation, framing, roof and stucco through to an accessible walk-in shower with grab bars and a bench.

Room additionNew foundationFull bathroomWalk-in closetAccessible showerFoundation to finish
Room addition
Project type
Bath & closet
Added to a bedroom
Mira Mesa
San Diego
CSLB #1083621
Permitted & inspected
01
The brief

Serve the bedroom that is already there

The house had a bedroom with no bathroom of its own and nowhere near enough storage. The obvious answer is a whole new suite. The cheaper answer, and the one taken here, is to extend what already works.

The addition adds a full bathroom and a walk-in closet directly onto the existing bedroom. The bedroom itself was left alone — no reframing, no relocating a doorway, no rebuilding a room that was already fine. Every dollar went into the two spaces that did not exist yet.

Anything that adds conditioned floor area needs zoning, setback and lot-coverage checks before drawings are worth paying for. Those were confirmed at the parcel first, then the foundation was set out.
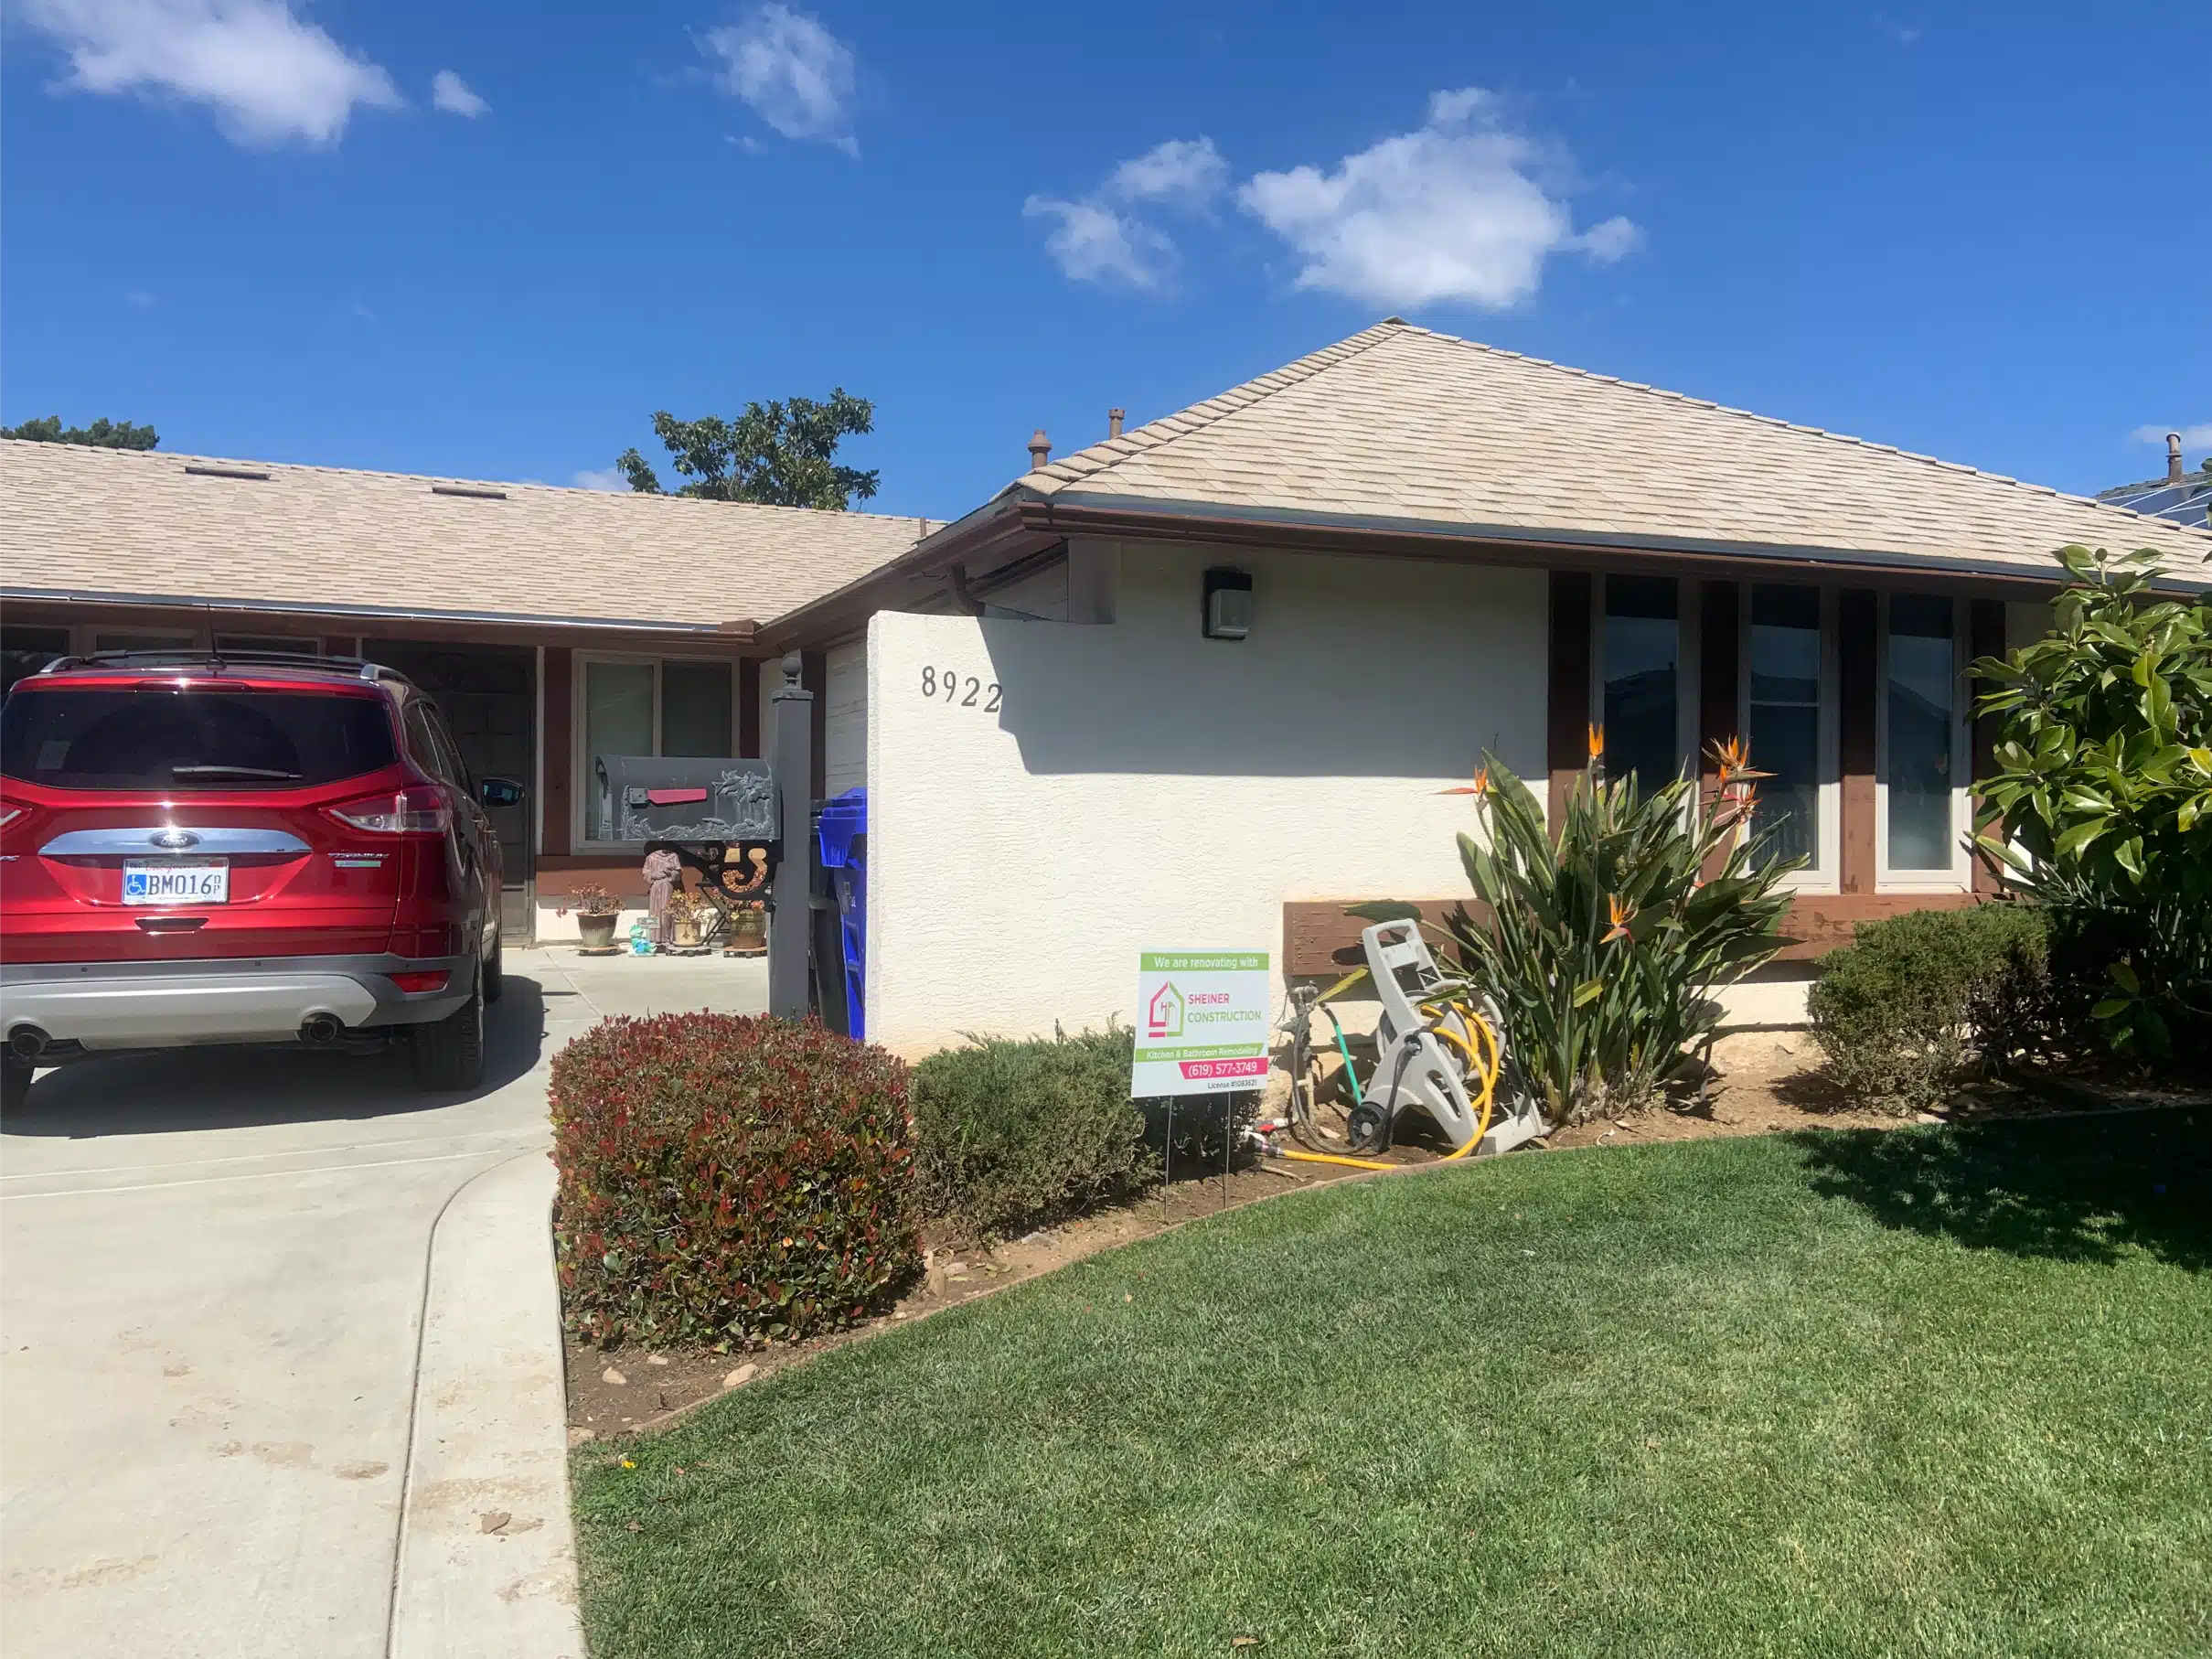
Front elevation of the single-storey San Diego home that received the addition The property
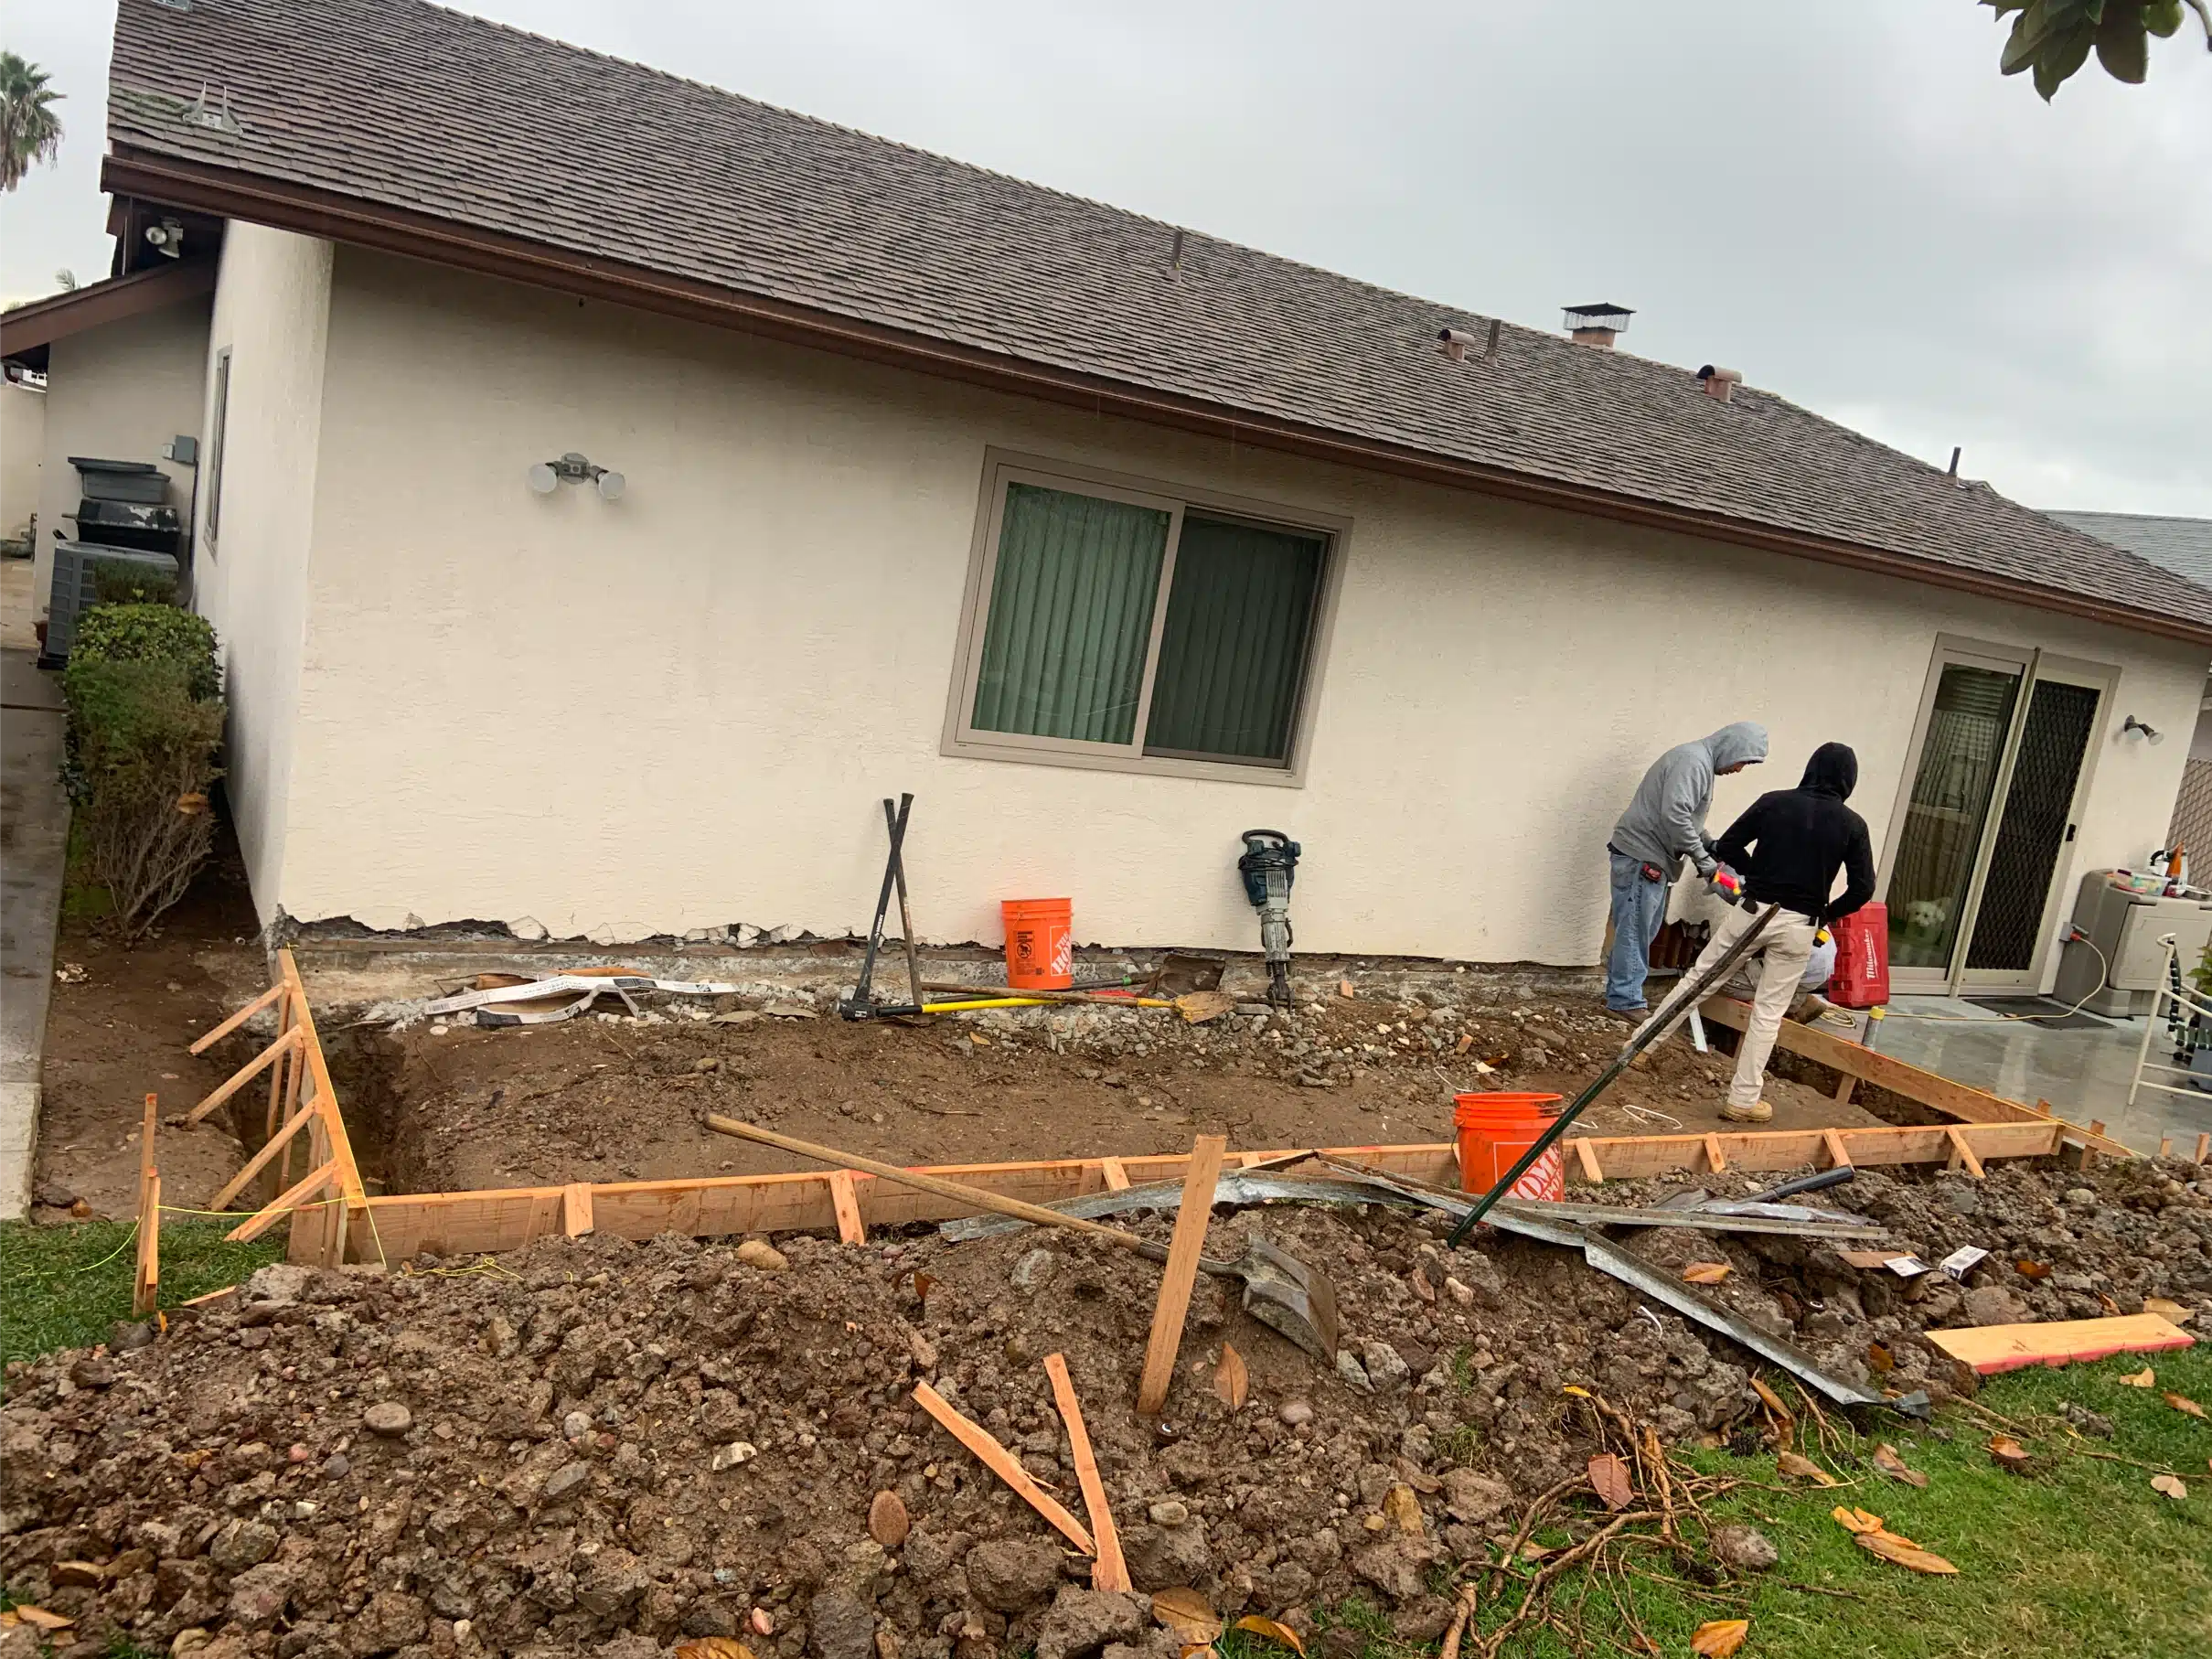
Trenching and forms set out for the new foundation alongside the existing house Foundation · During
Stage one

Foundation, set out against the existing house

An addition begins where the old structure ends, and that junction is the part that has to be right. Trenches are set out, forms are placed, and the new footing is tied so the addition and the original house move together rather than apart.

Foundation work is inspected before anything is poured. That inspection is the first of the sequence — footing, framing, rough-in trades, insulation, then final — and nothing proceeds past it until it is signed off.

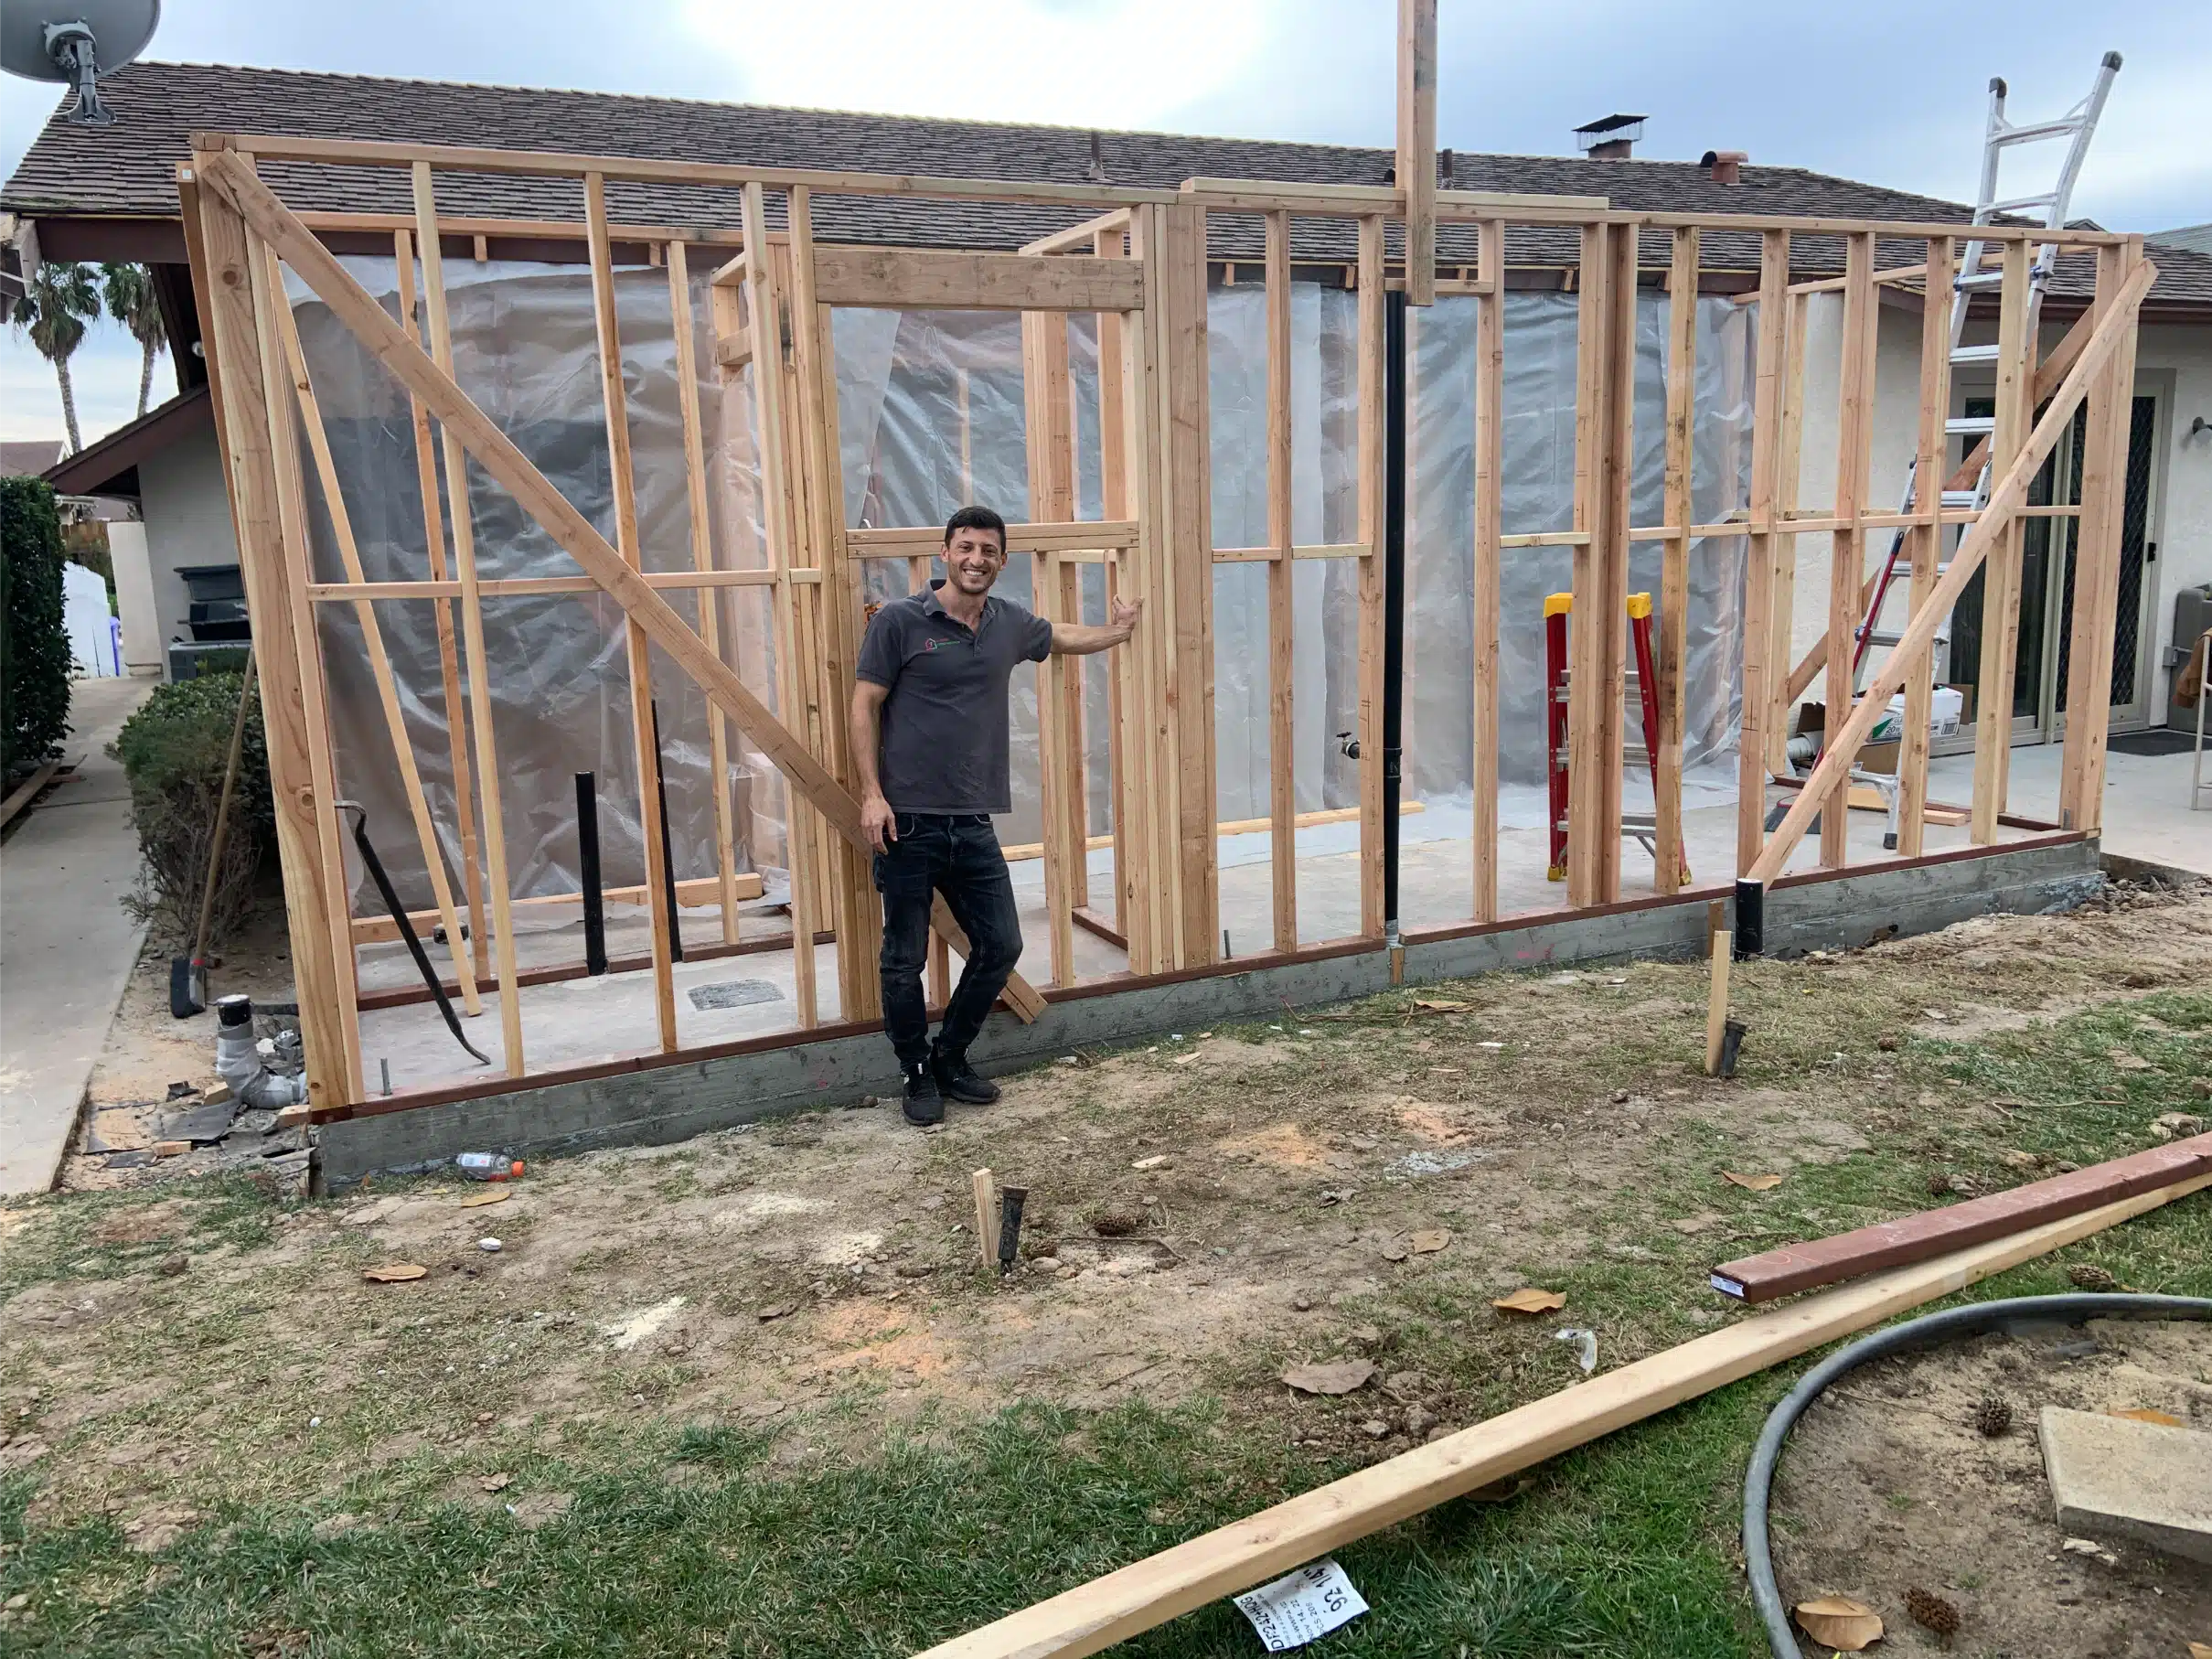
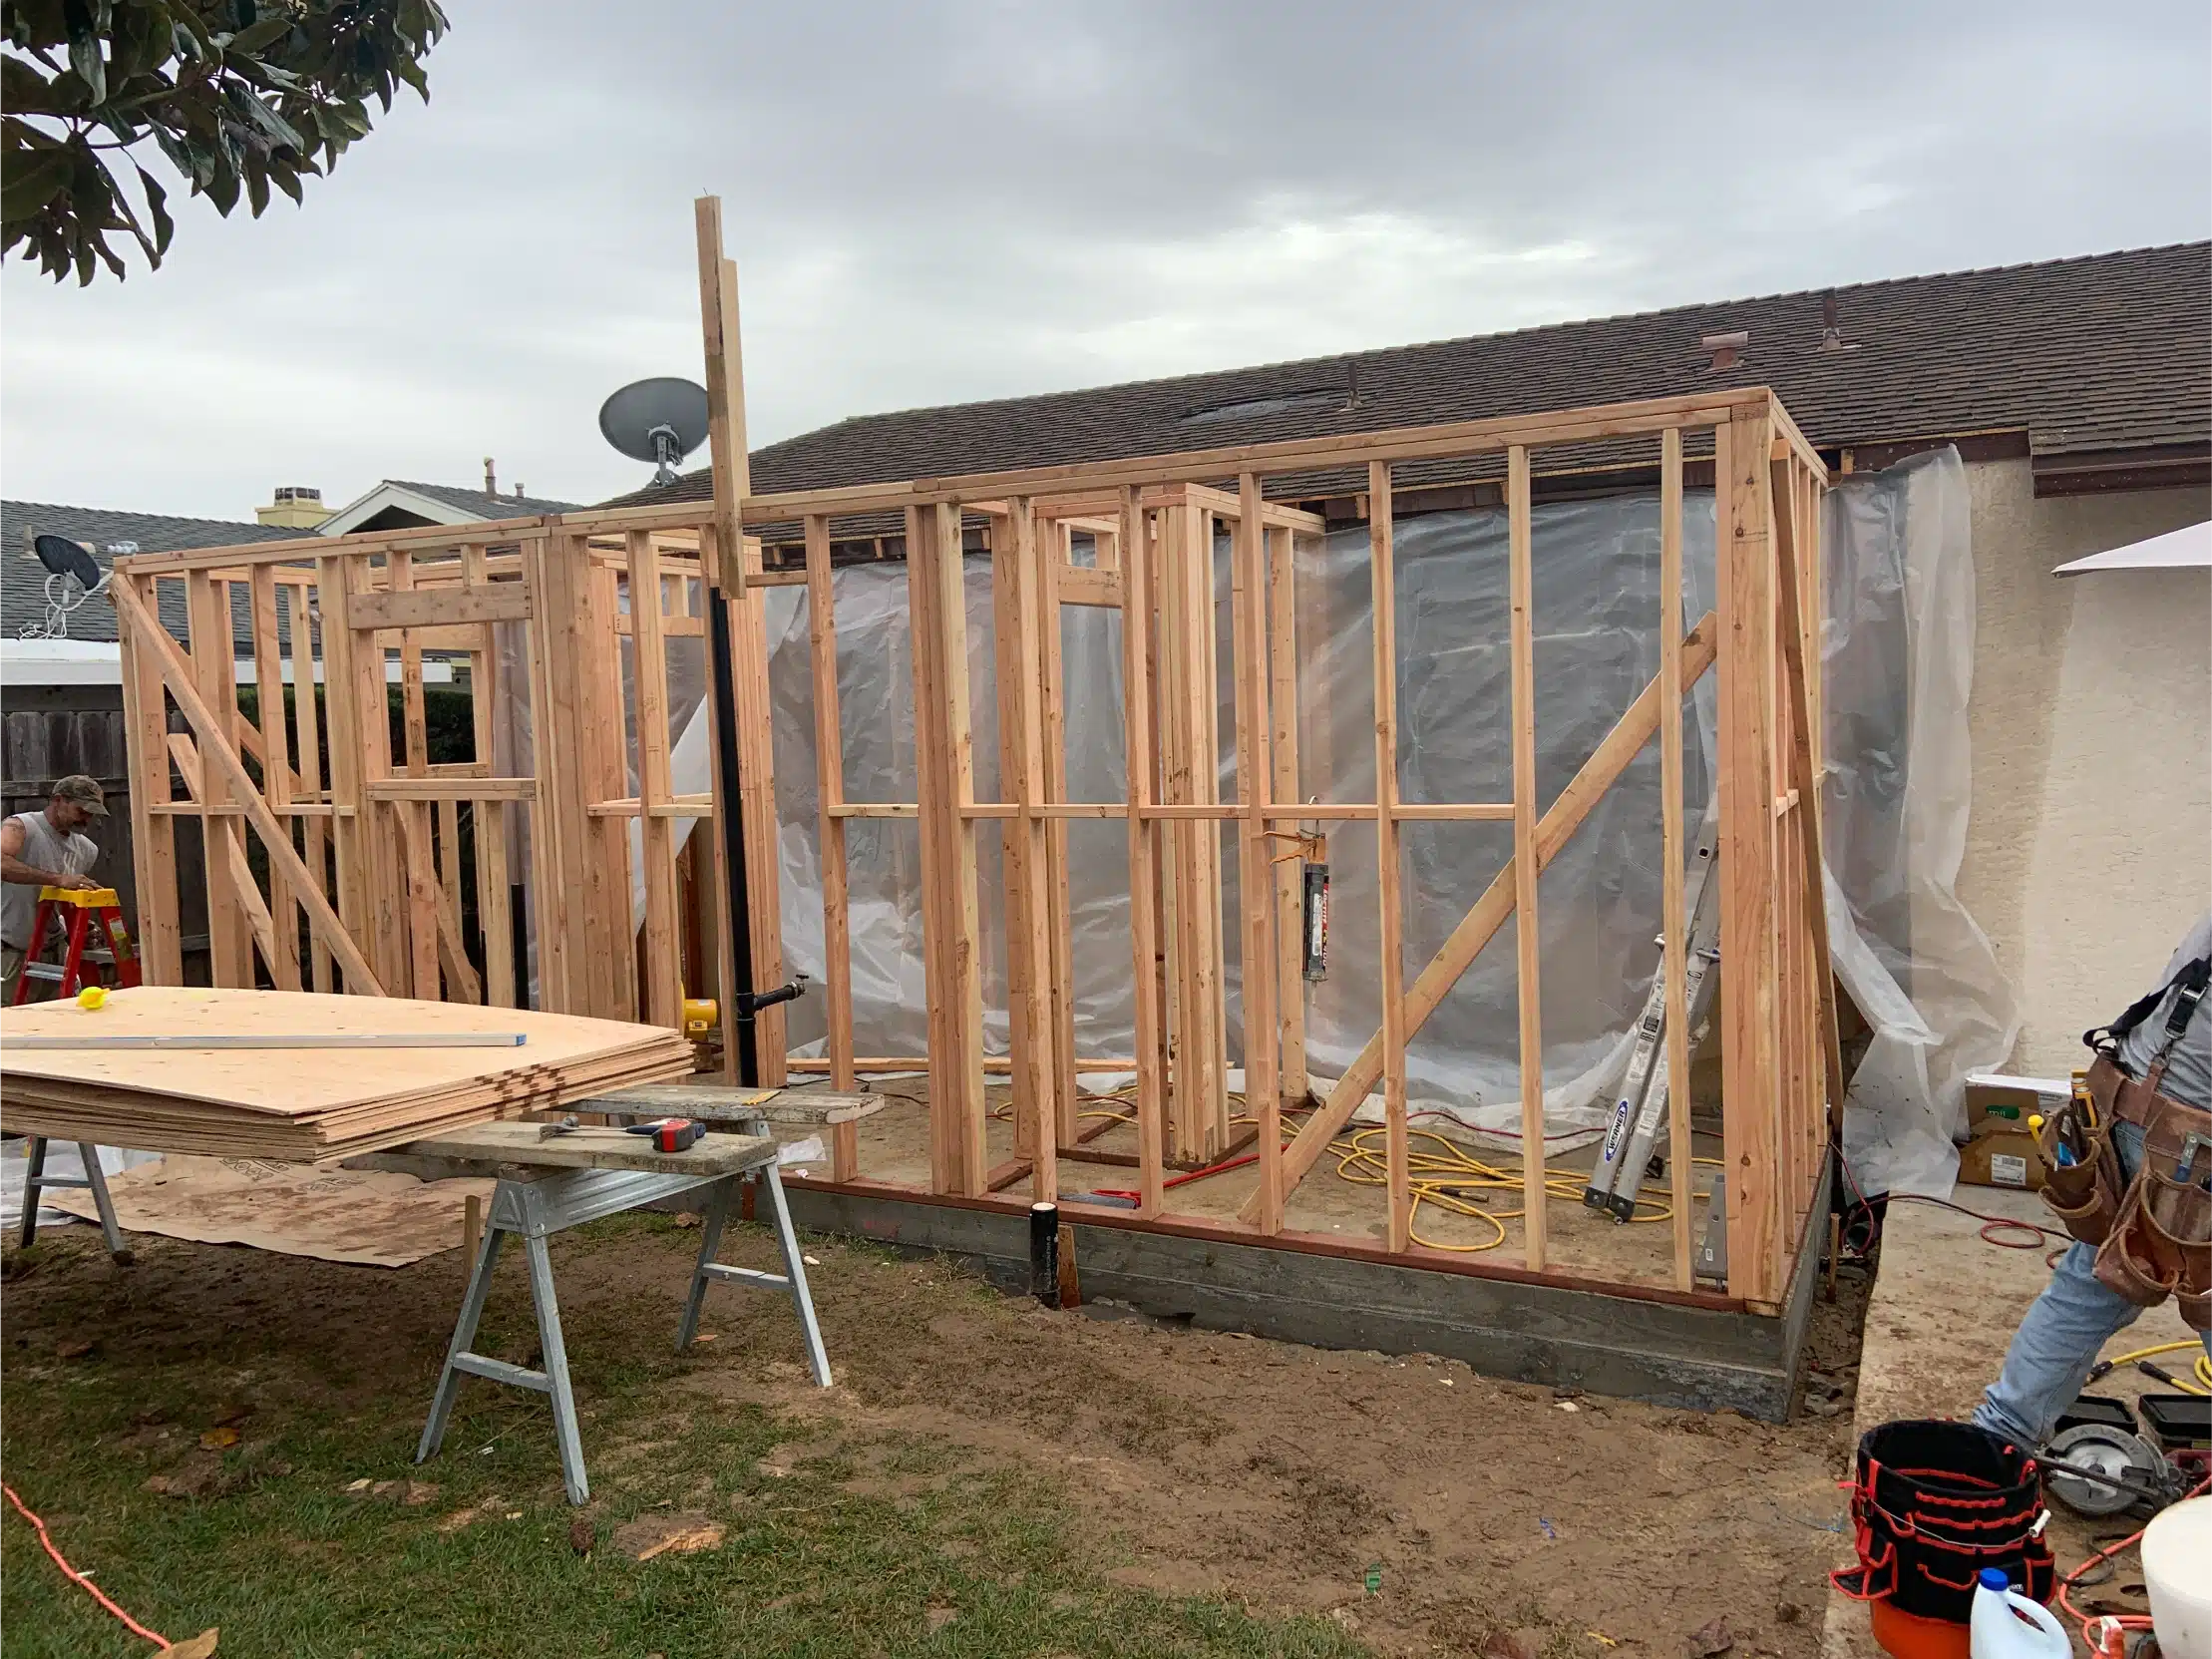
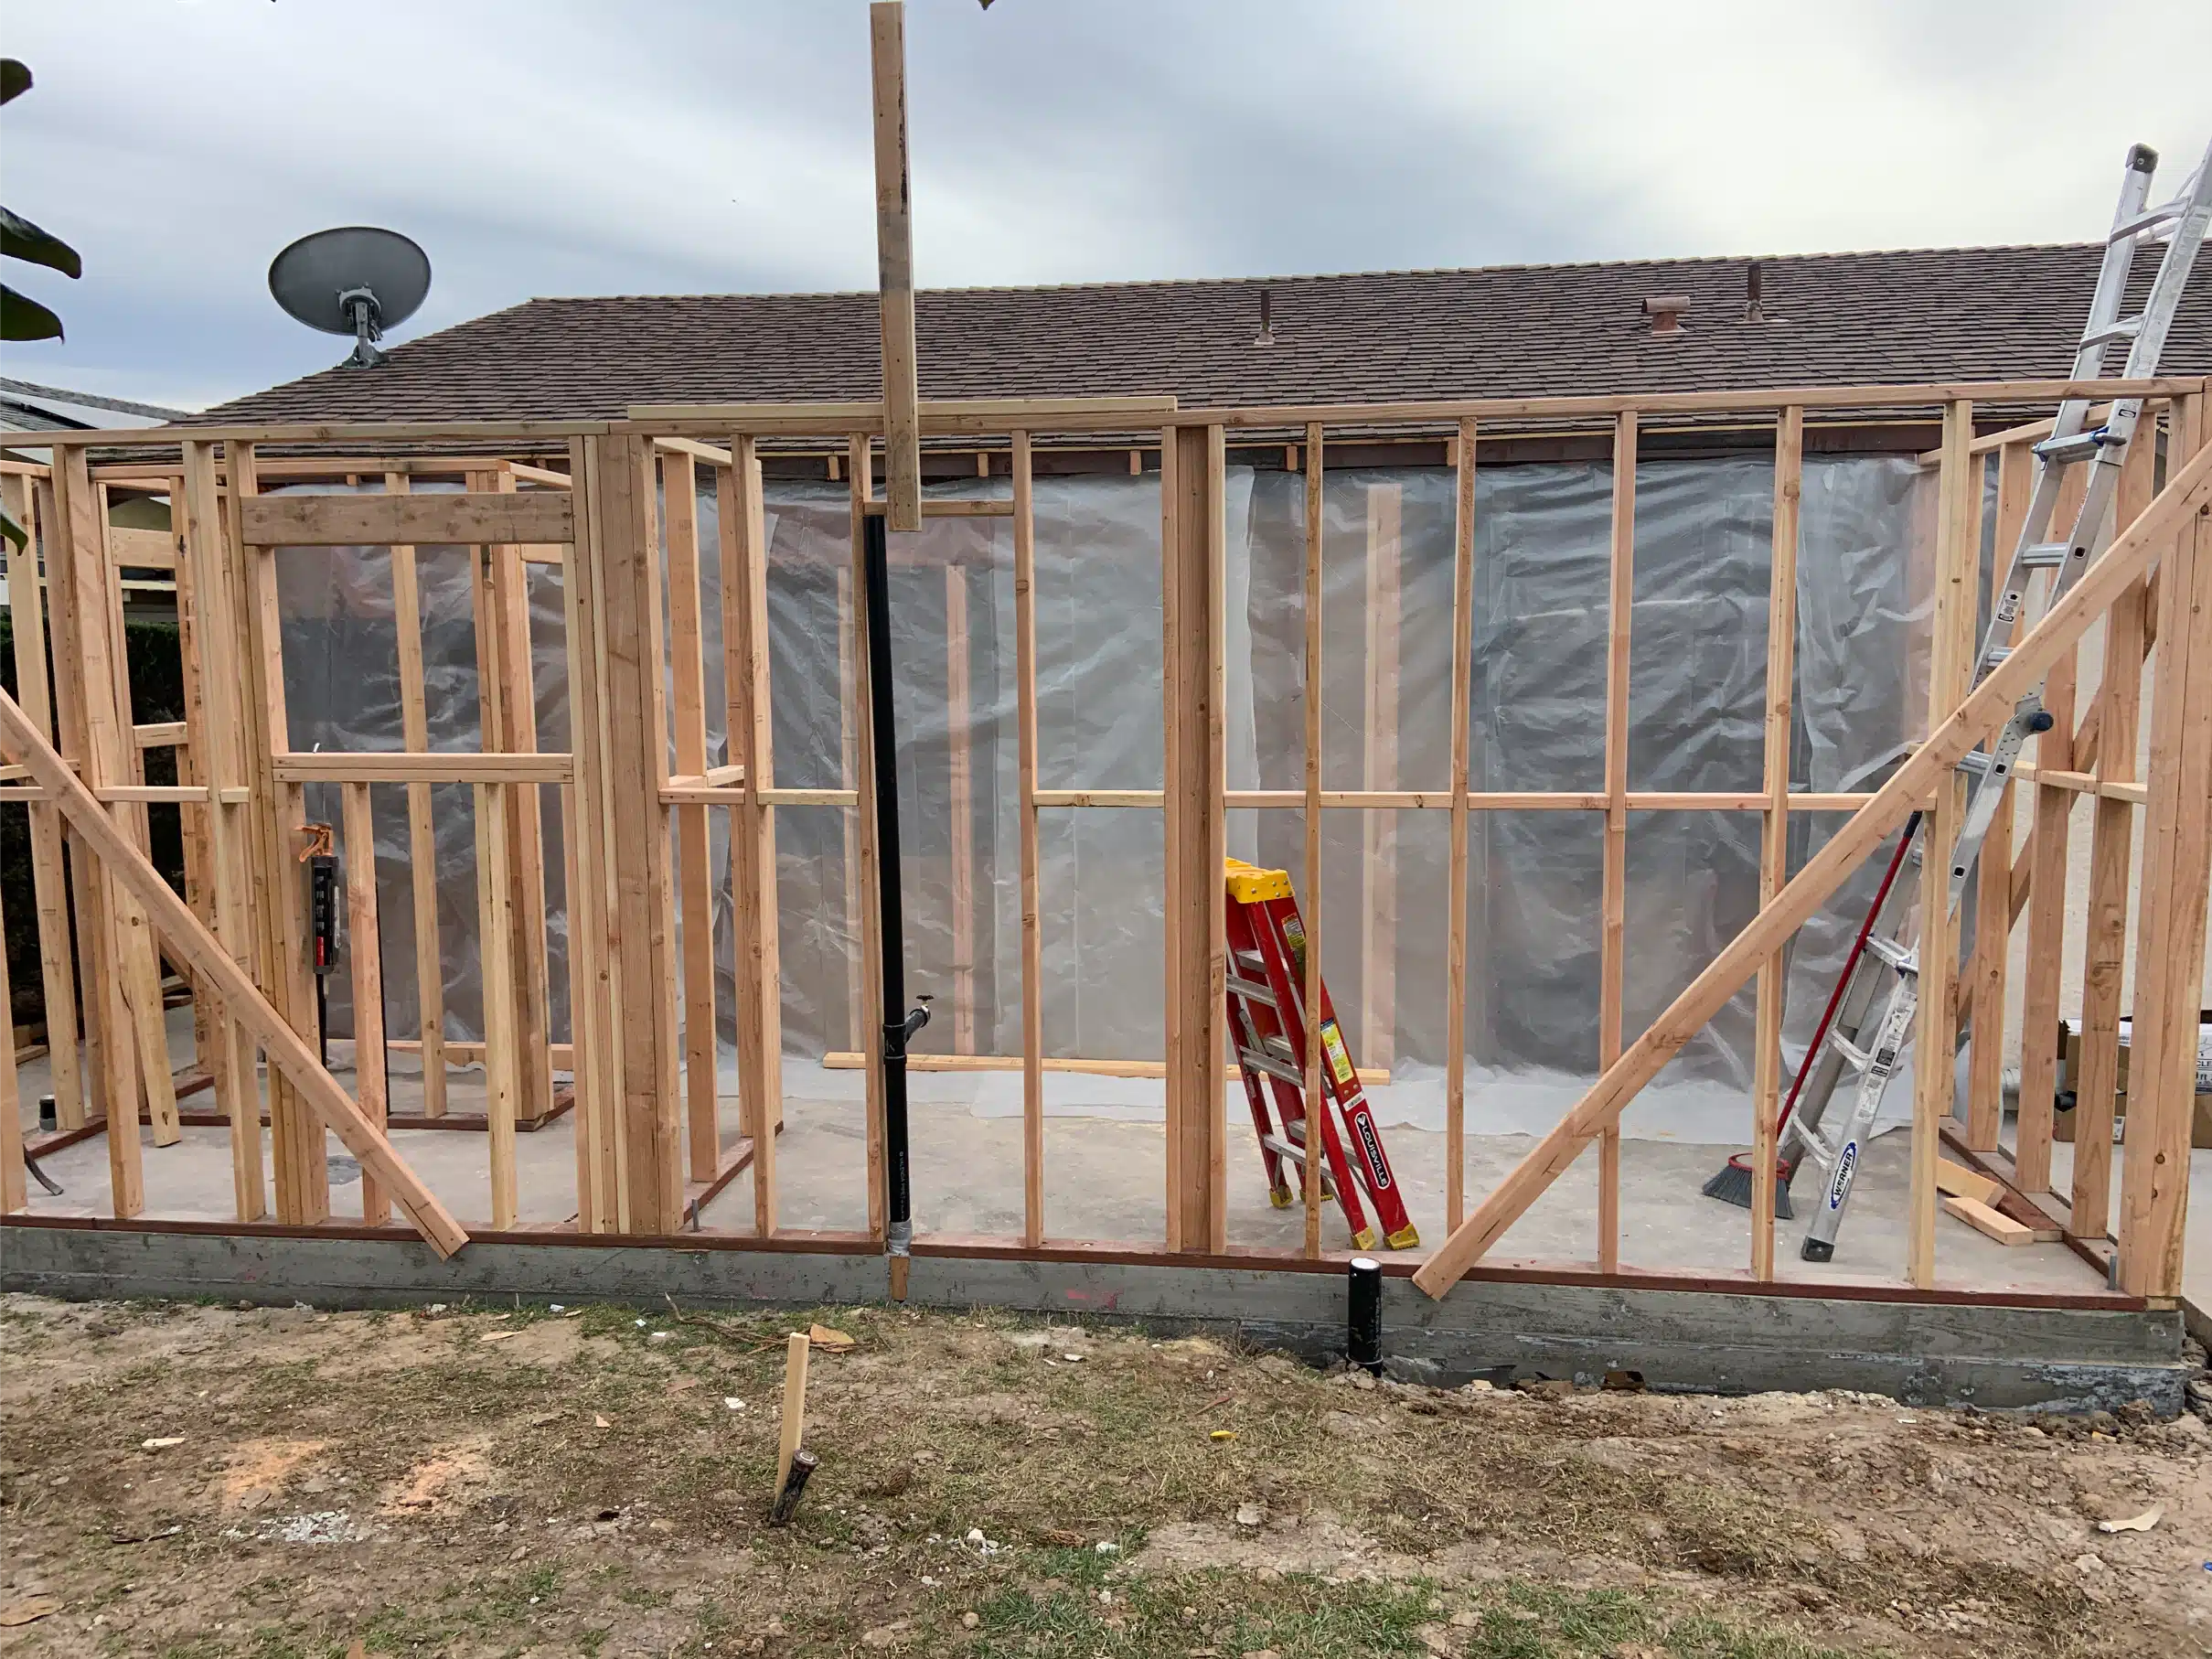
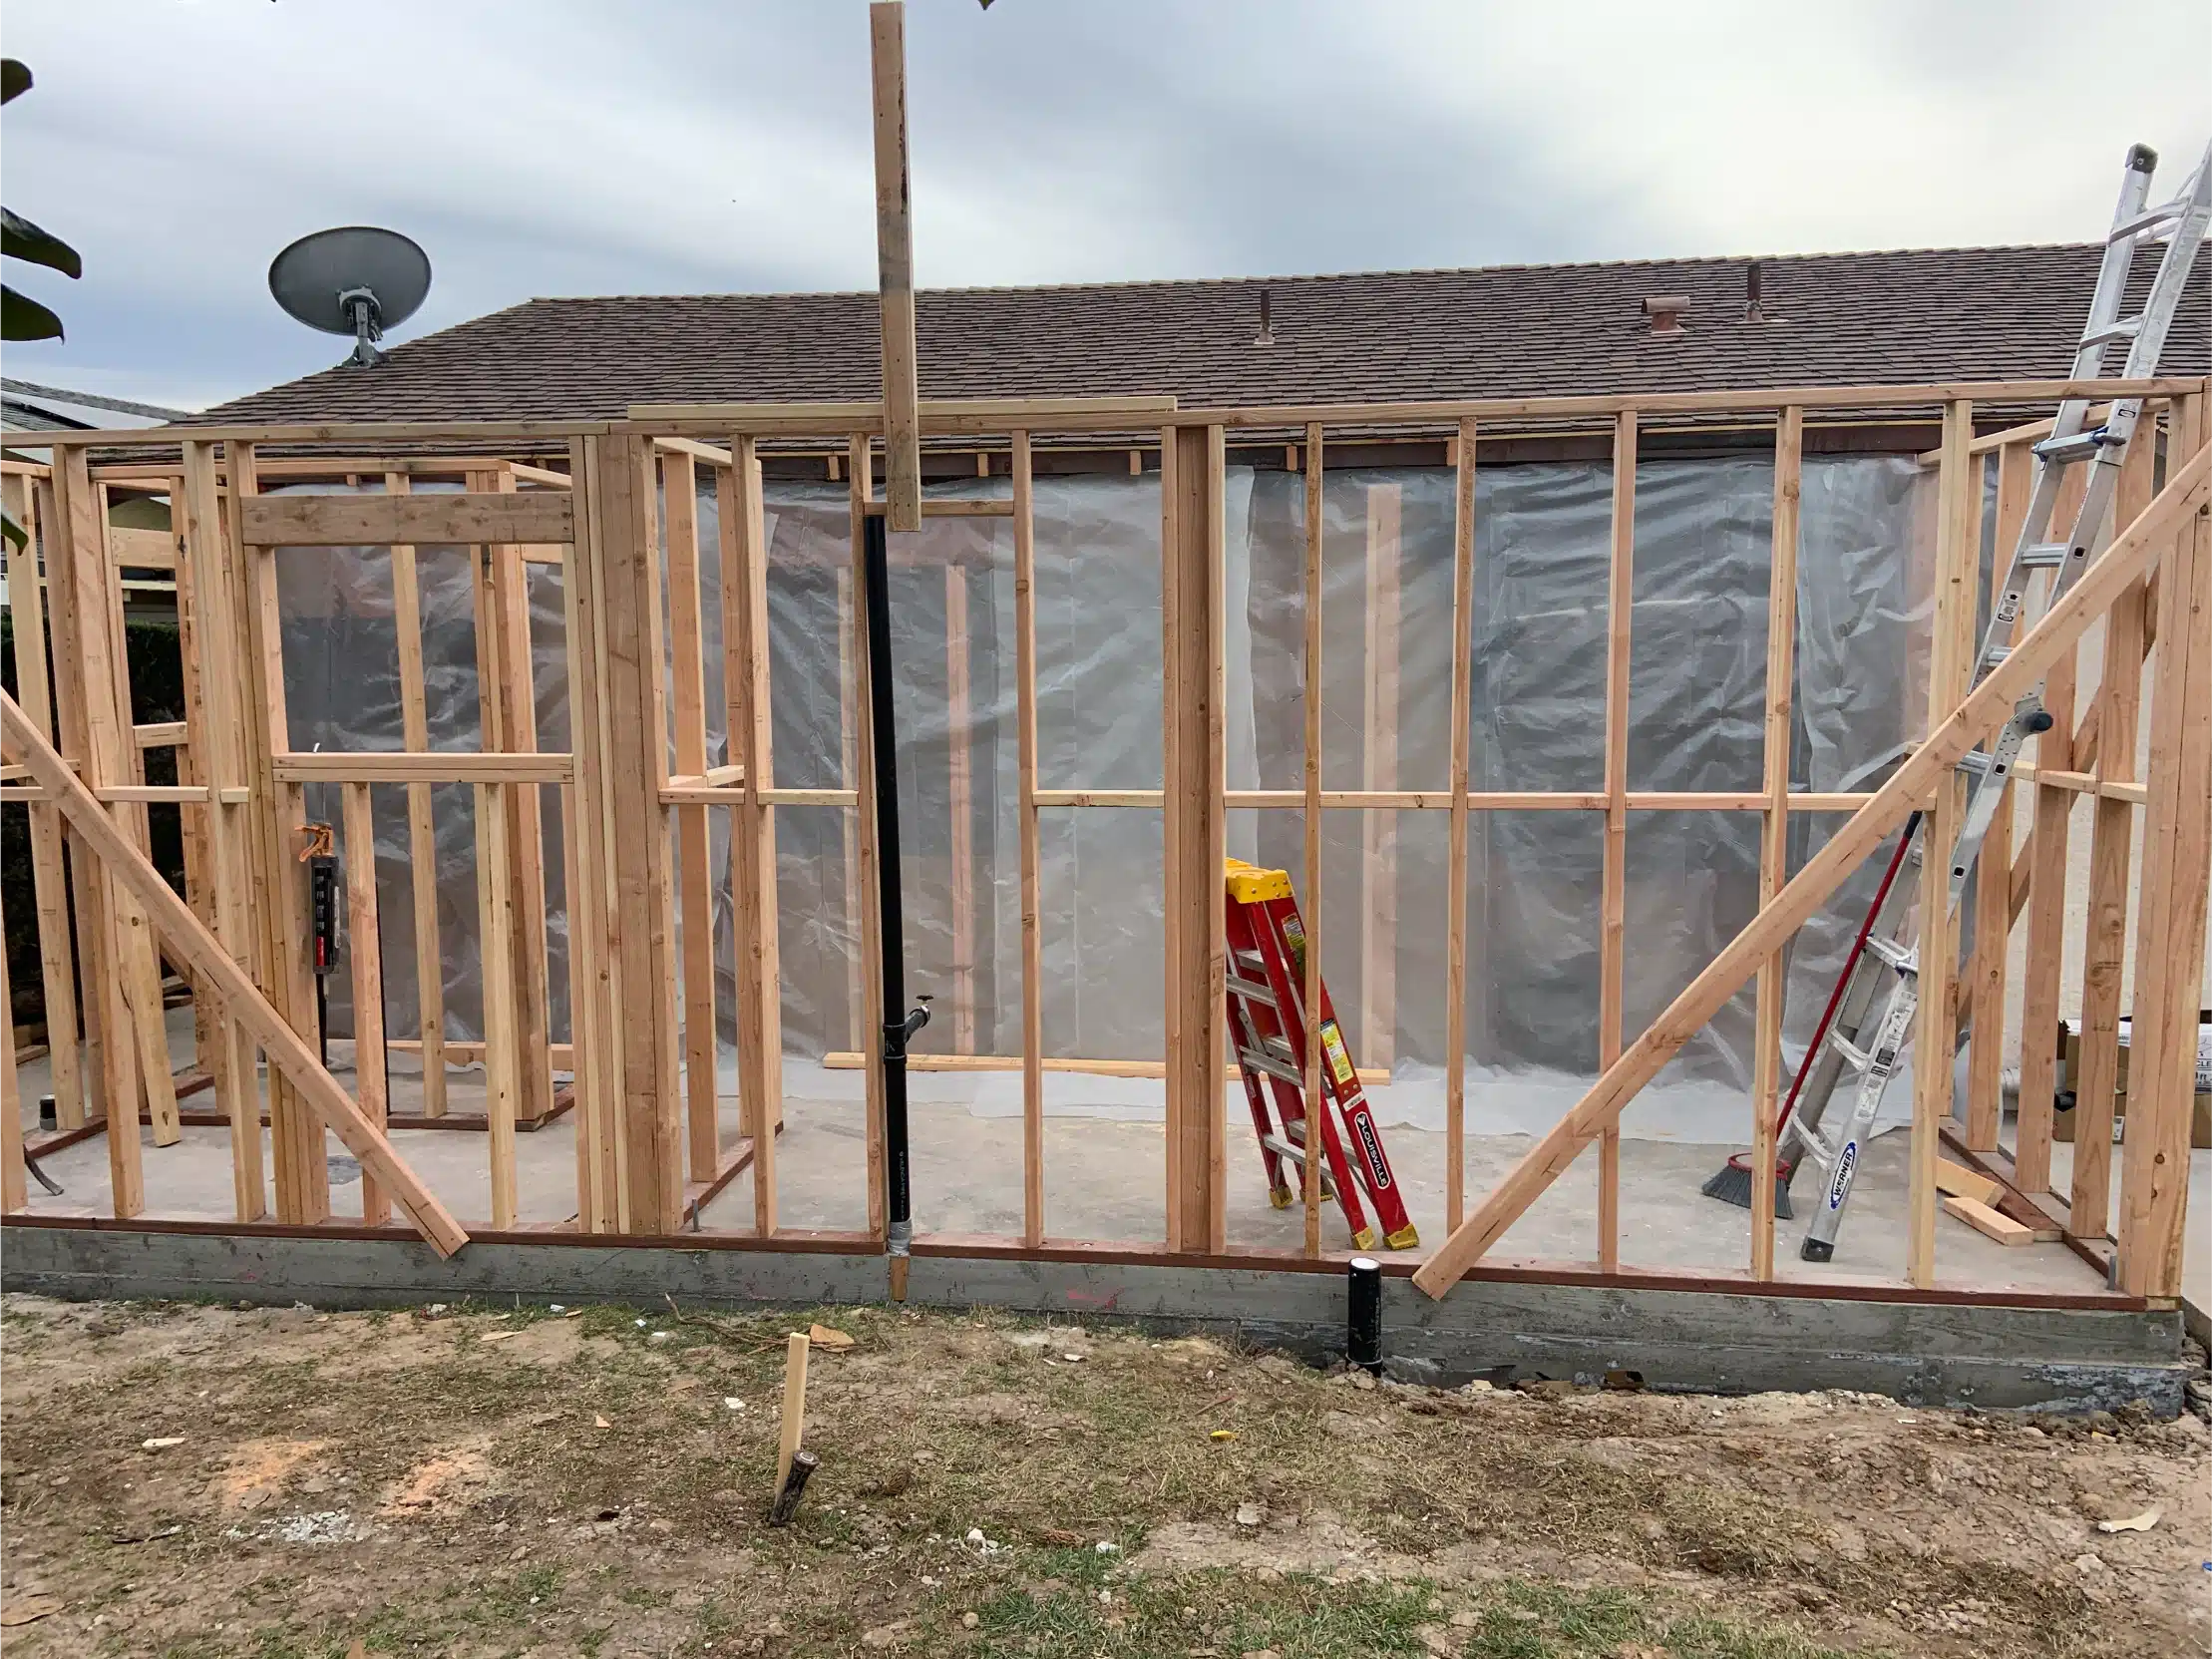
New stud walls framed on the fresh slab during the San Diego room addition
An addition begins where the old structure ends. That junction is the part that has to be right.
Sheiner Construction · CSLB #1083621
Stage two

Framing, roof, then weathertight

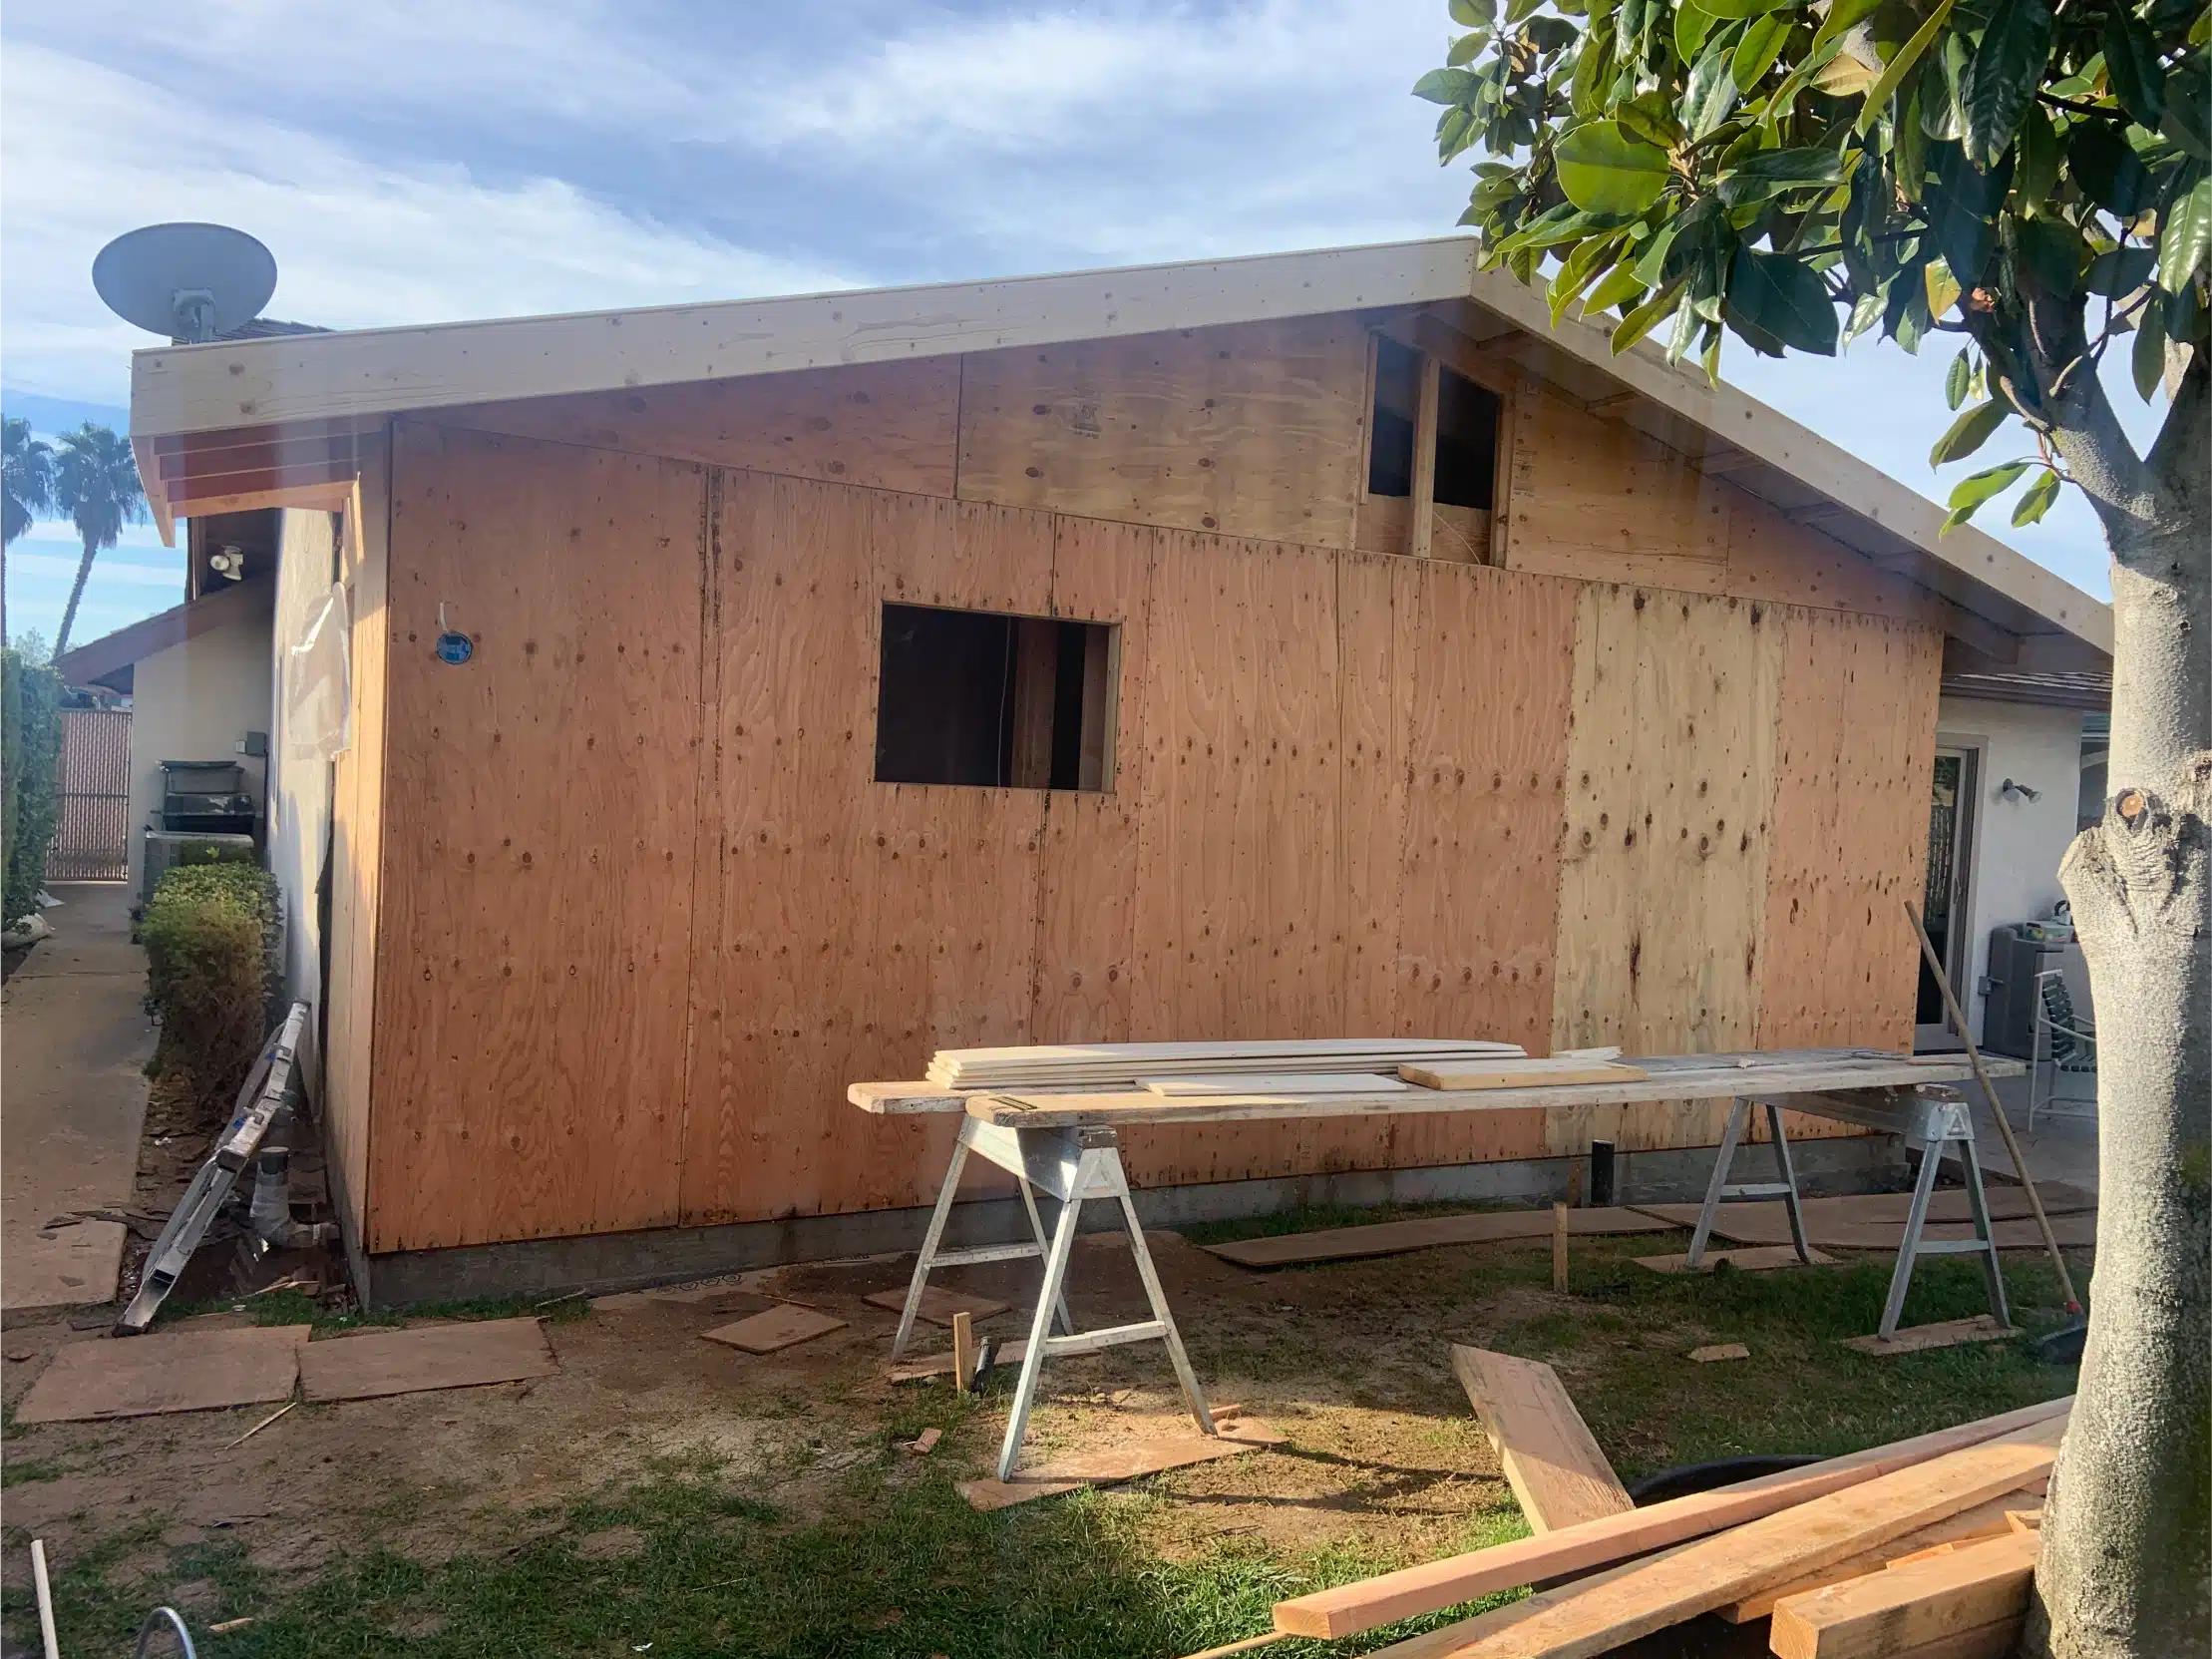
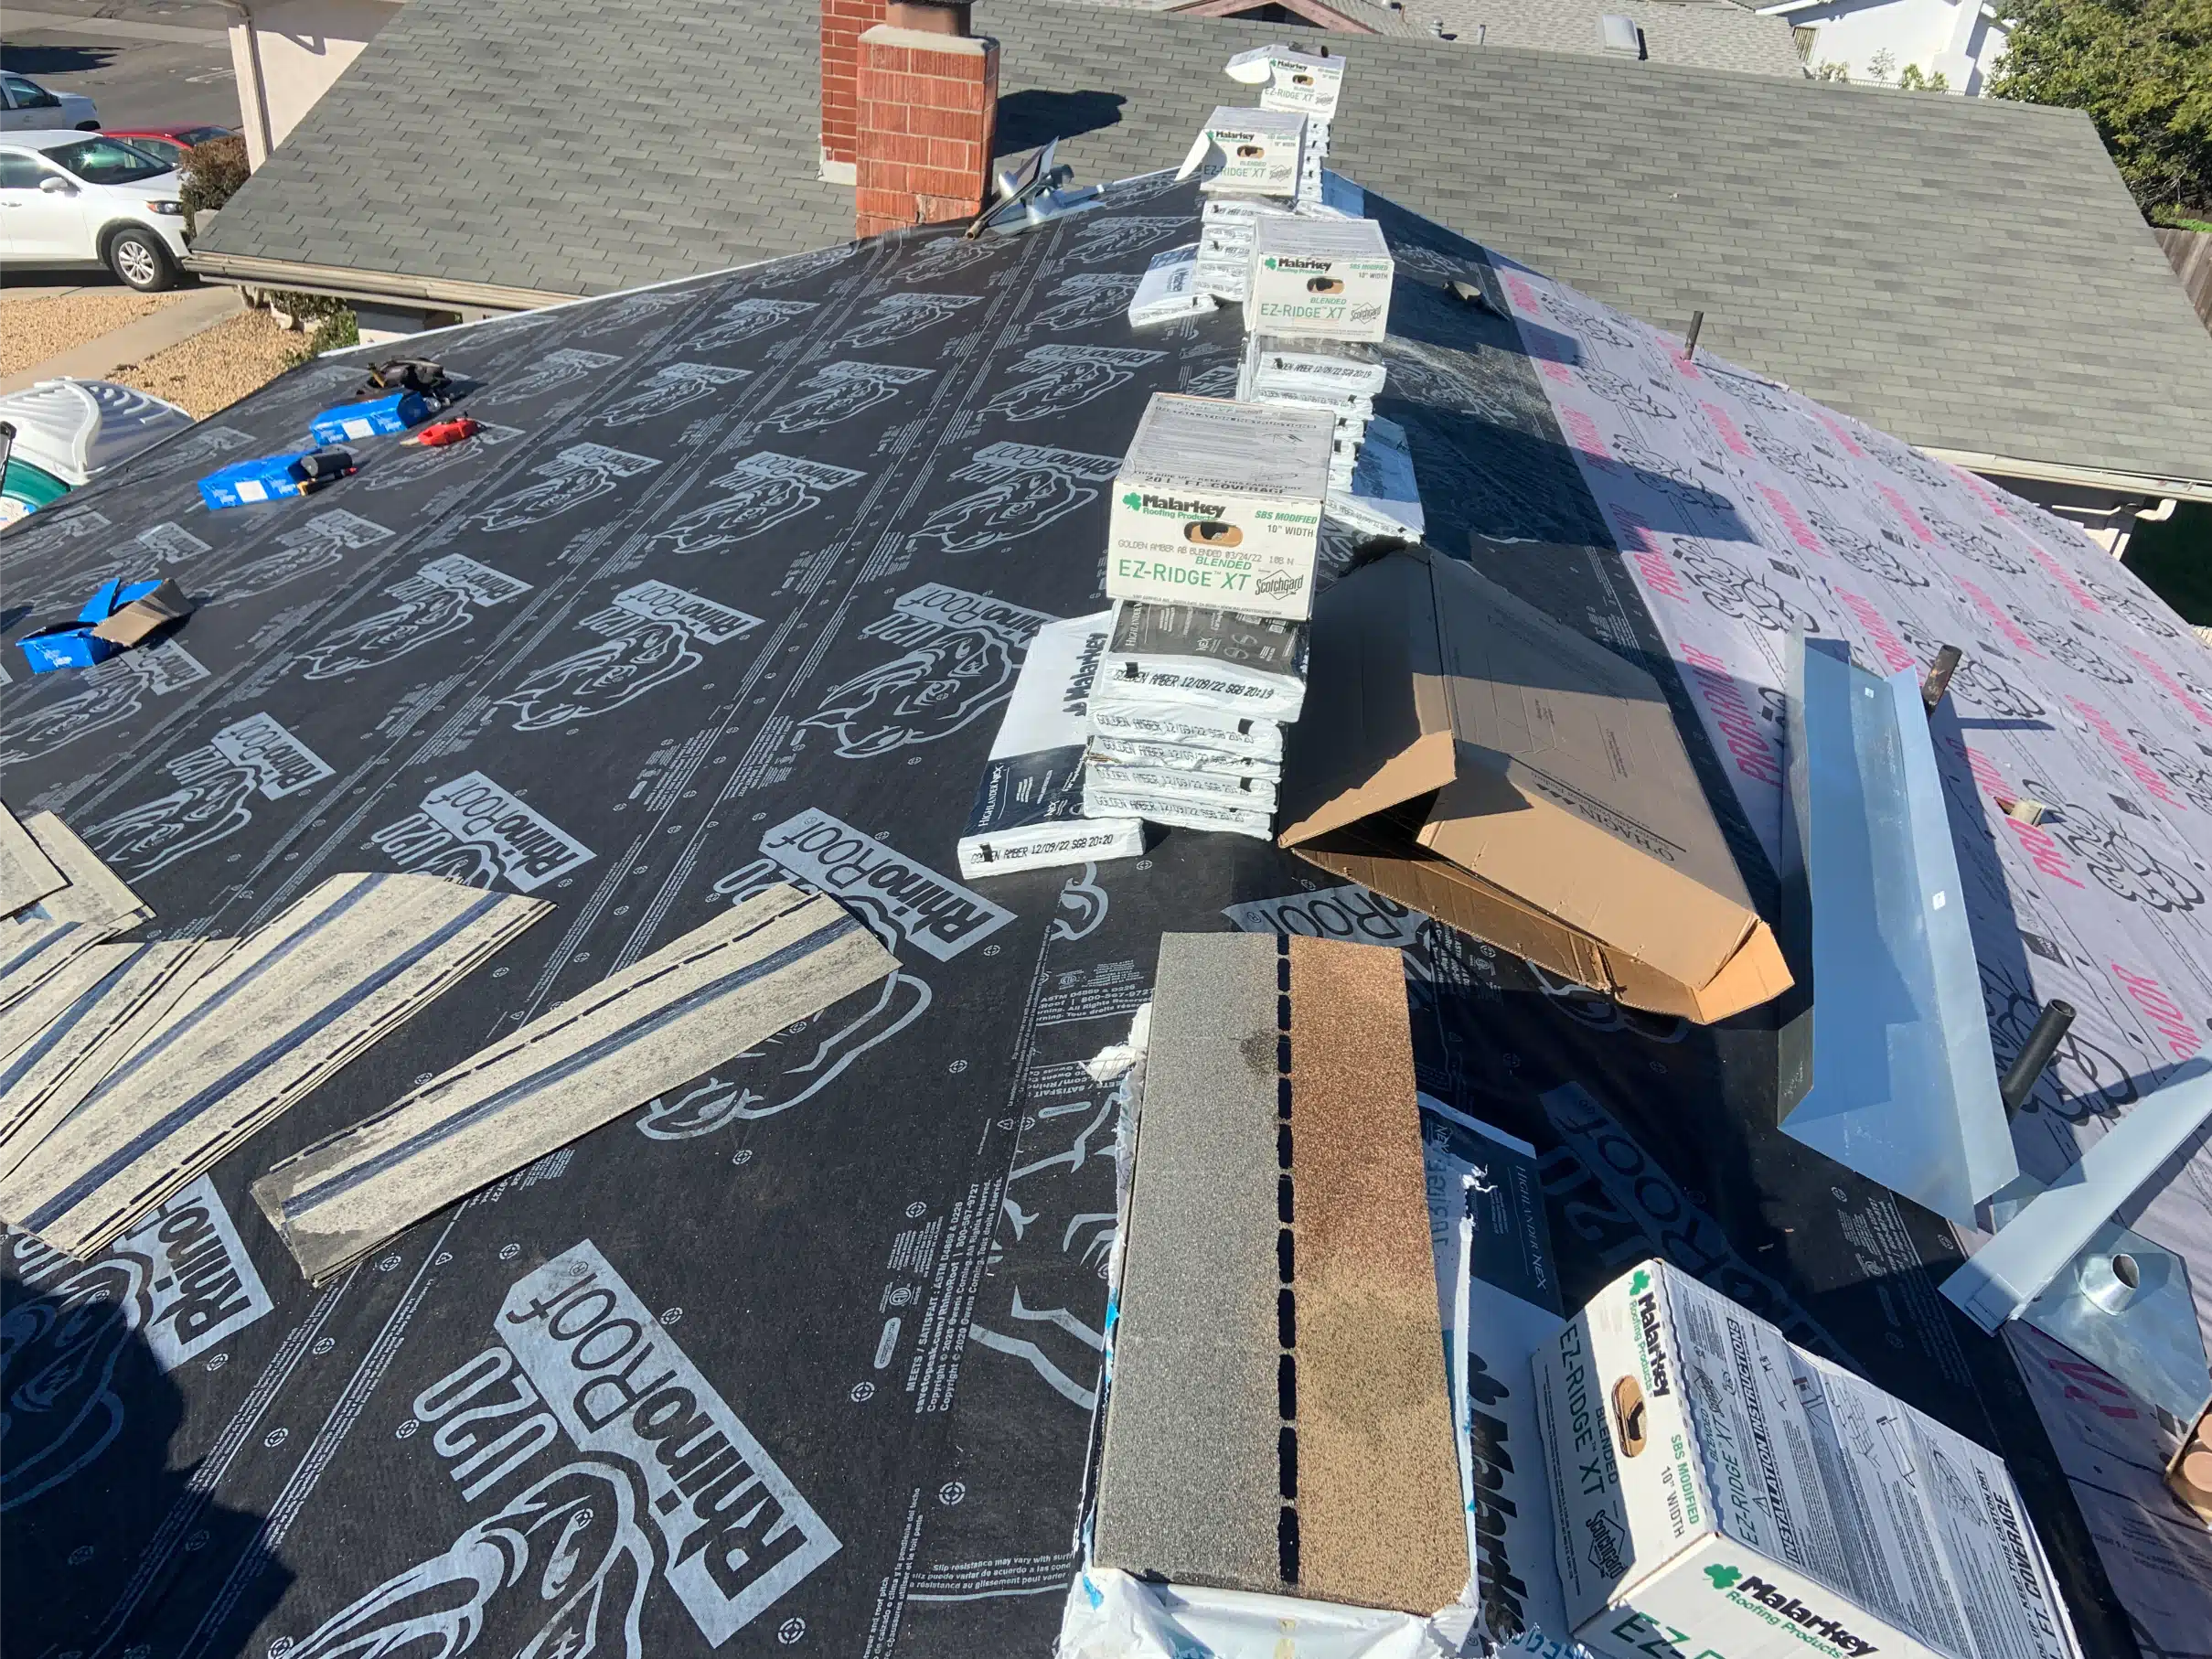
Walls were framed on the new slab, then the roof was sheathed and shingled to tie into the existing roofline rather than sit beside it. Getting the addition weathertight is the milestone that lets every interior trade start.

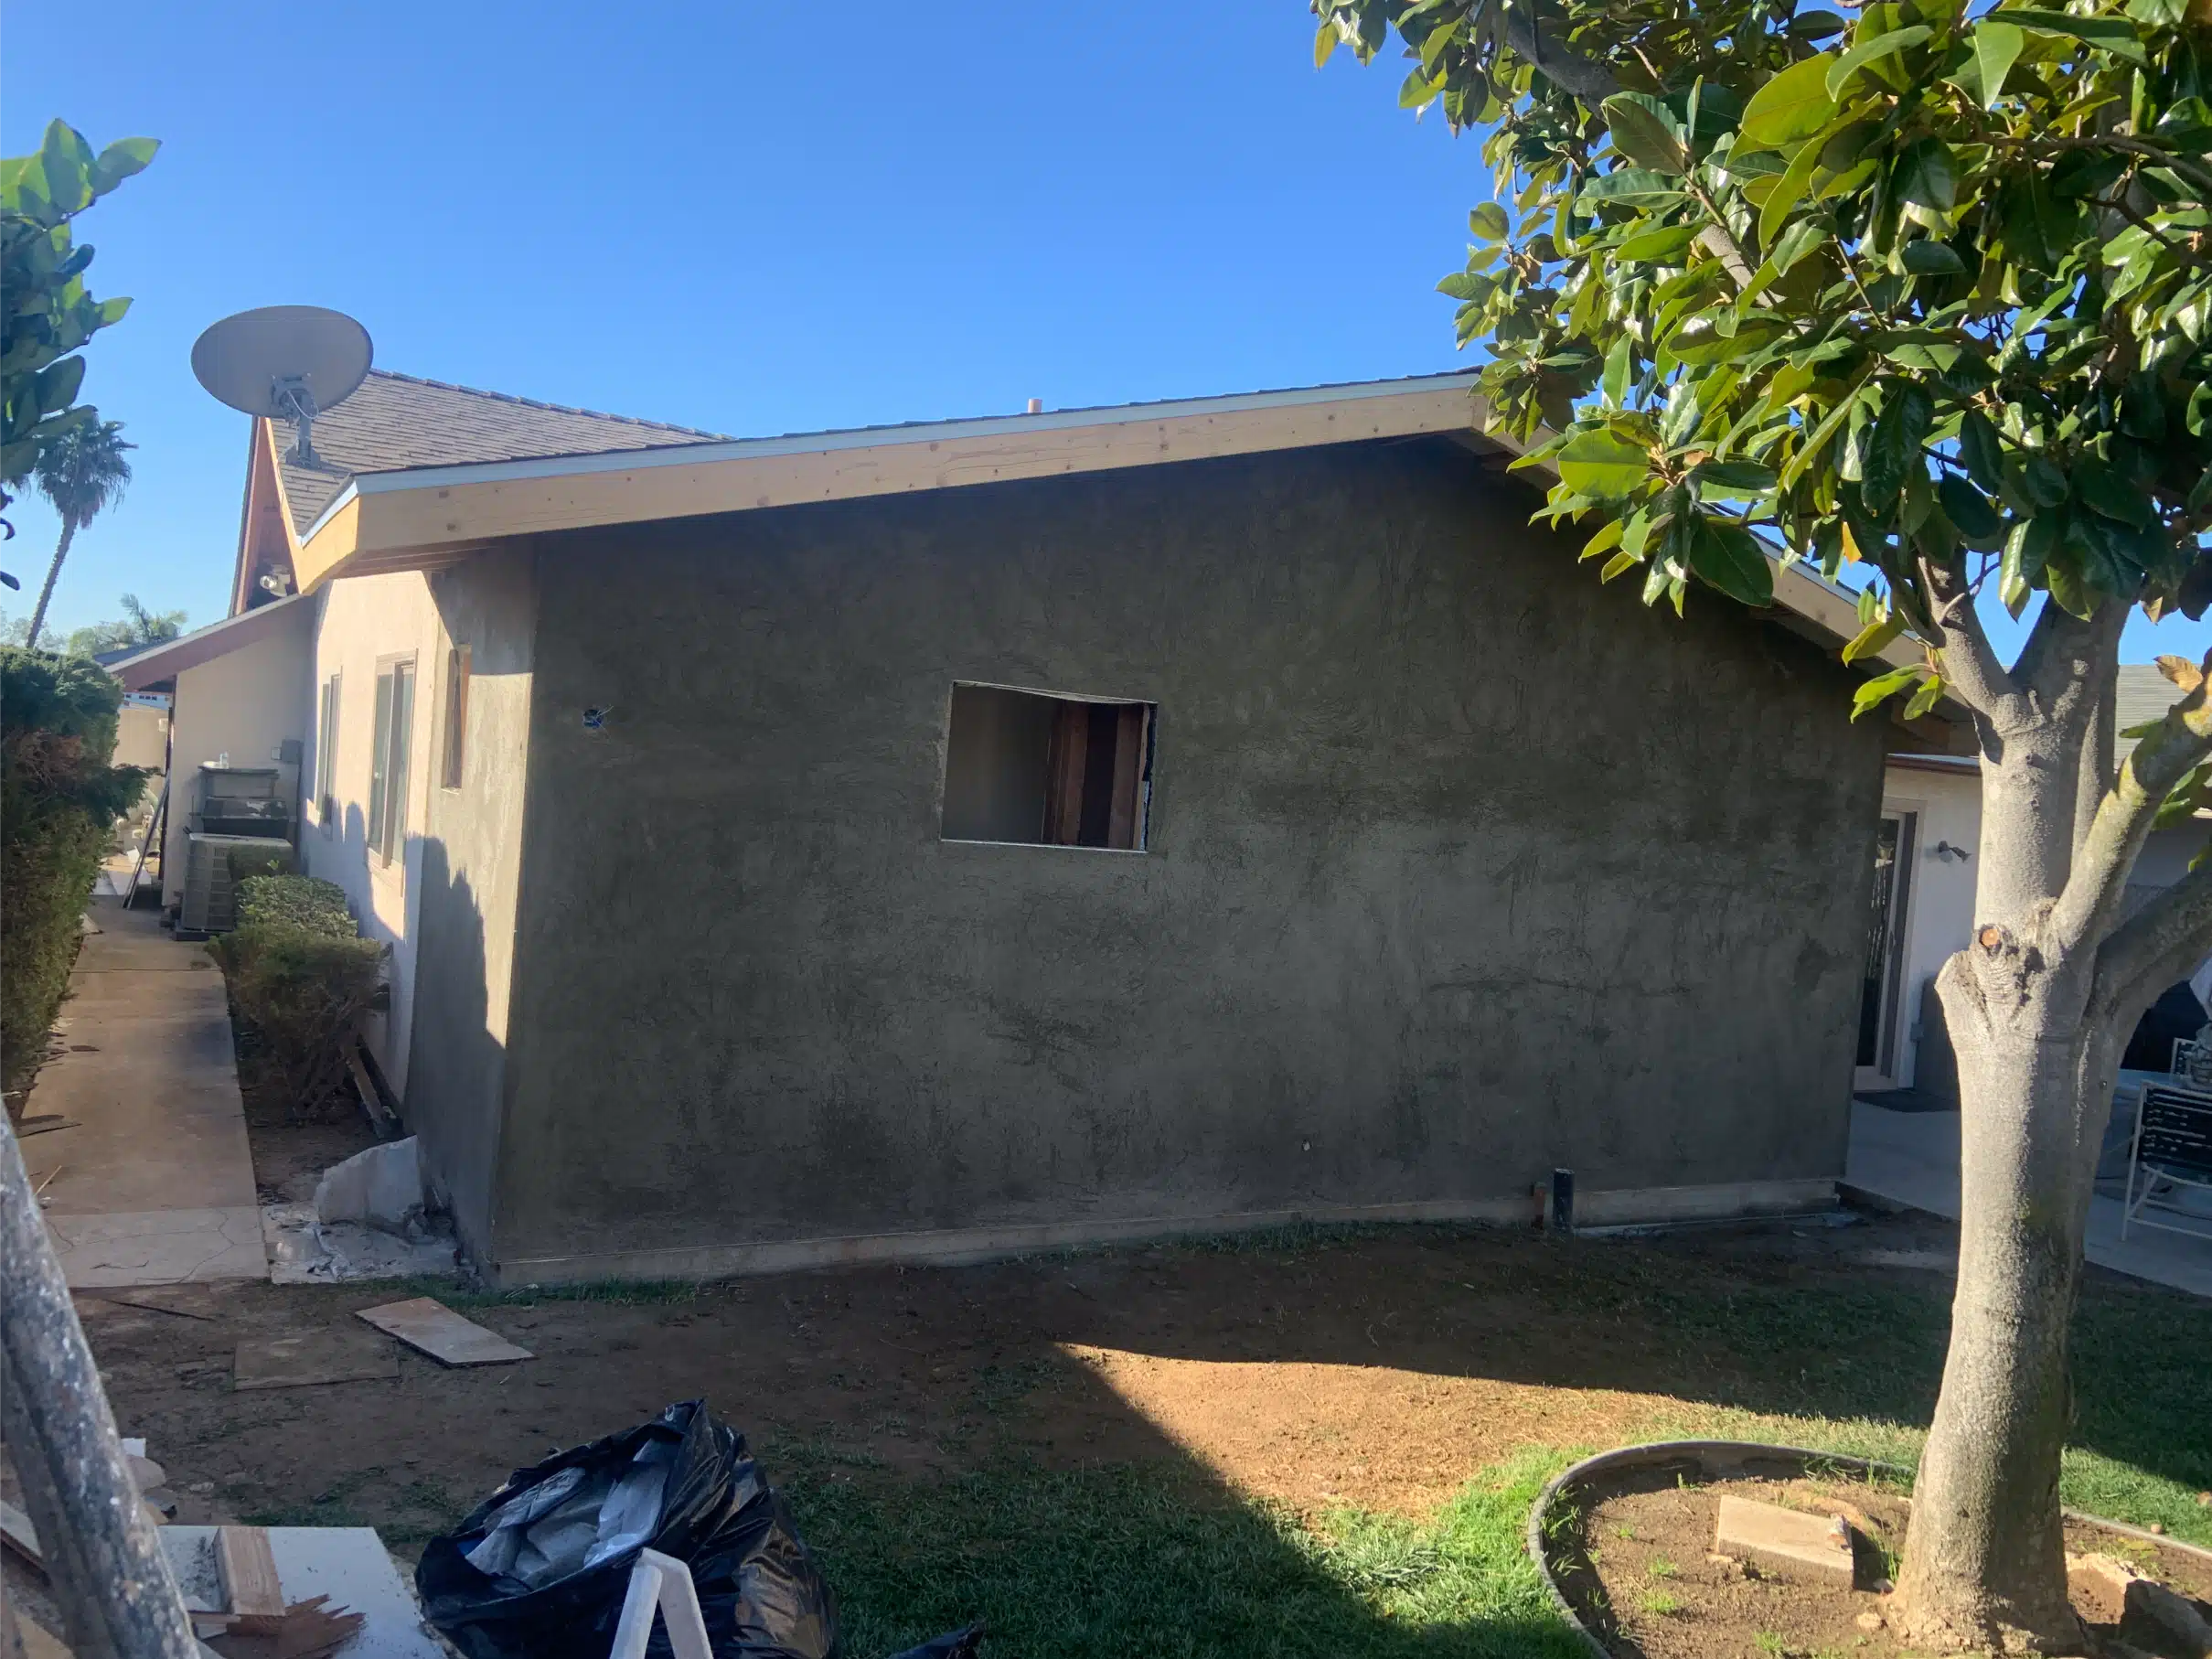
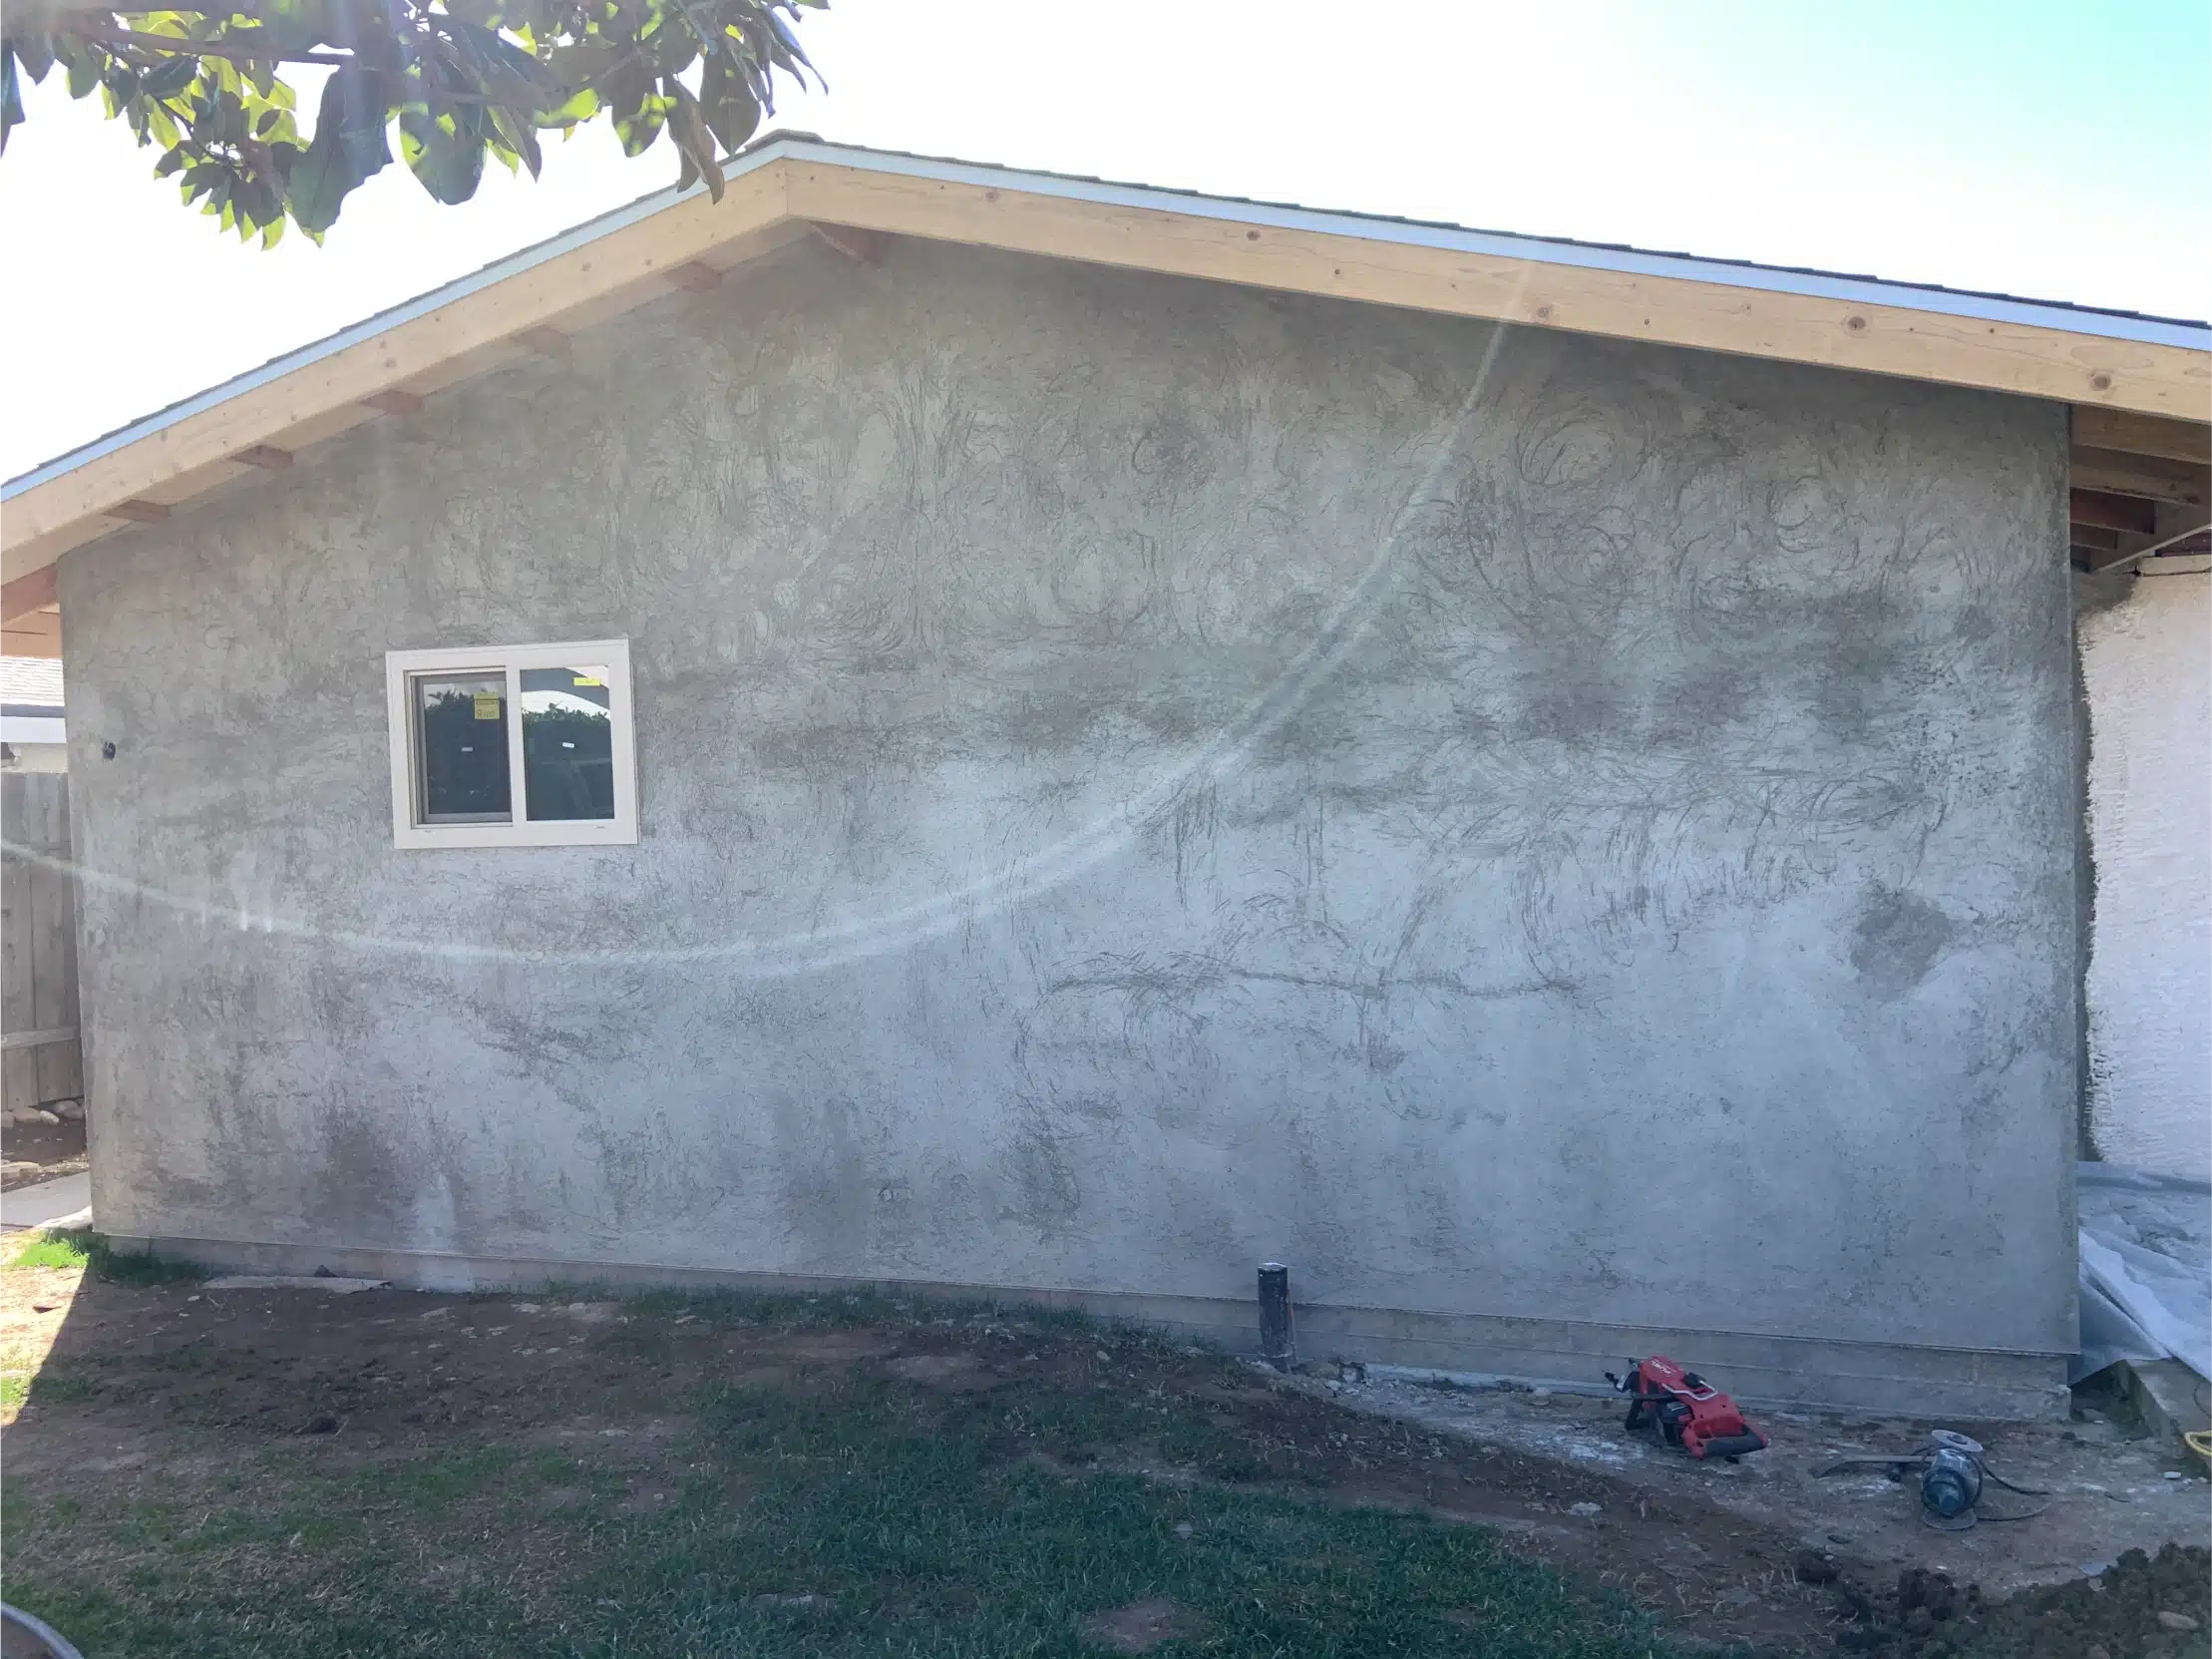
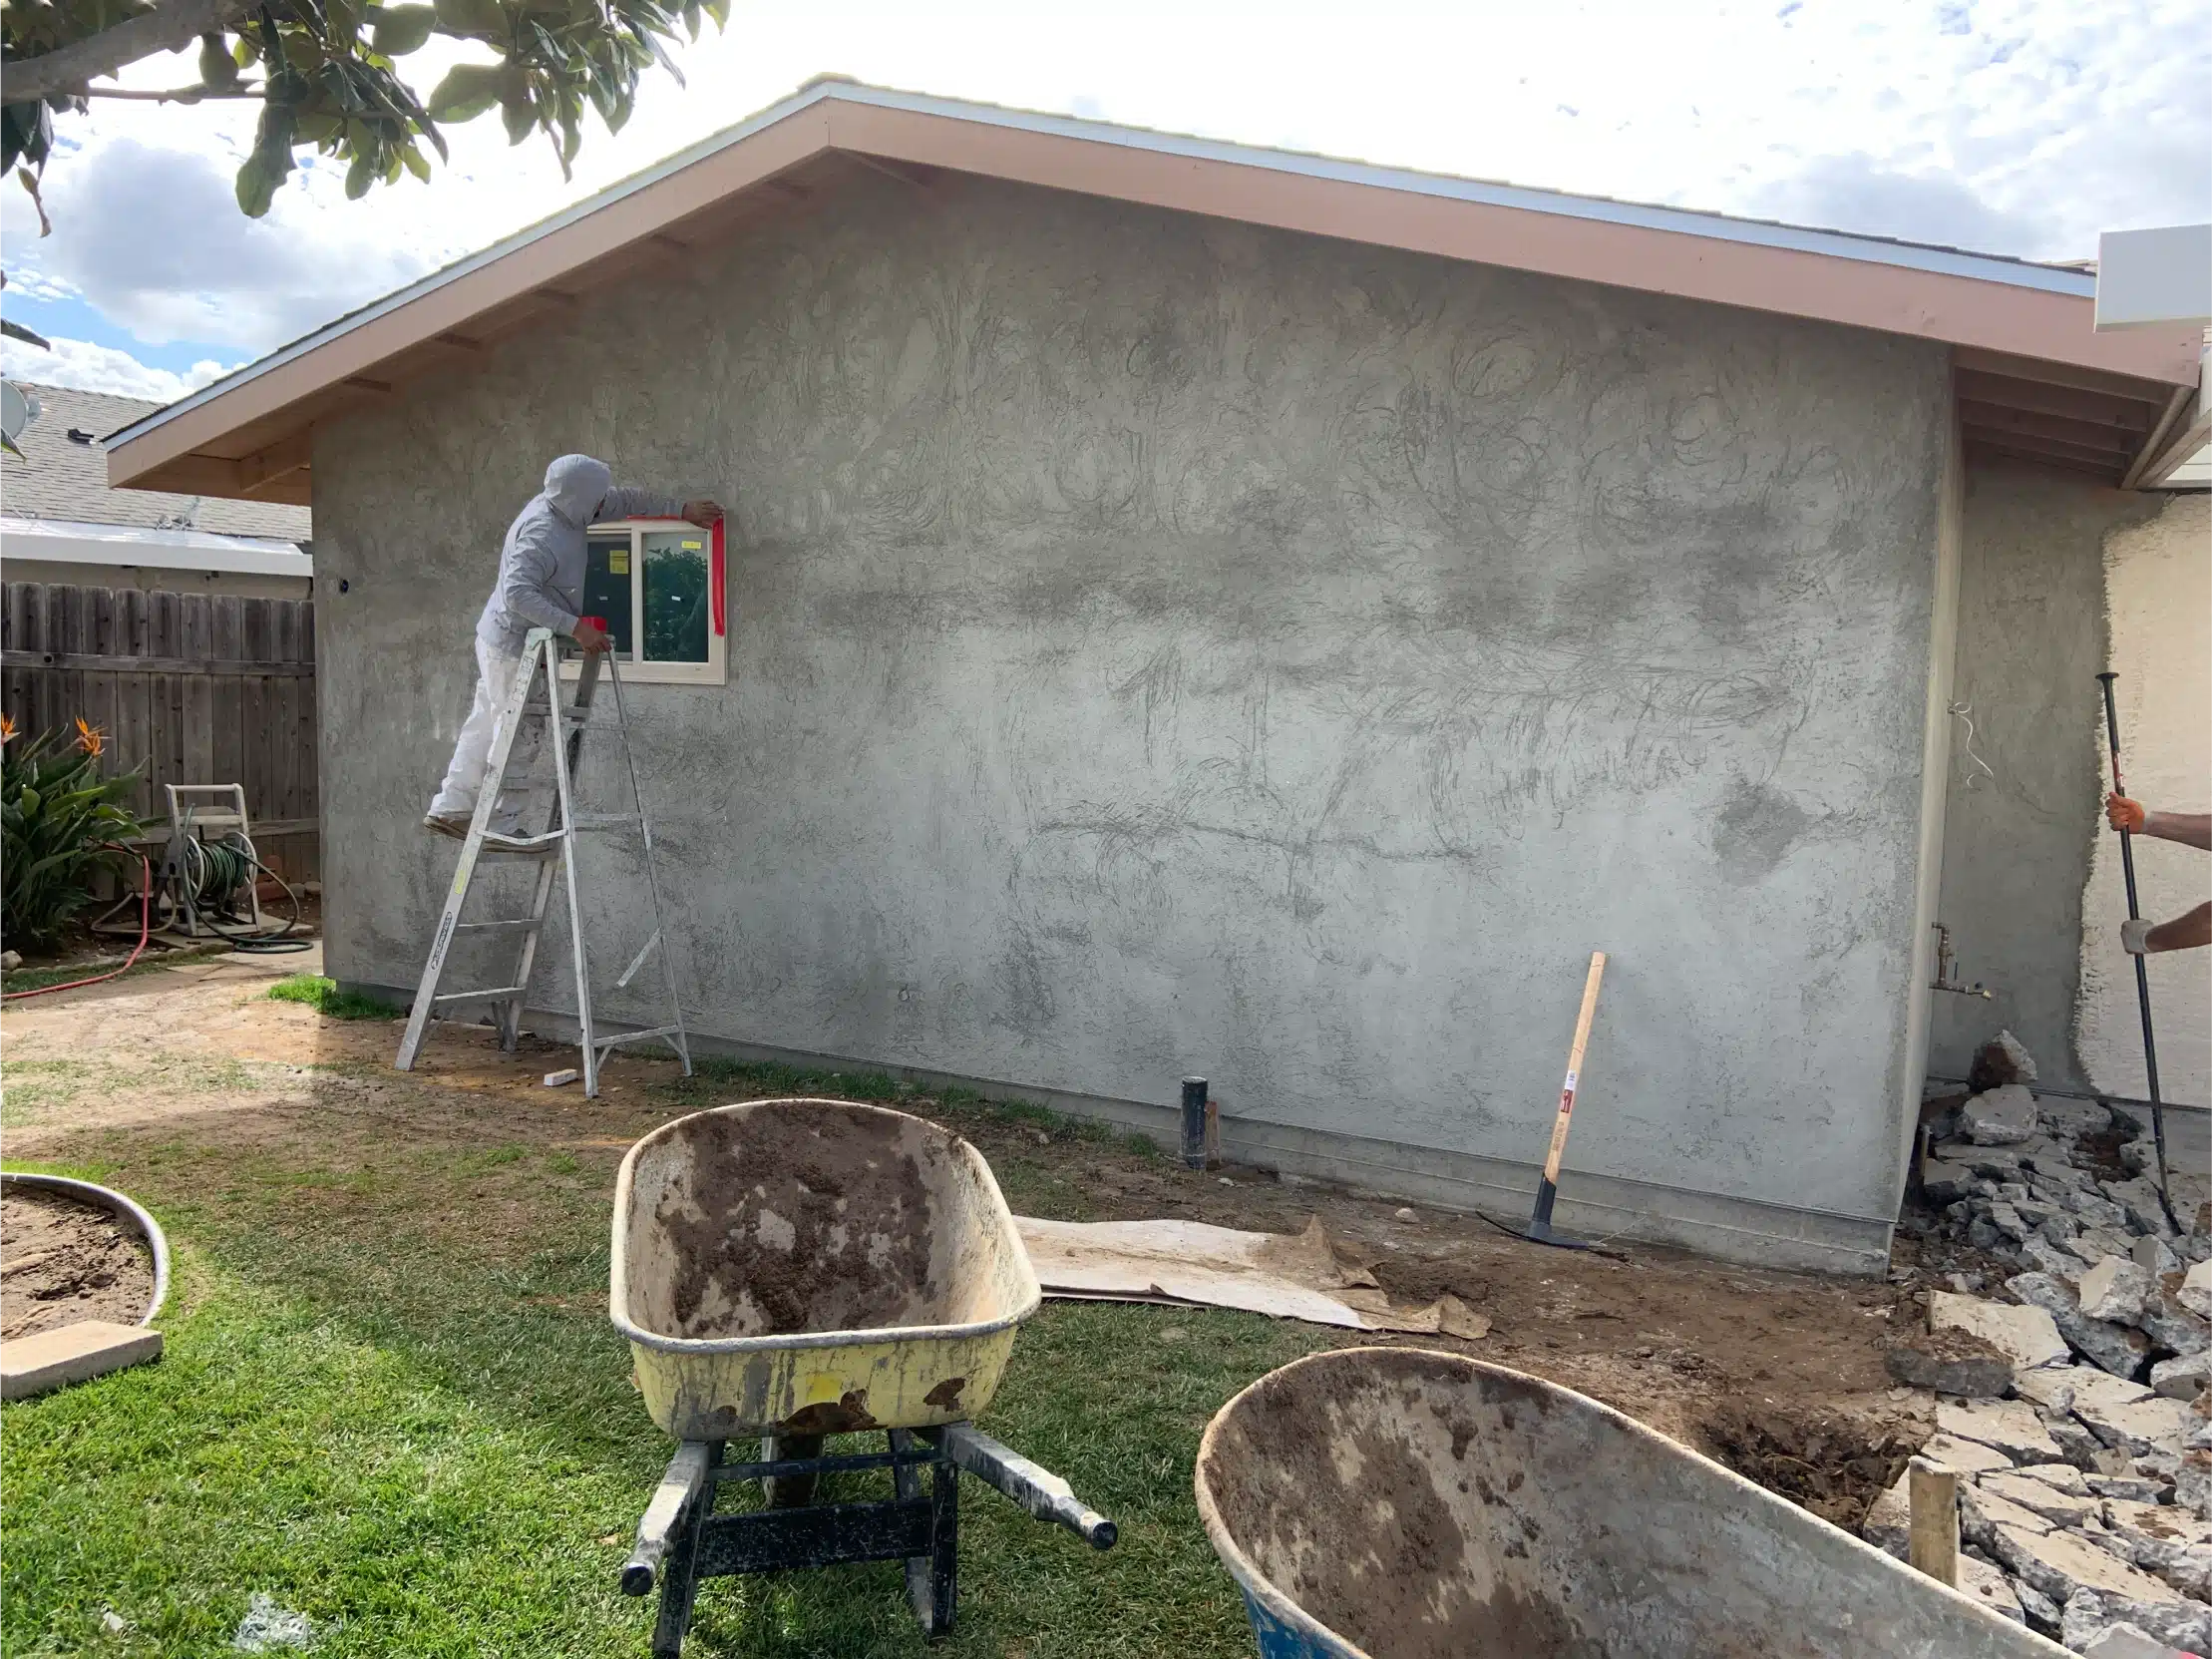
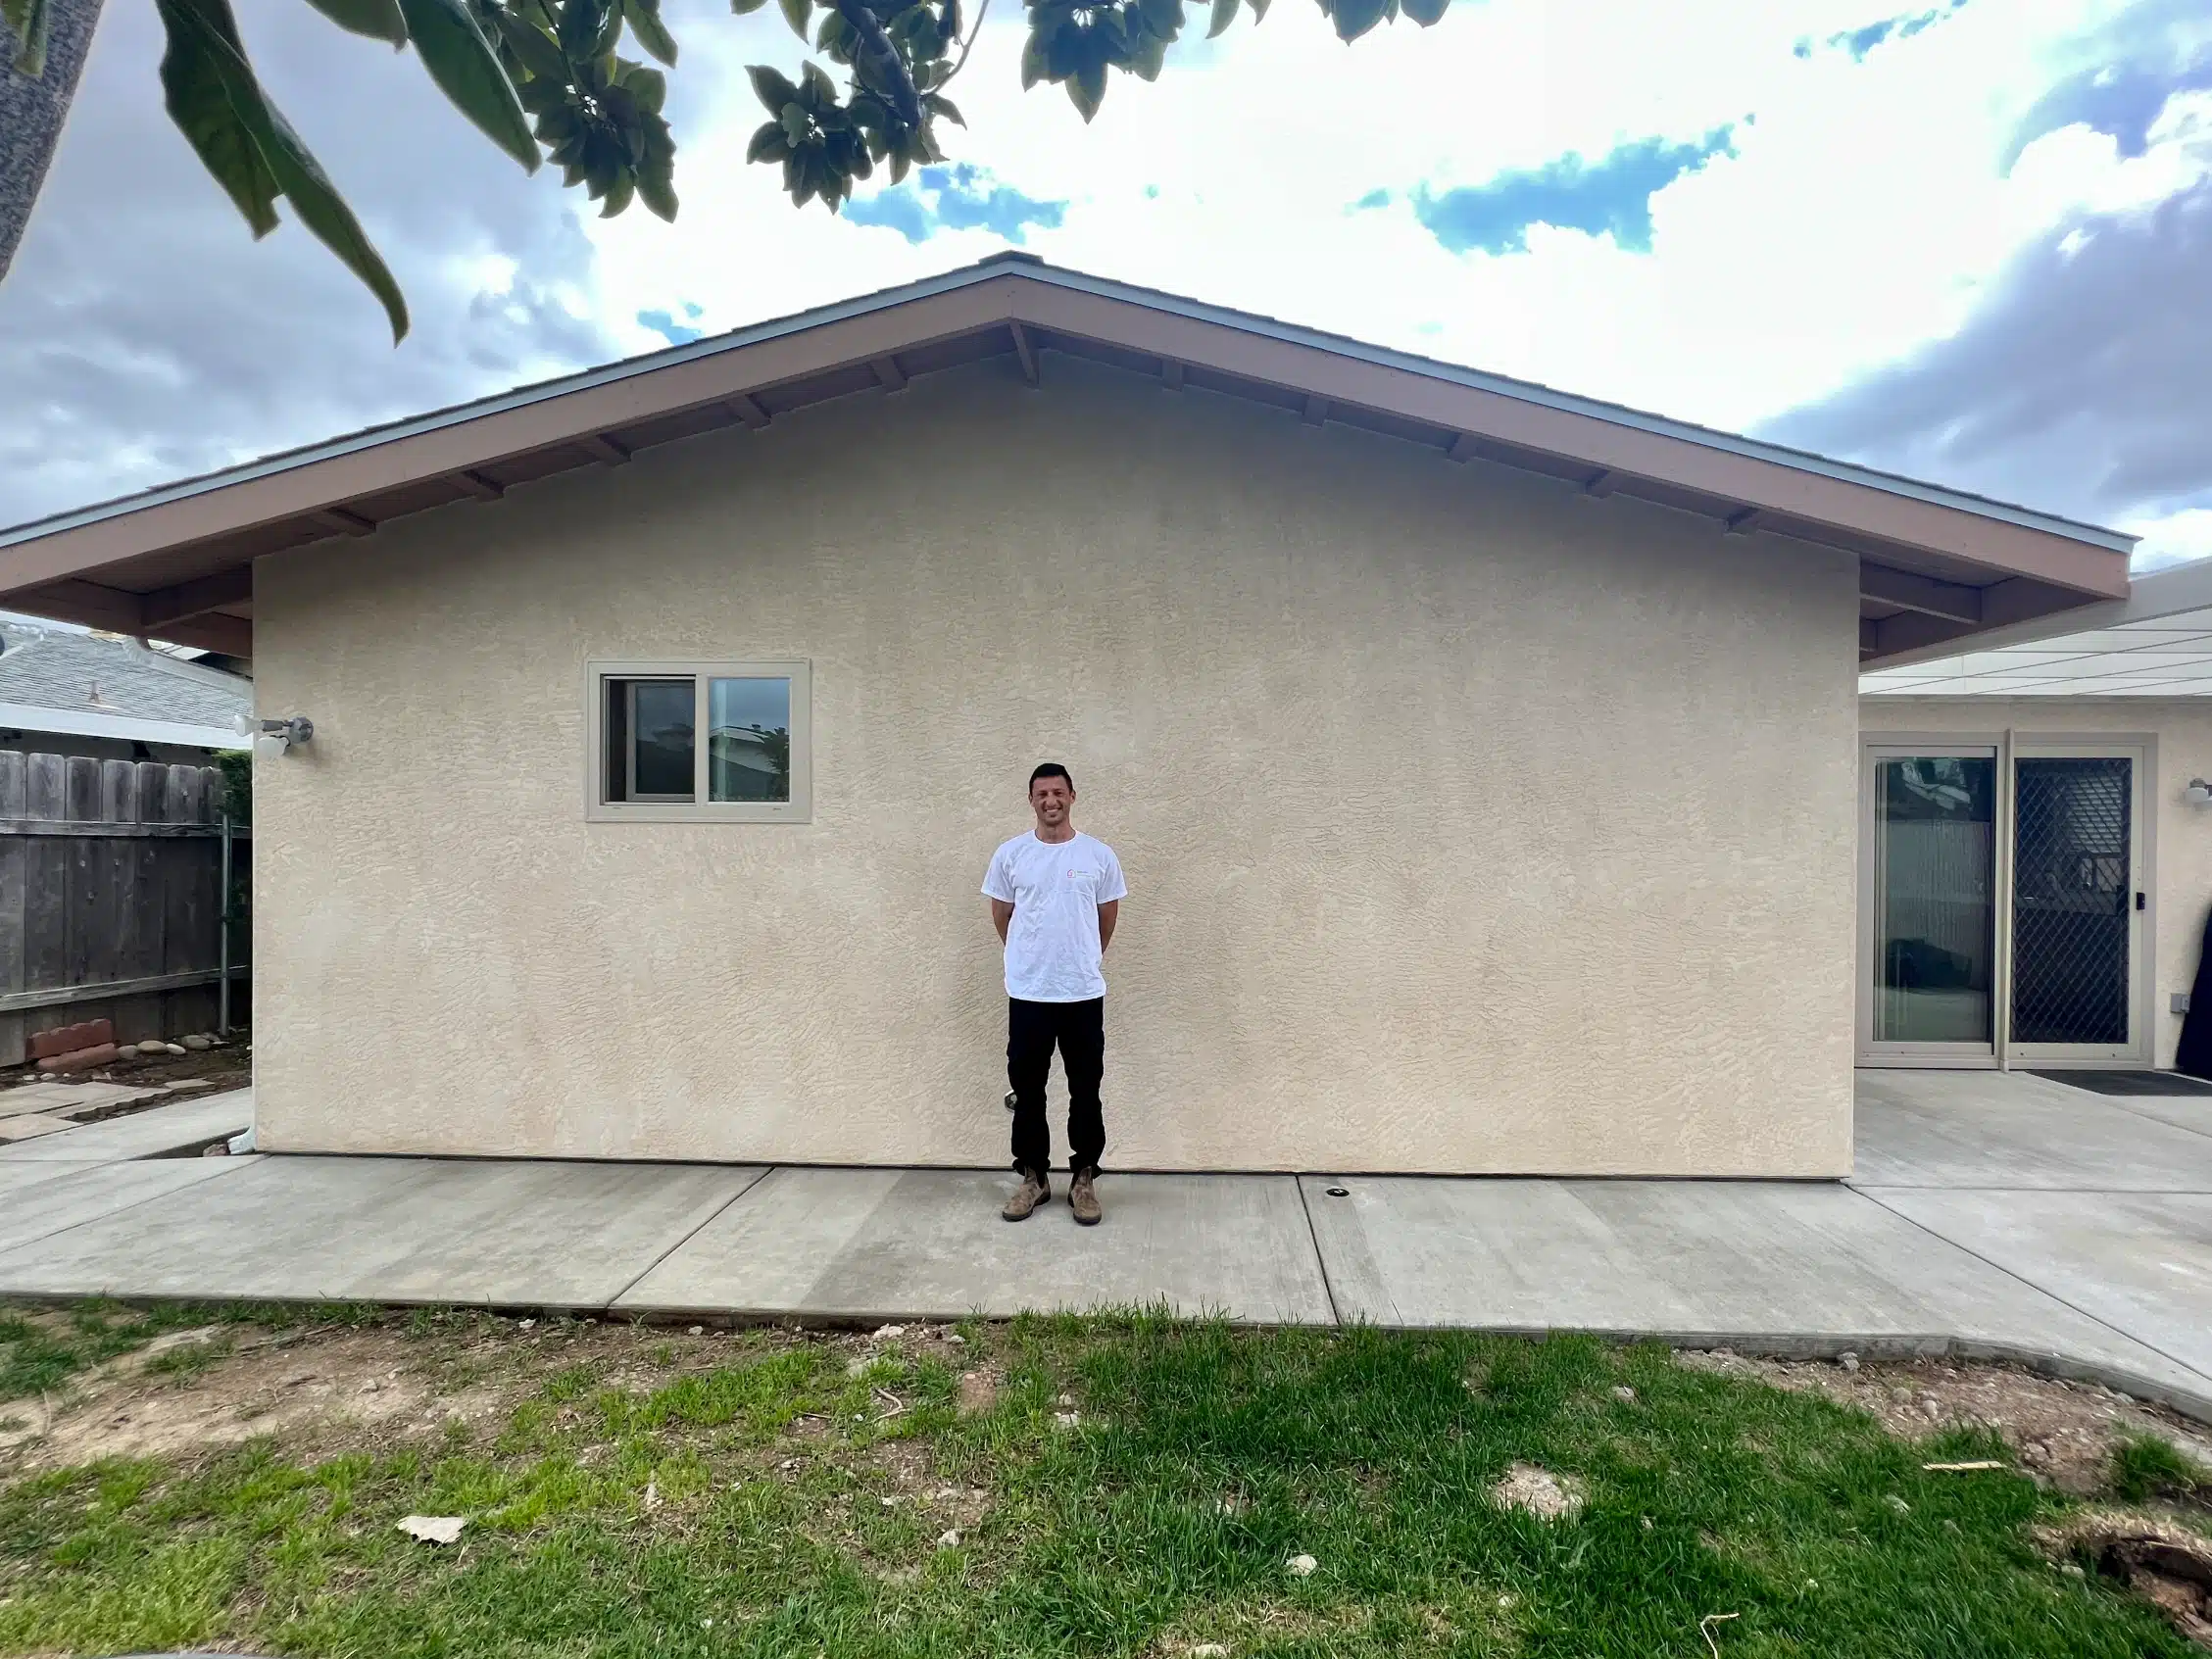
Stucco went on last on the outside, matched to the original elevation. The test of an addition is whether a stranger can tell where the house stops and the new work starts — from the street, on this one, they cannot.

The addition stuccoed and weathertight with the new window installed Exterior · During
How it was built

Four stages, in the order they happened

The same addition at each stage — framed on its new footing, sheathed, stuccoed to match the house, then finished inside.

A framed wall being raised into position on the new footing
Framing

Walls raised

Panels built flat on the slab and tilted up. Faster and squarer than framing in place, and it keeps the work off the existing house.

The addition framed out with studs and openings formed, wrapped against weather
Structure

Openings formed

Headers set and openings framed to the window schedule, so the units drop straight in rather than needing the frame altered.

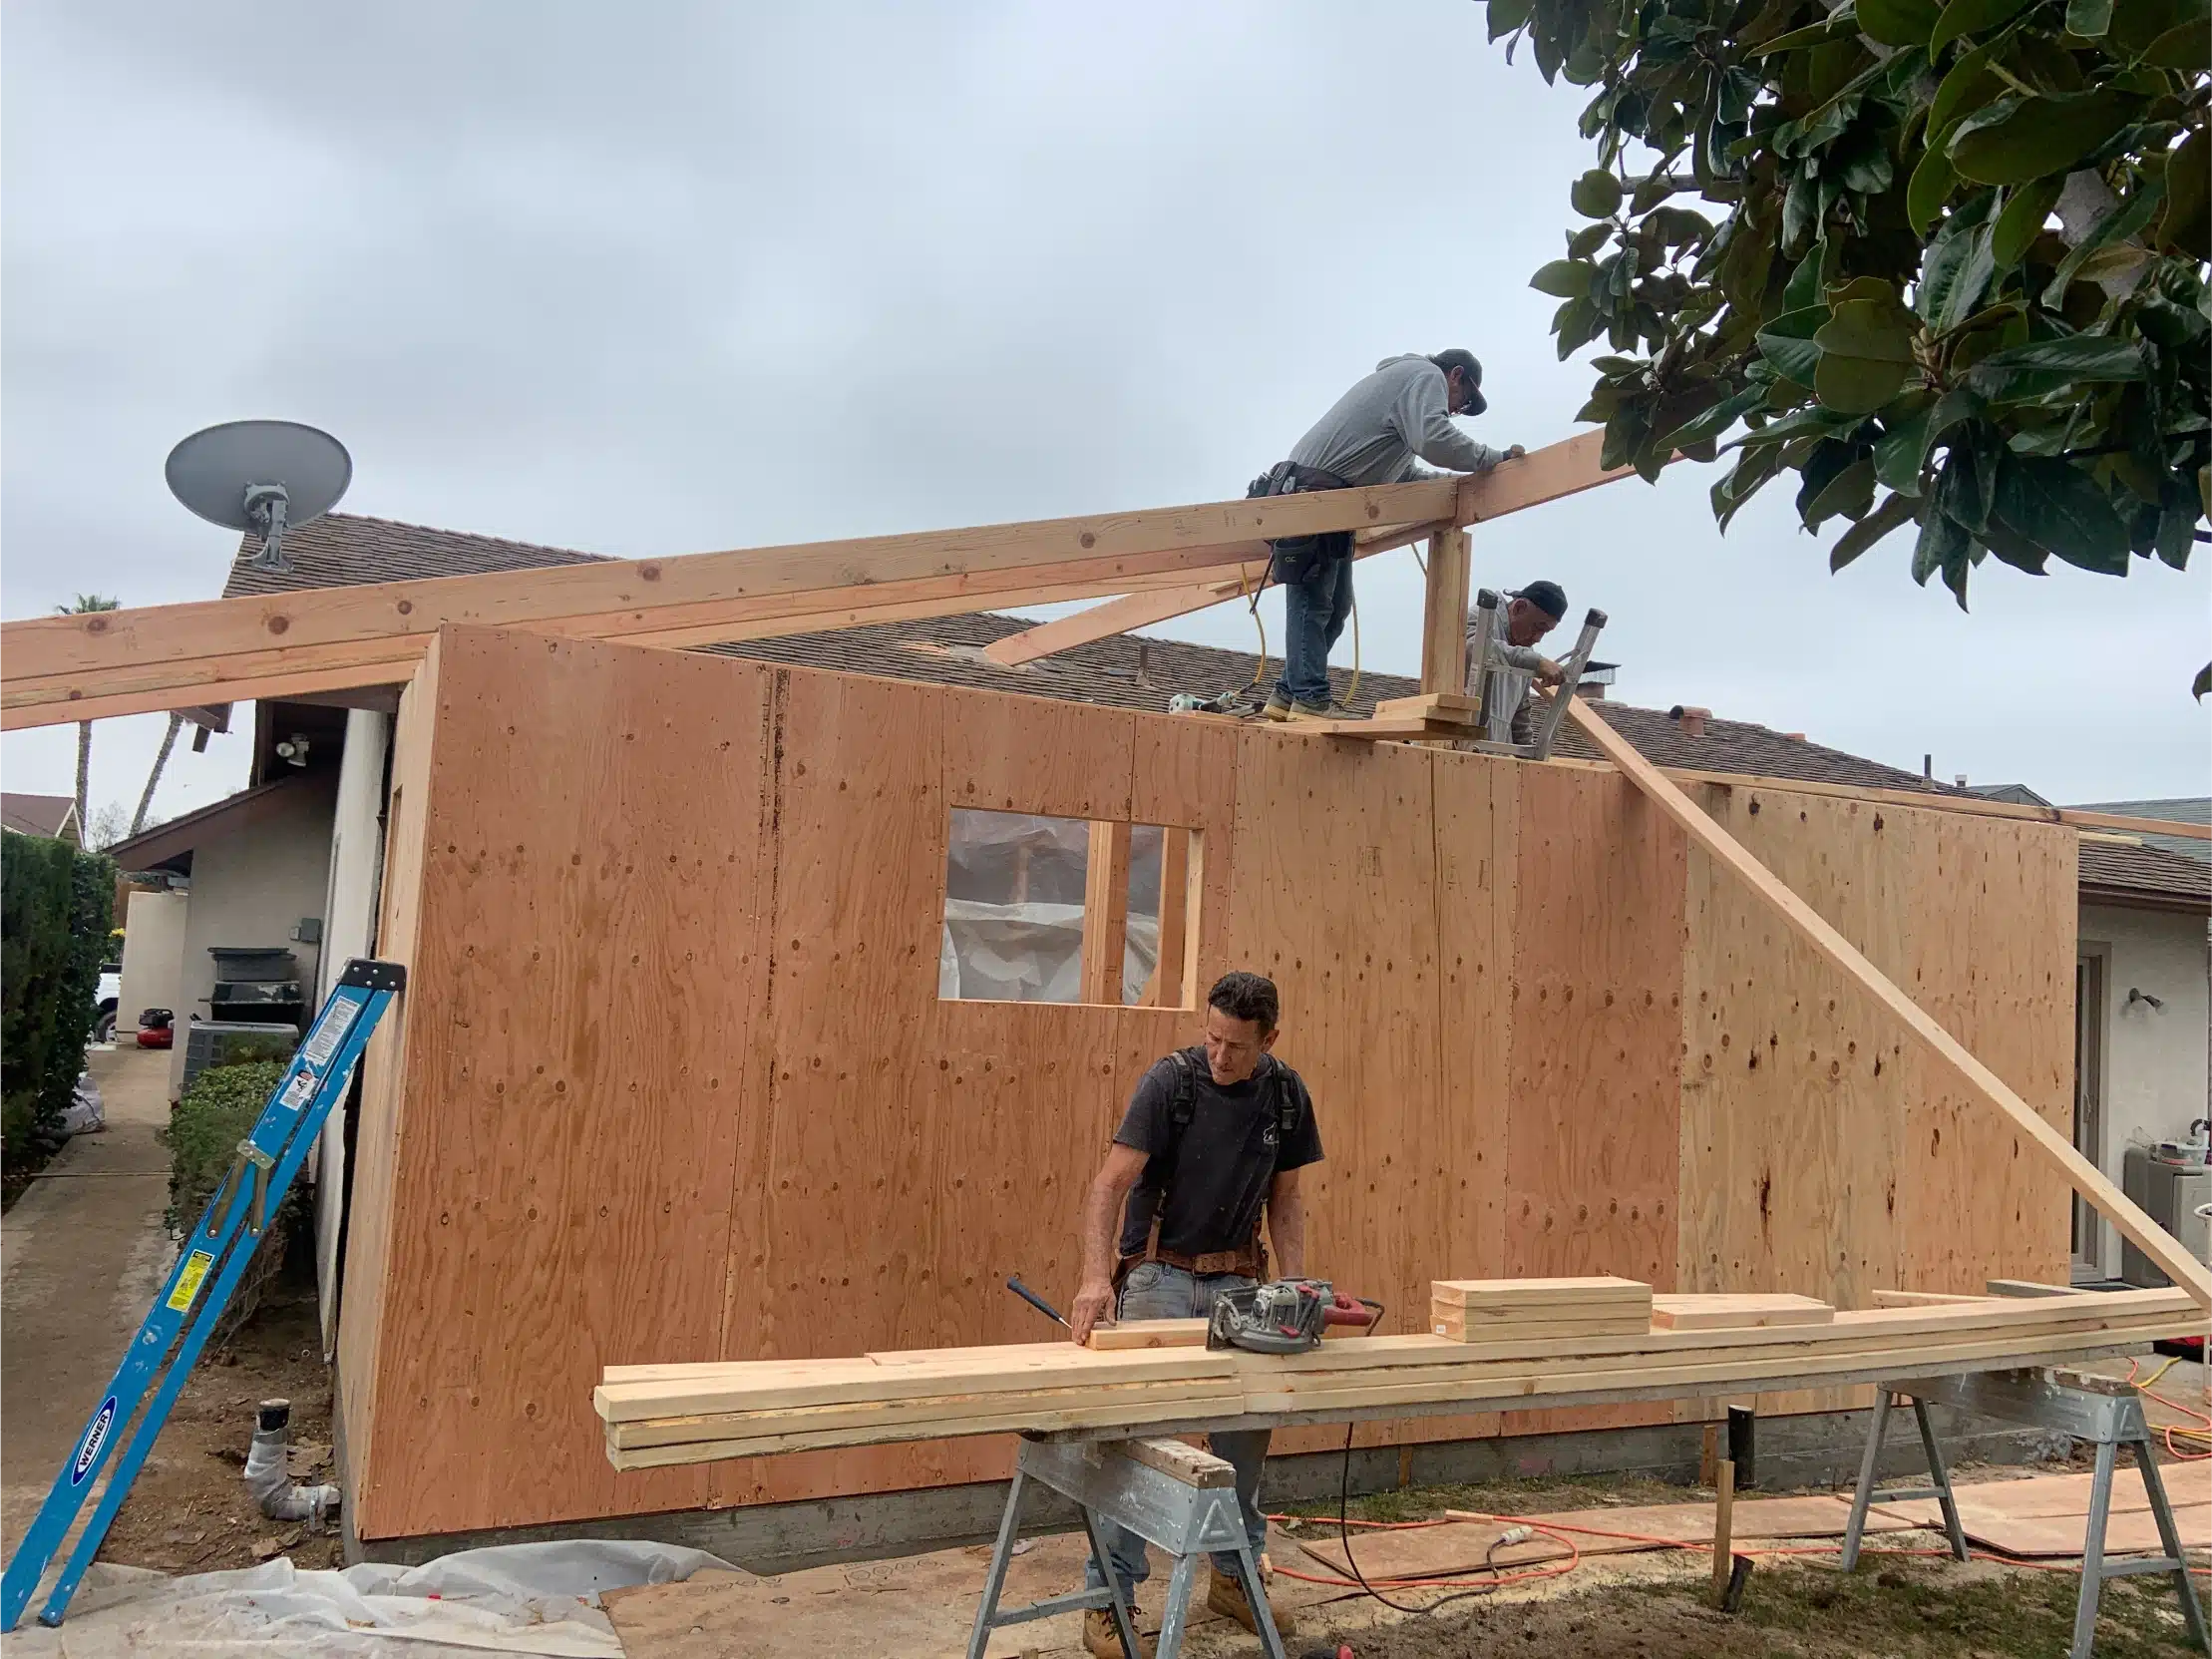
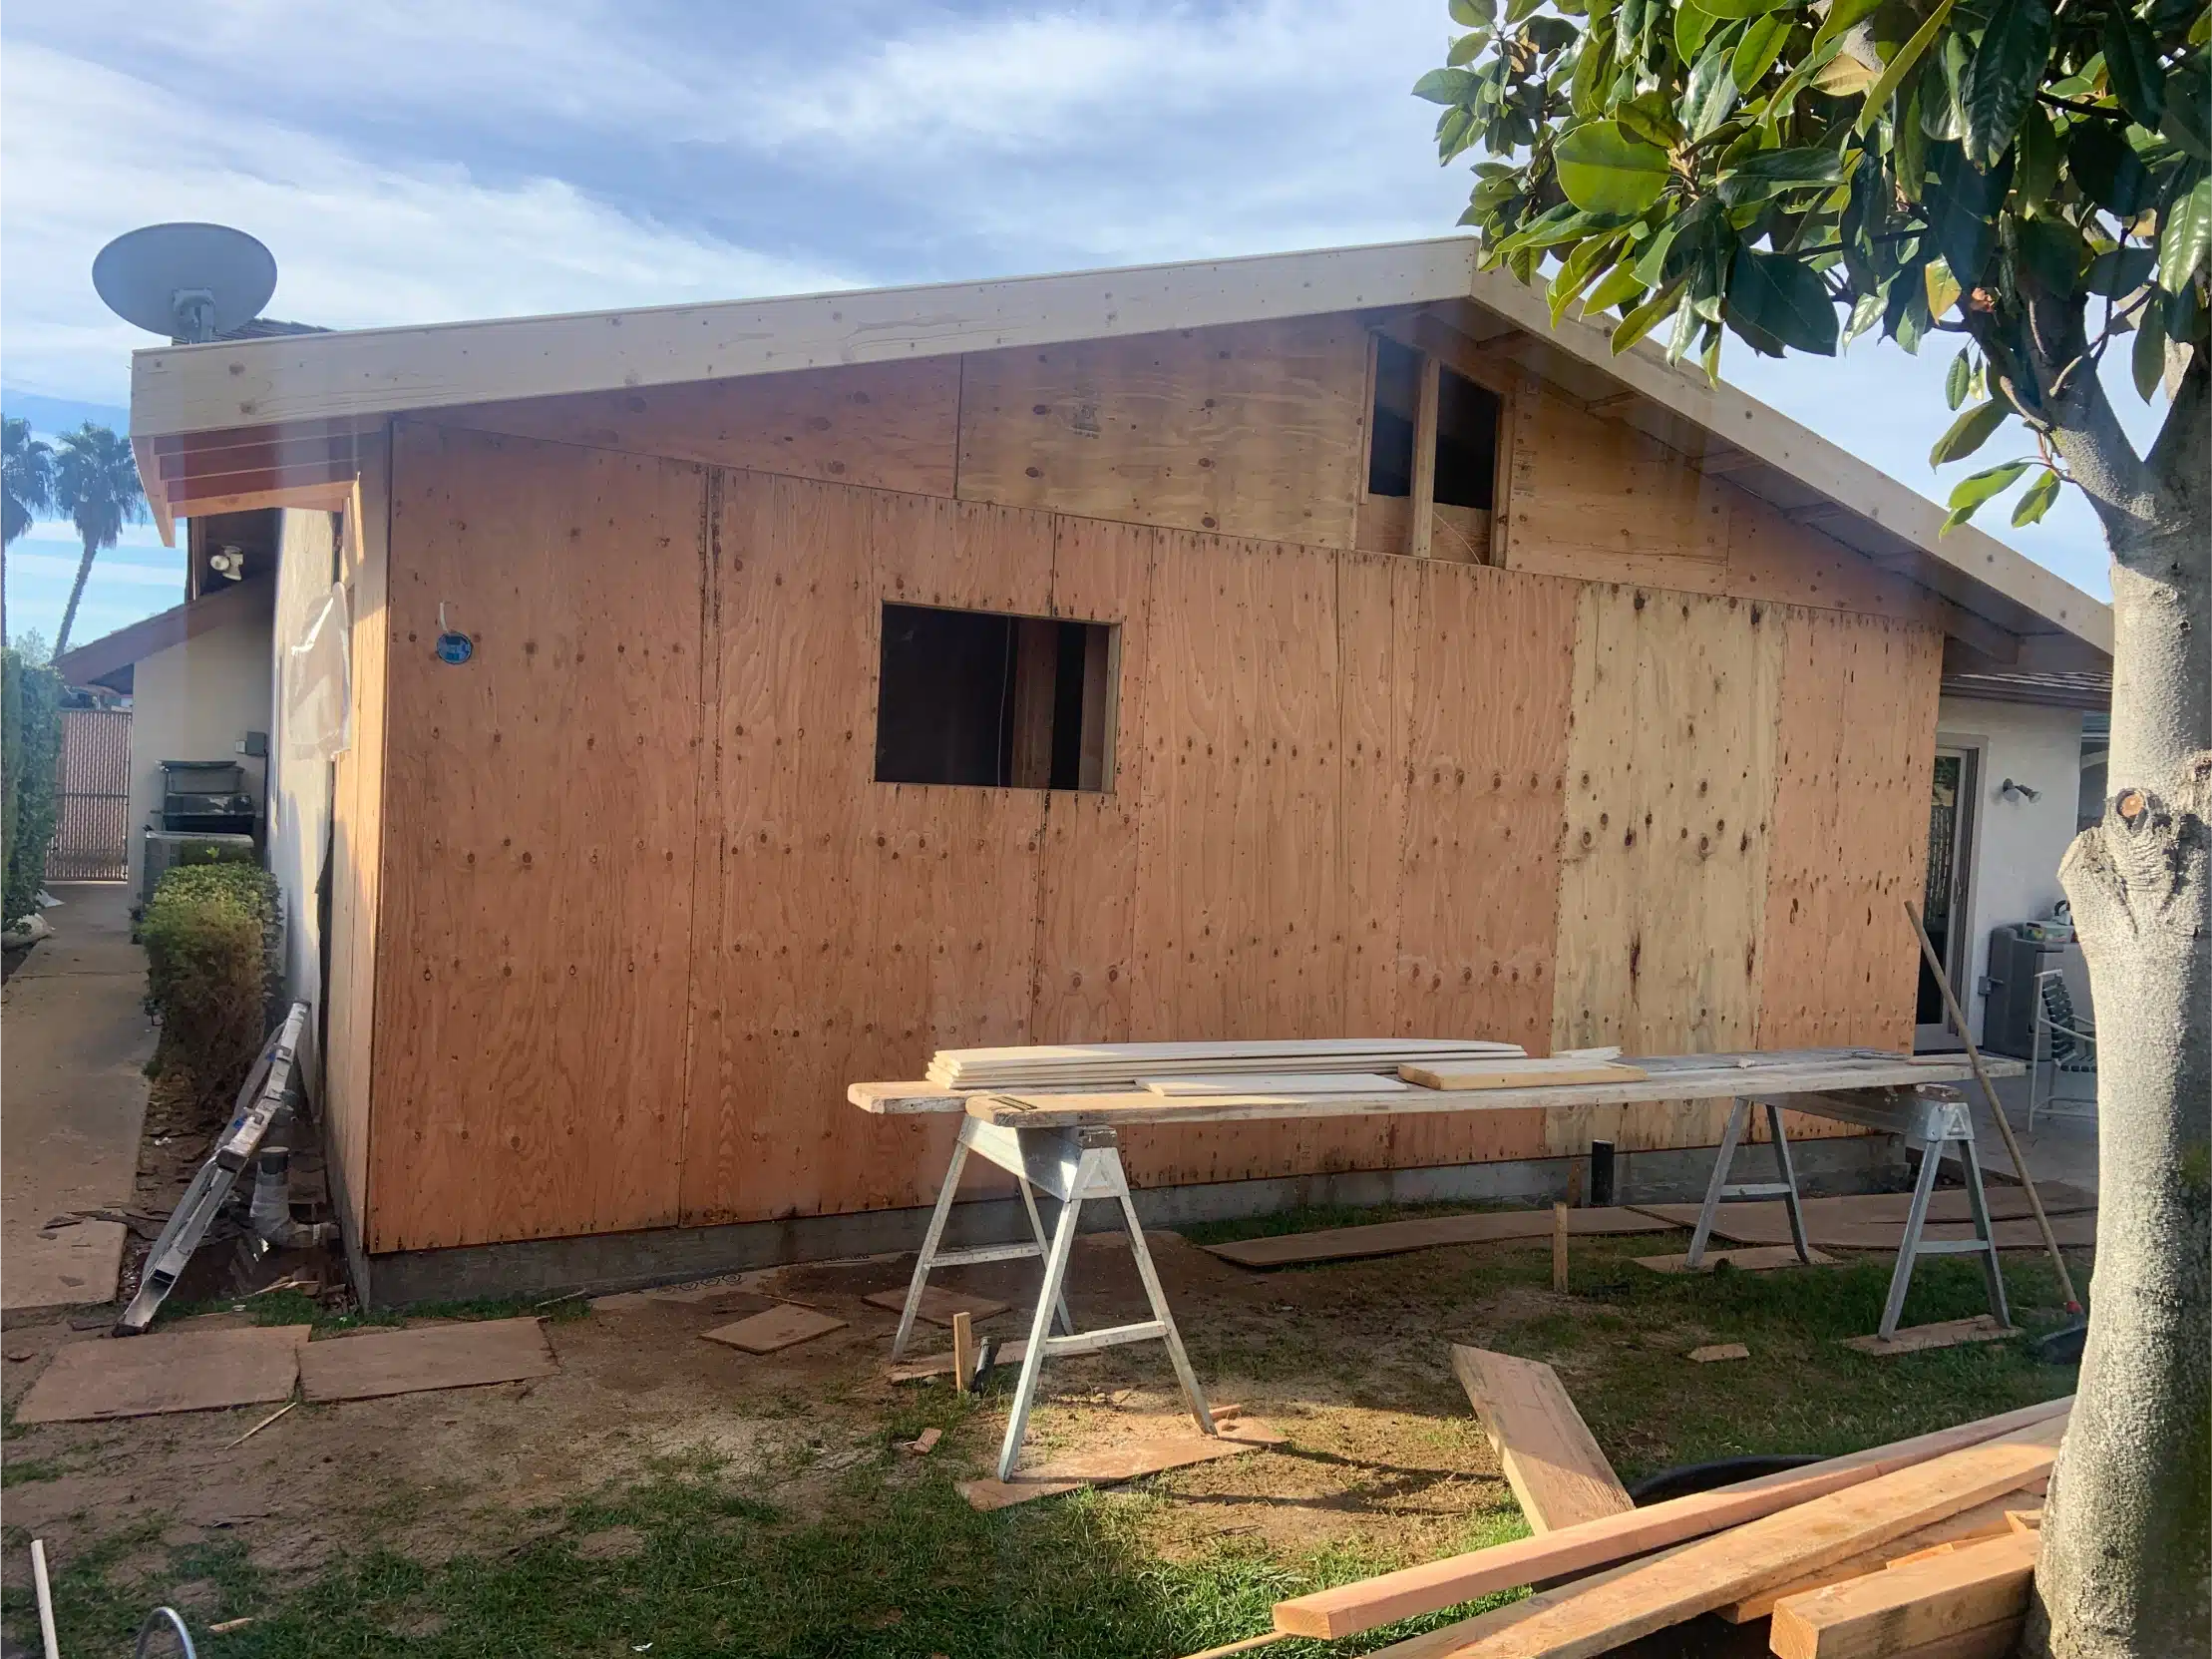
The addition sheathed in plywood with the roof framed above
Sheathing

Closed & braced

Plywood on and the roof framed. This is the point the addition starts reading as part of the house rather than a frame beside it.

The addition rendered in stucco, matched to the existing elevation
Exterior

Stucco matched

Rendered and floated to match the original wall. From the yard, the join is the thing you should not be able to find.

03
During

Foundation to weathertight

Framing further along, with new corner posts and openings formed
New roof sheathing with shingle bundles staged across it
Stucco going on the addition with the scratch coat floated out
The sheathed addition from the side, with materials staged alongside
Framing and bracing at the junction with the existing house
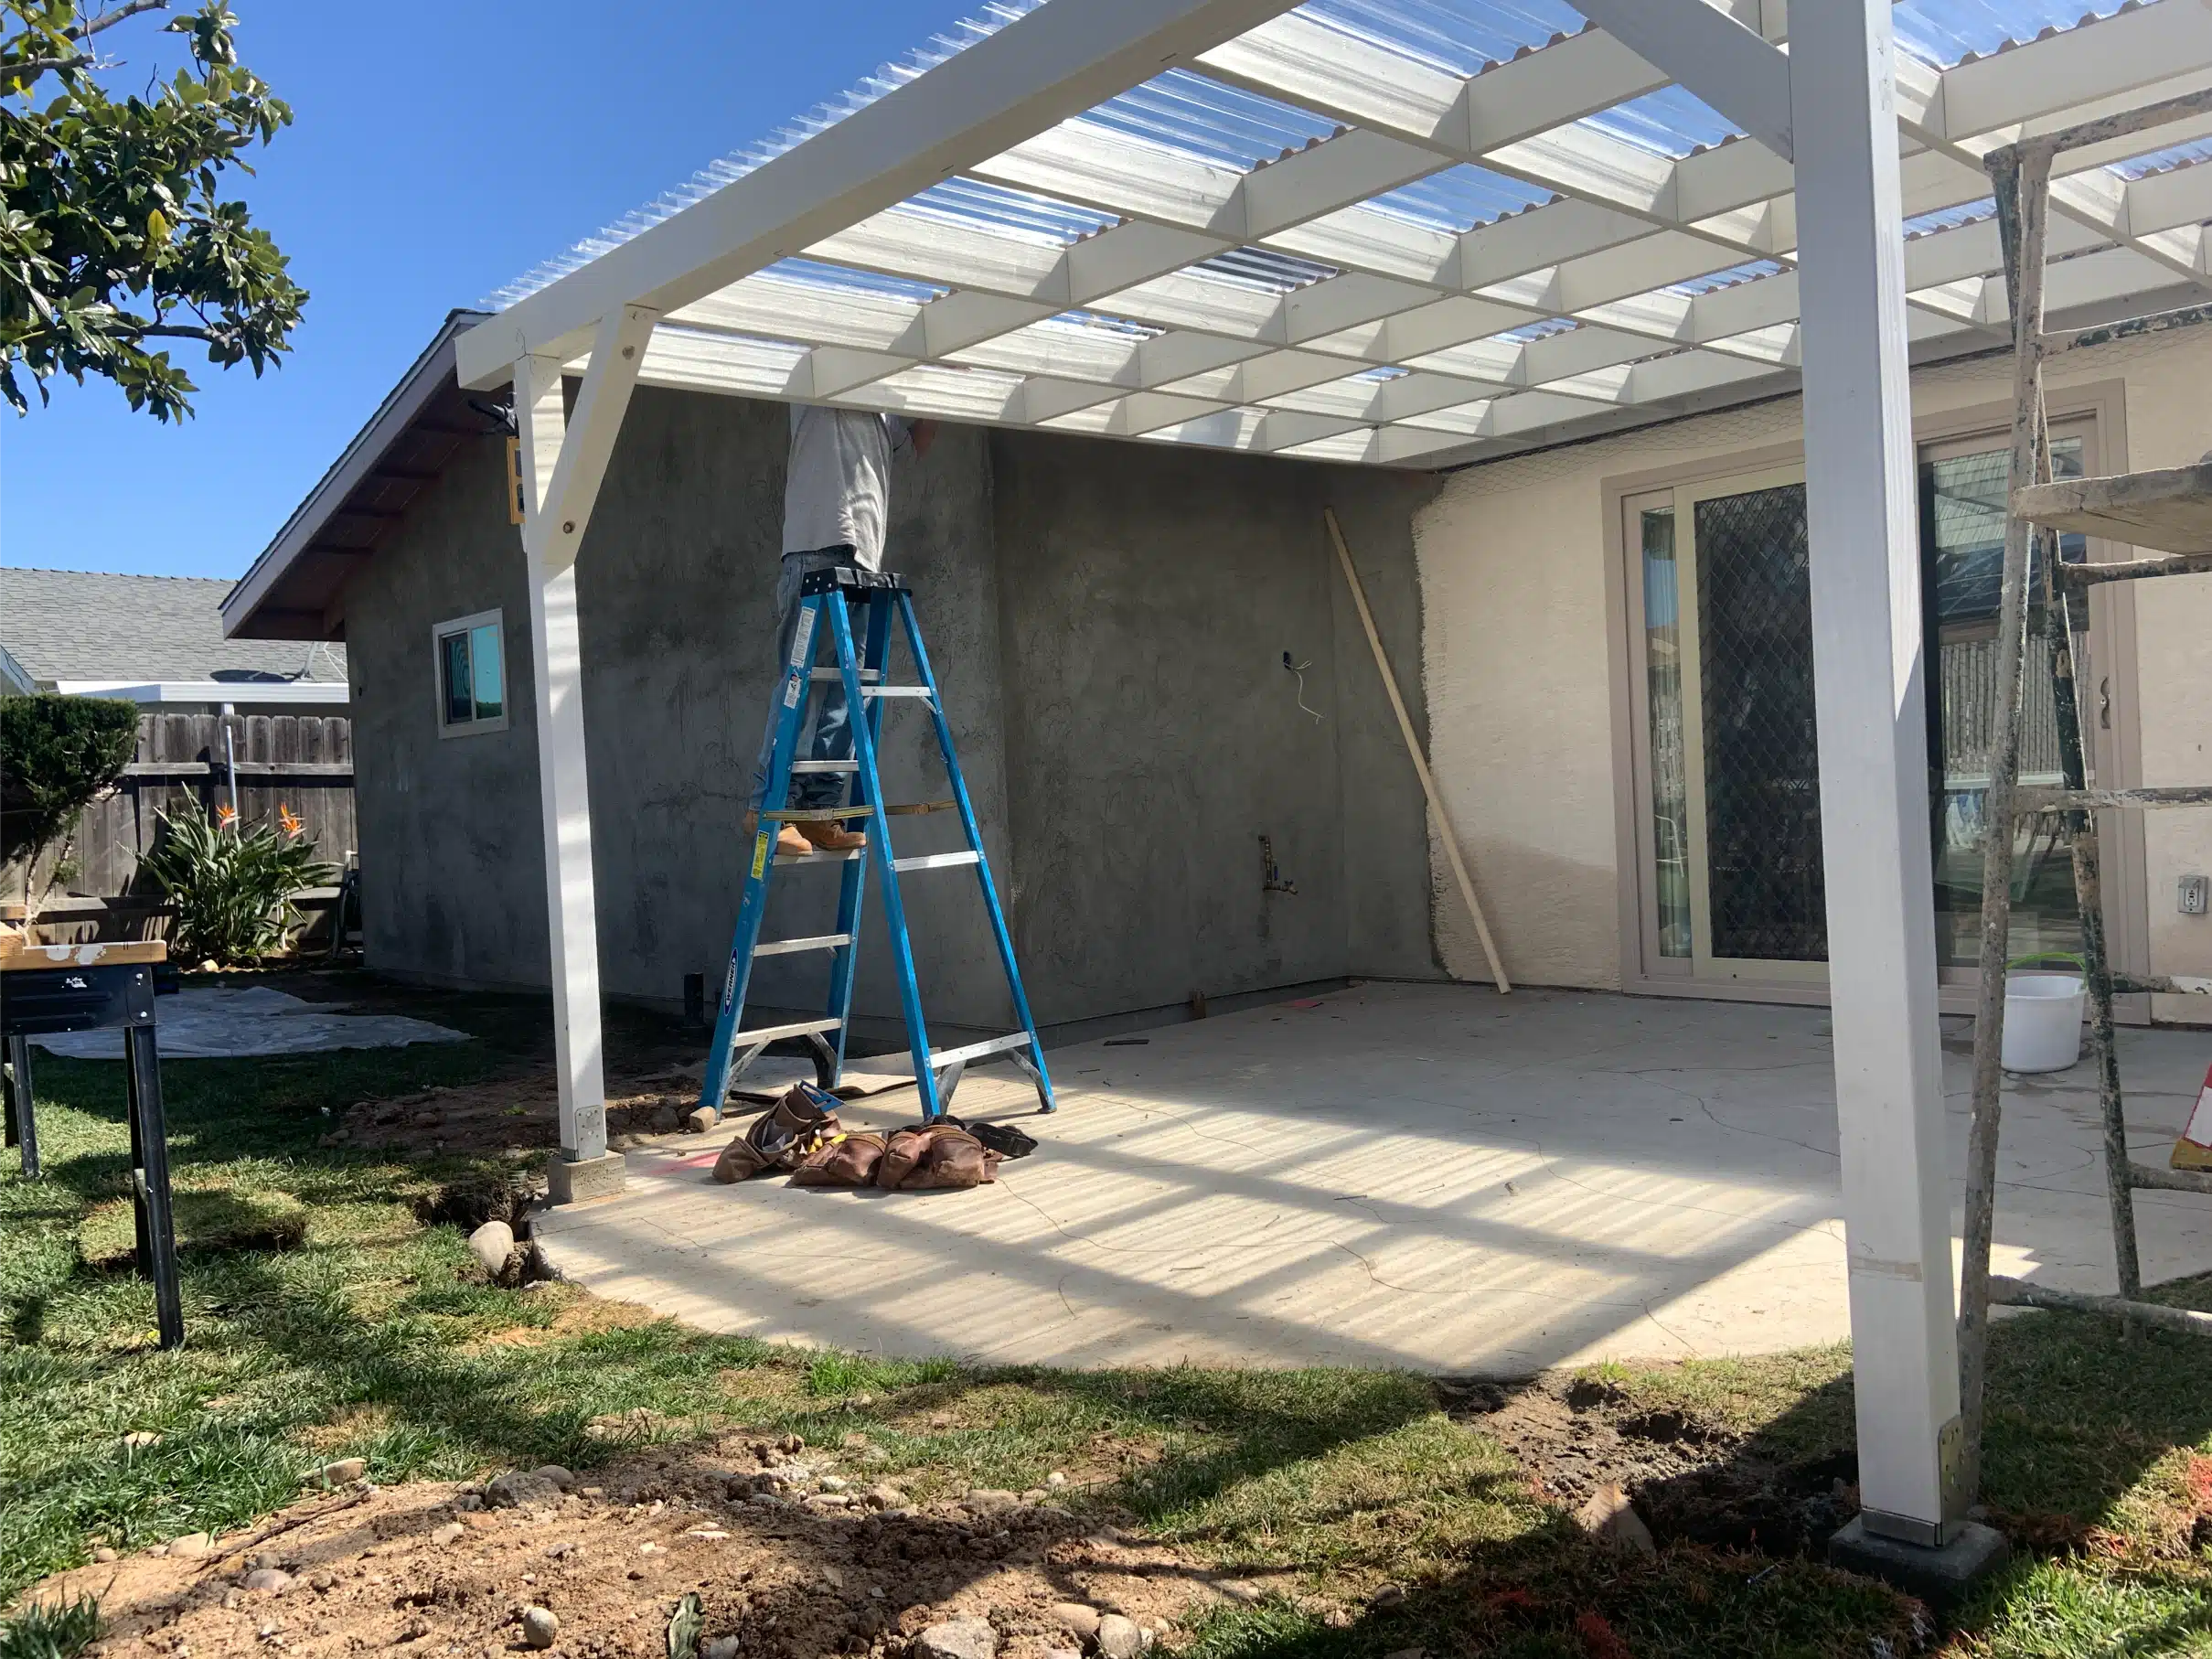
New covered patio structure and concrete alongside the addition
Drag to explore
04
The bathroom

Built to be used at any age

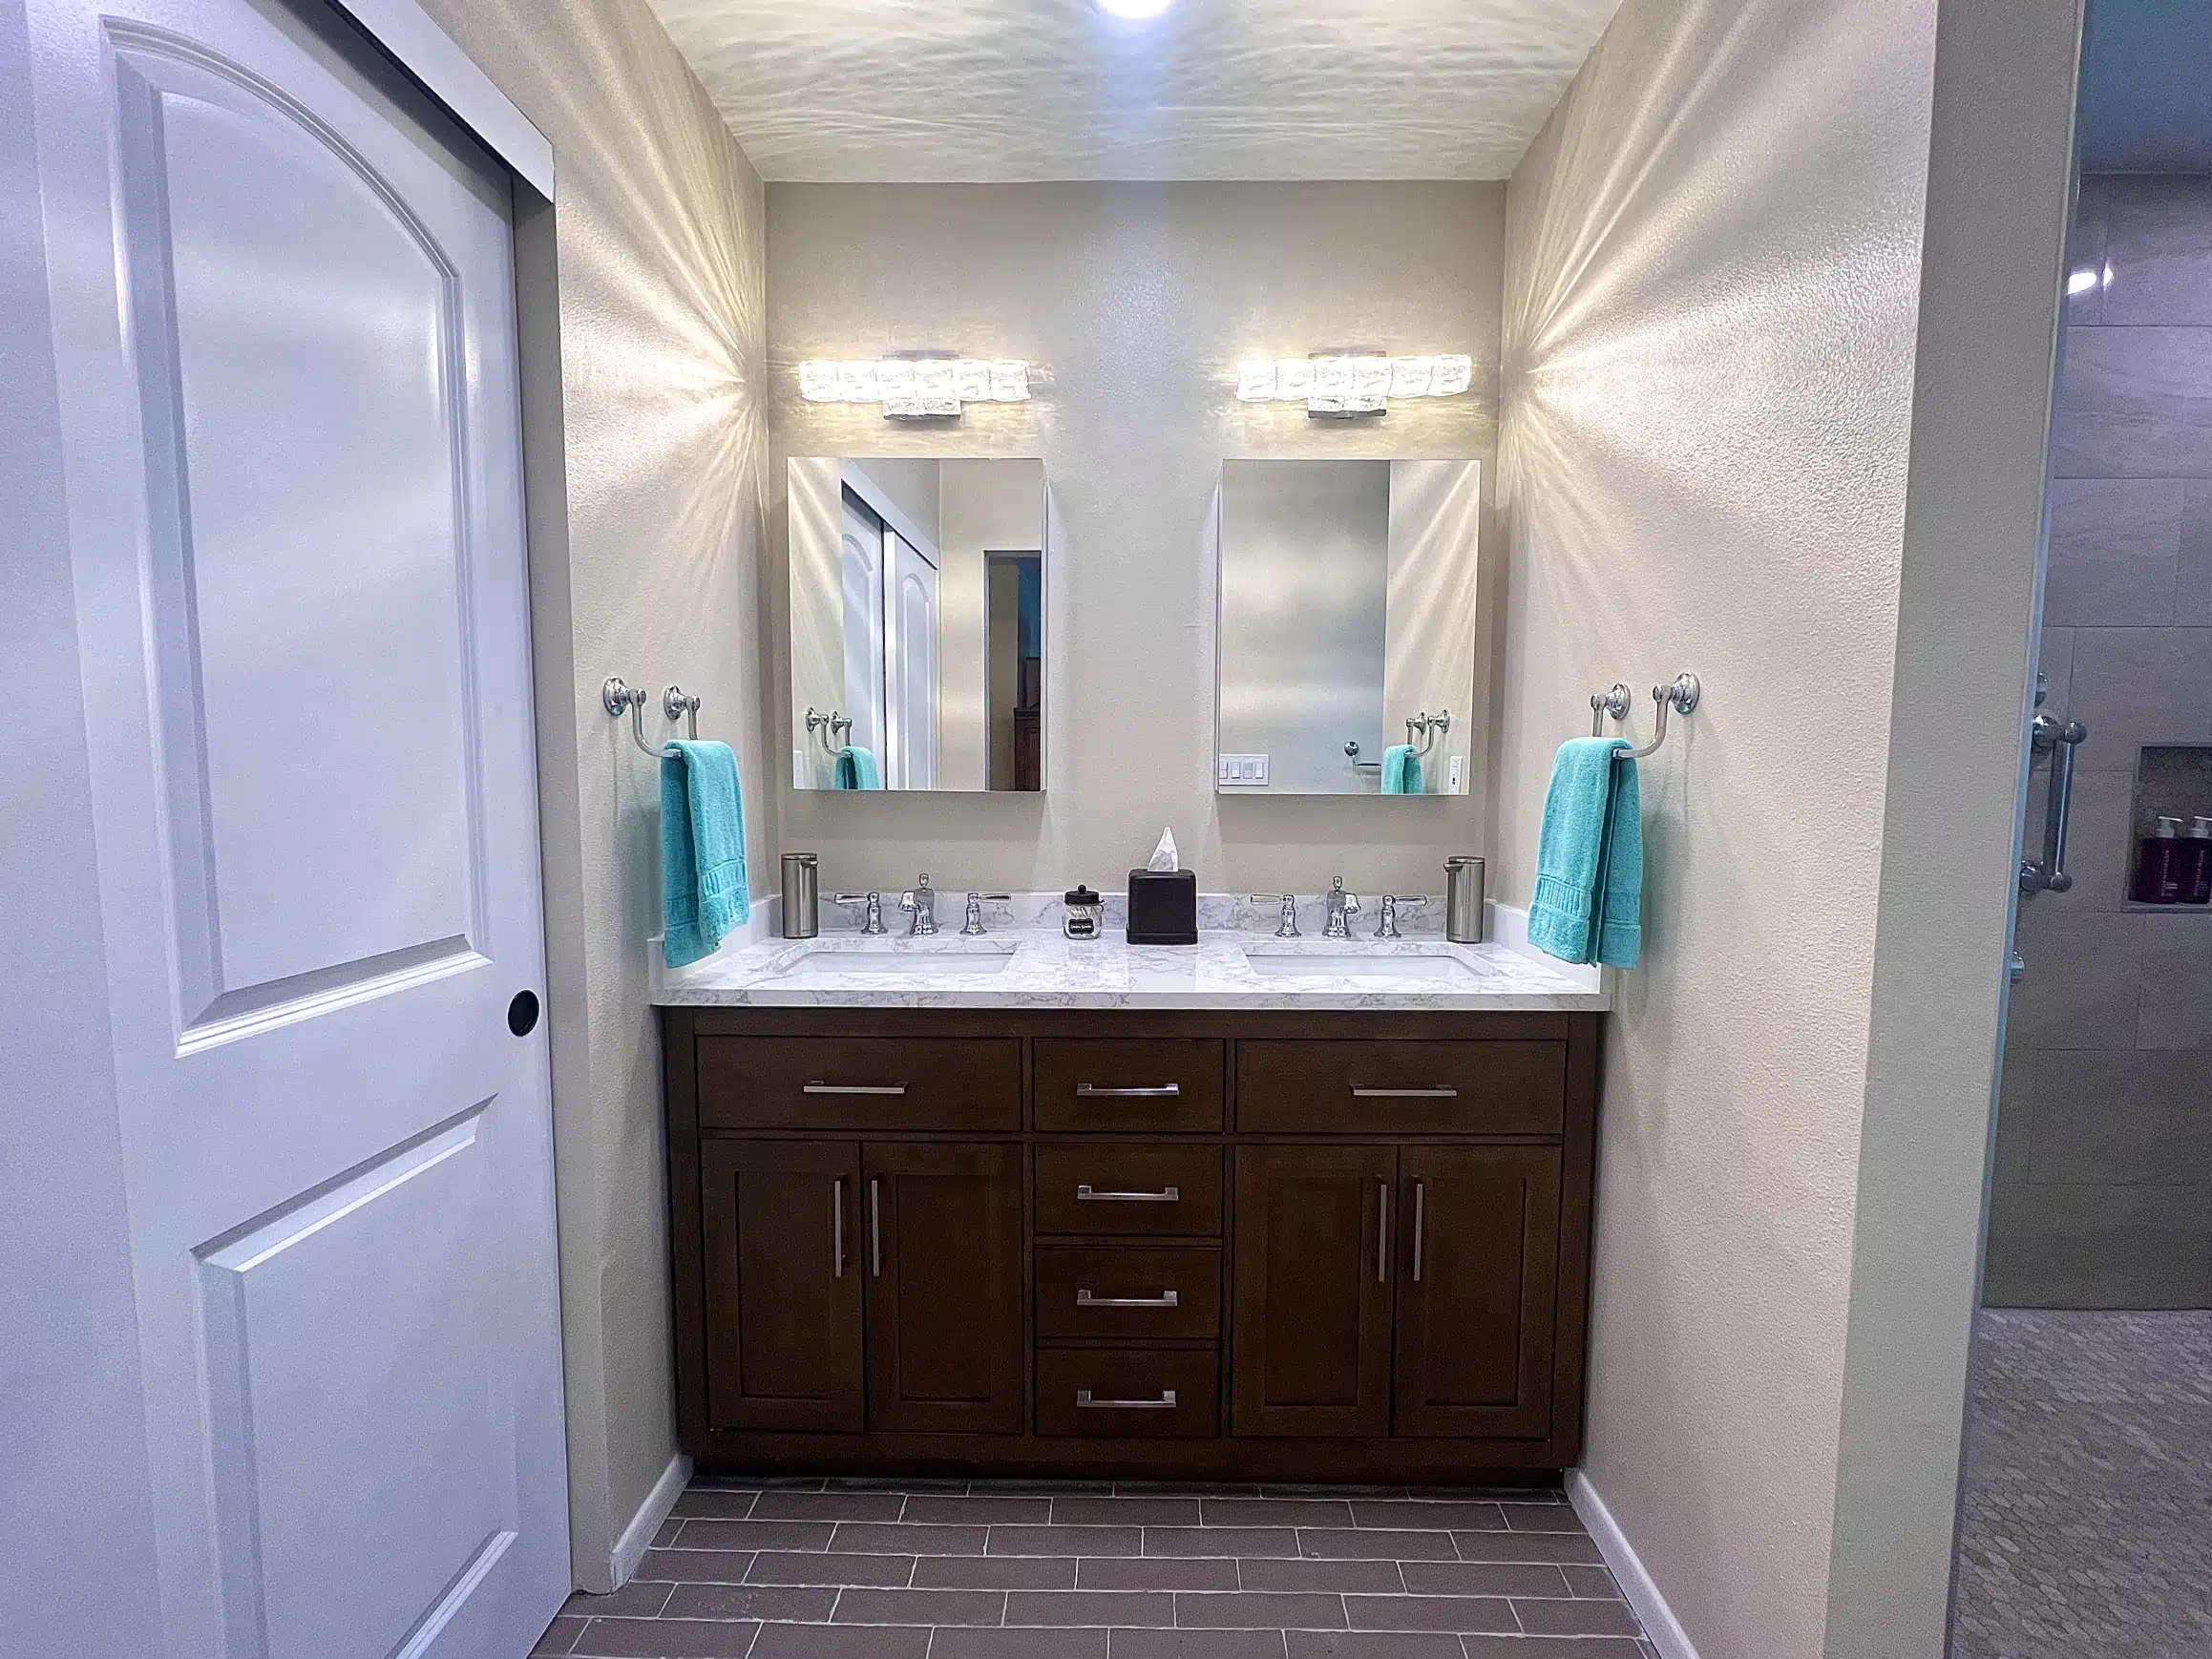
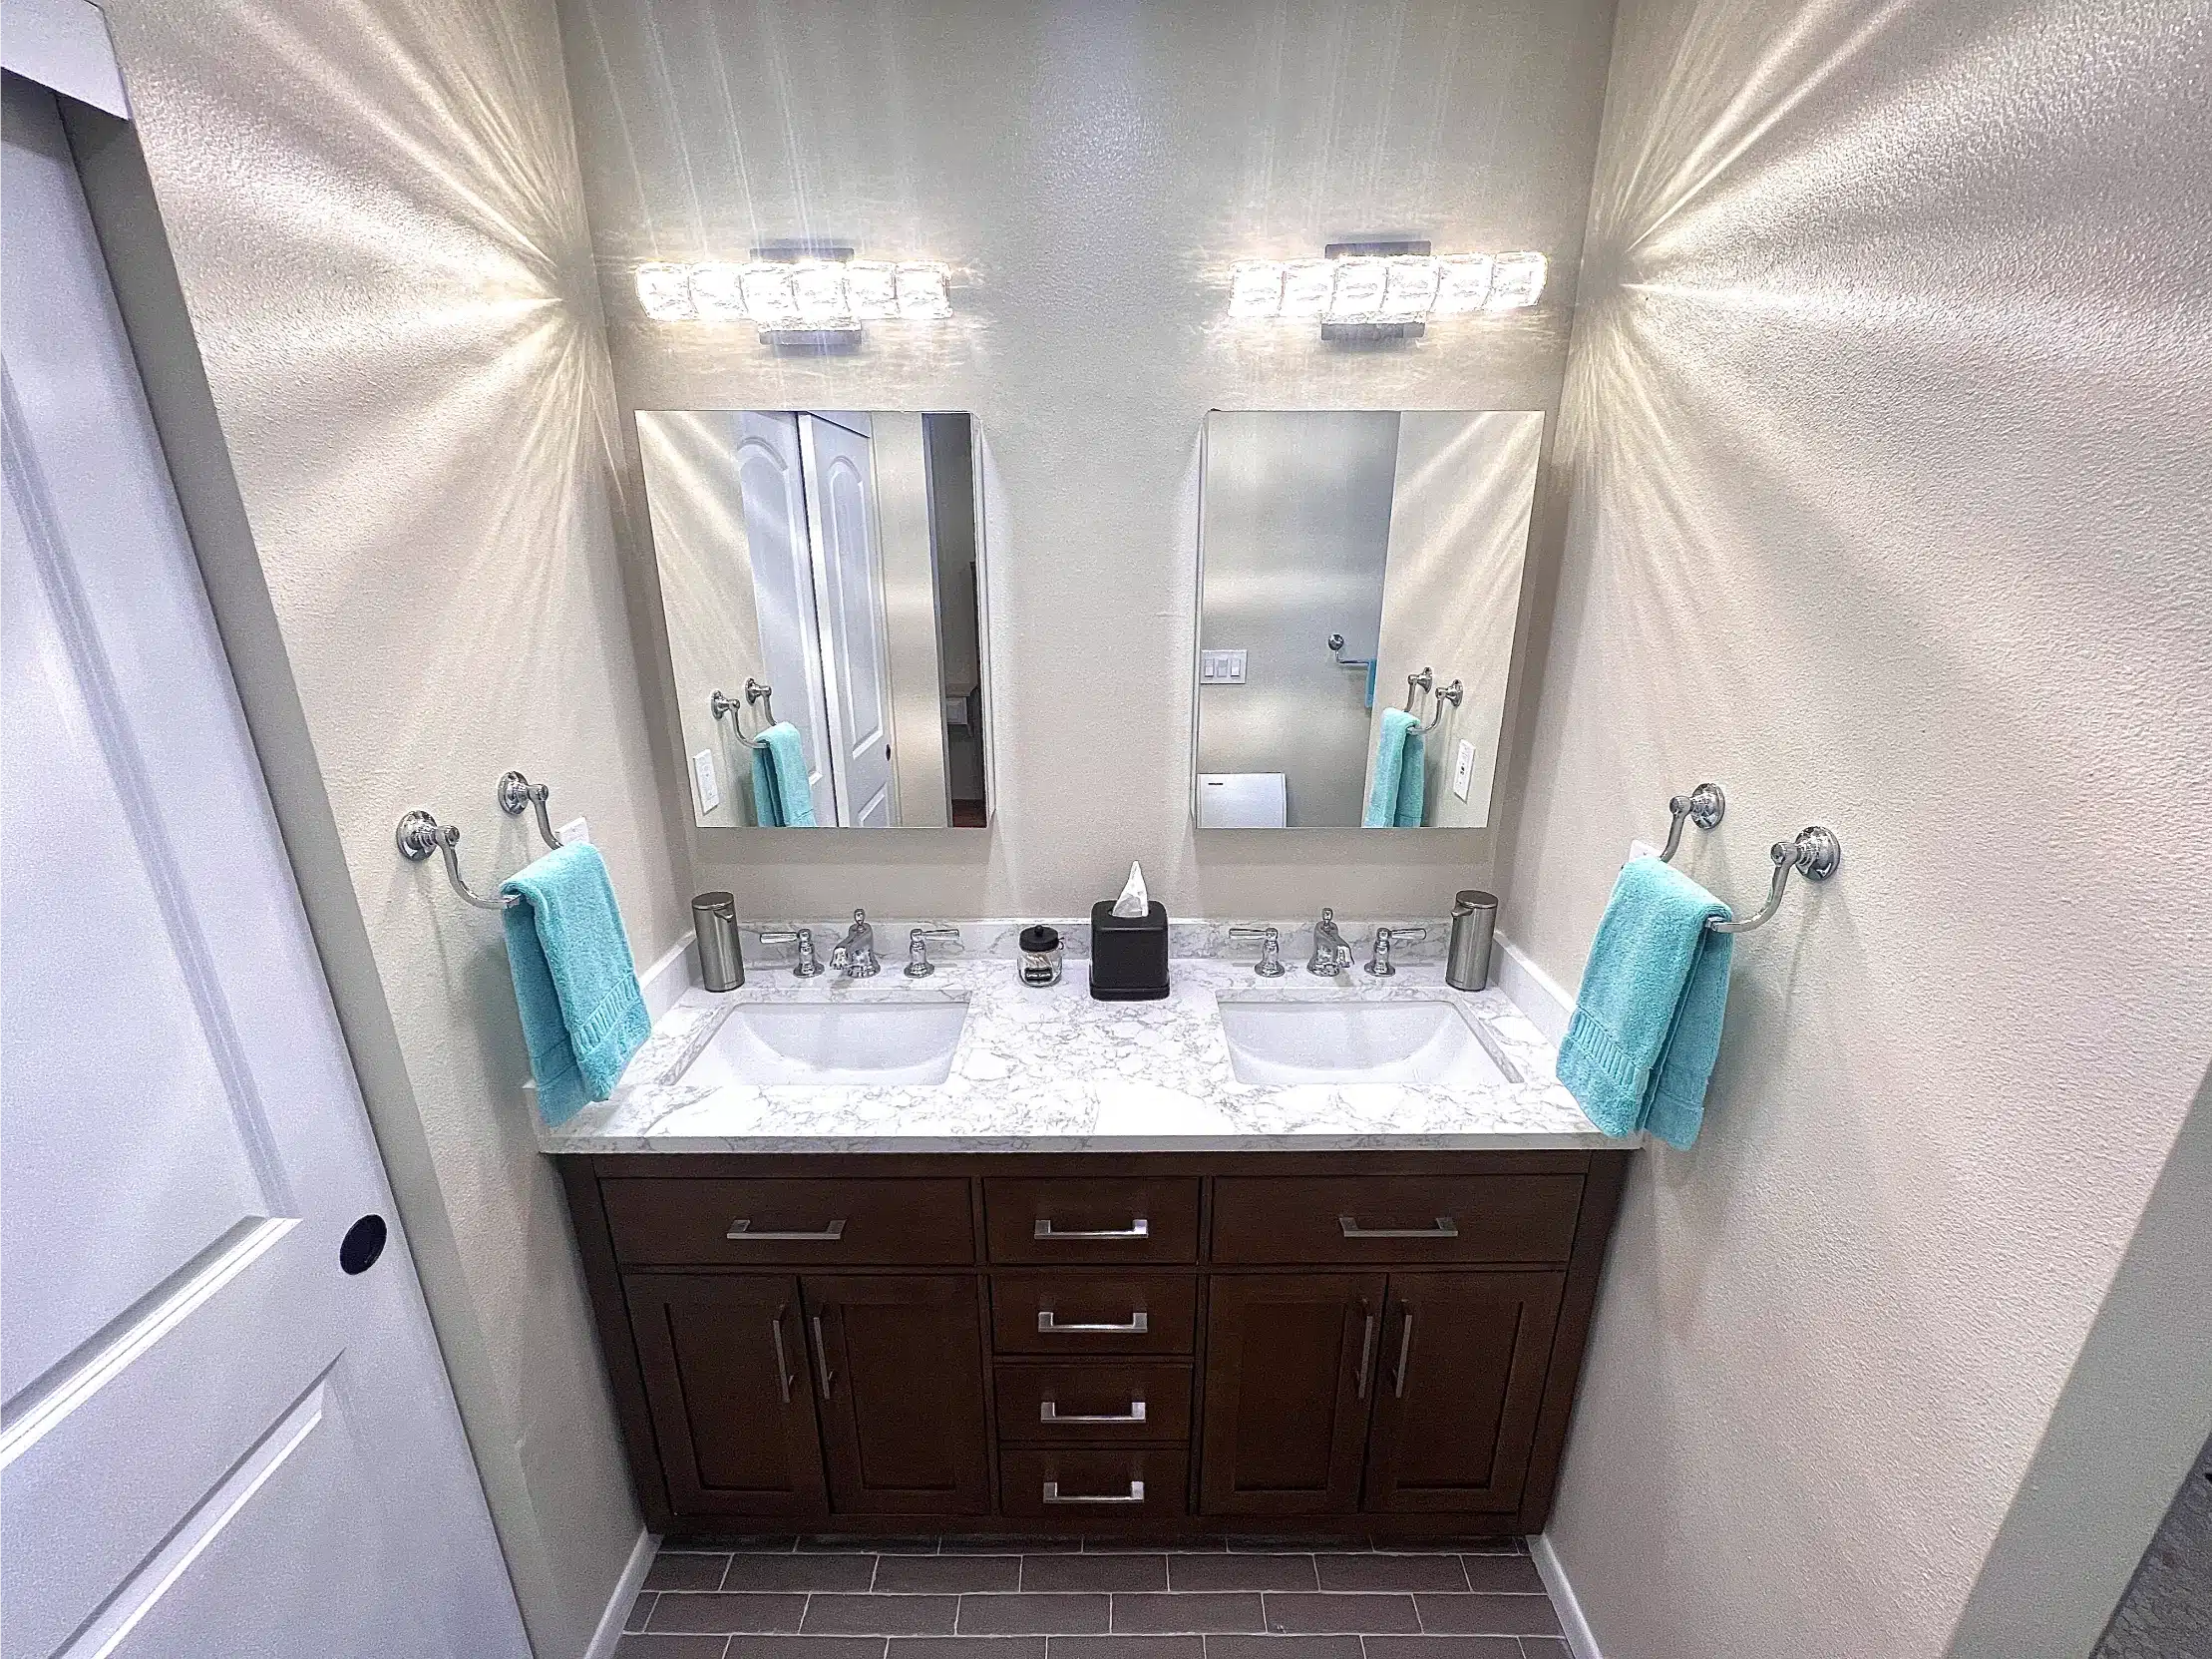
Double vanity in dark timber with a wall-hung mirror in the new bathroom
Vanity
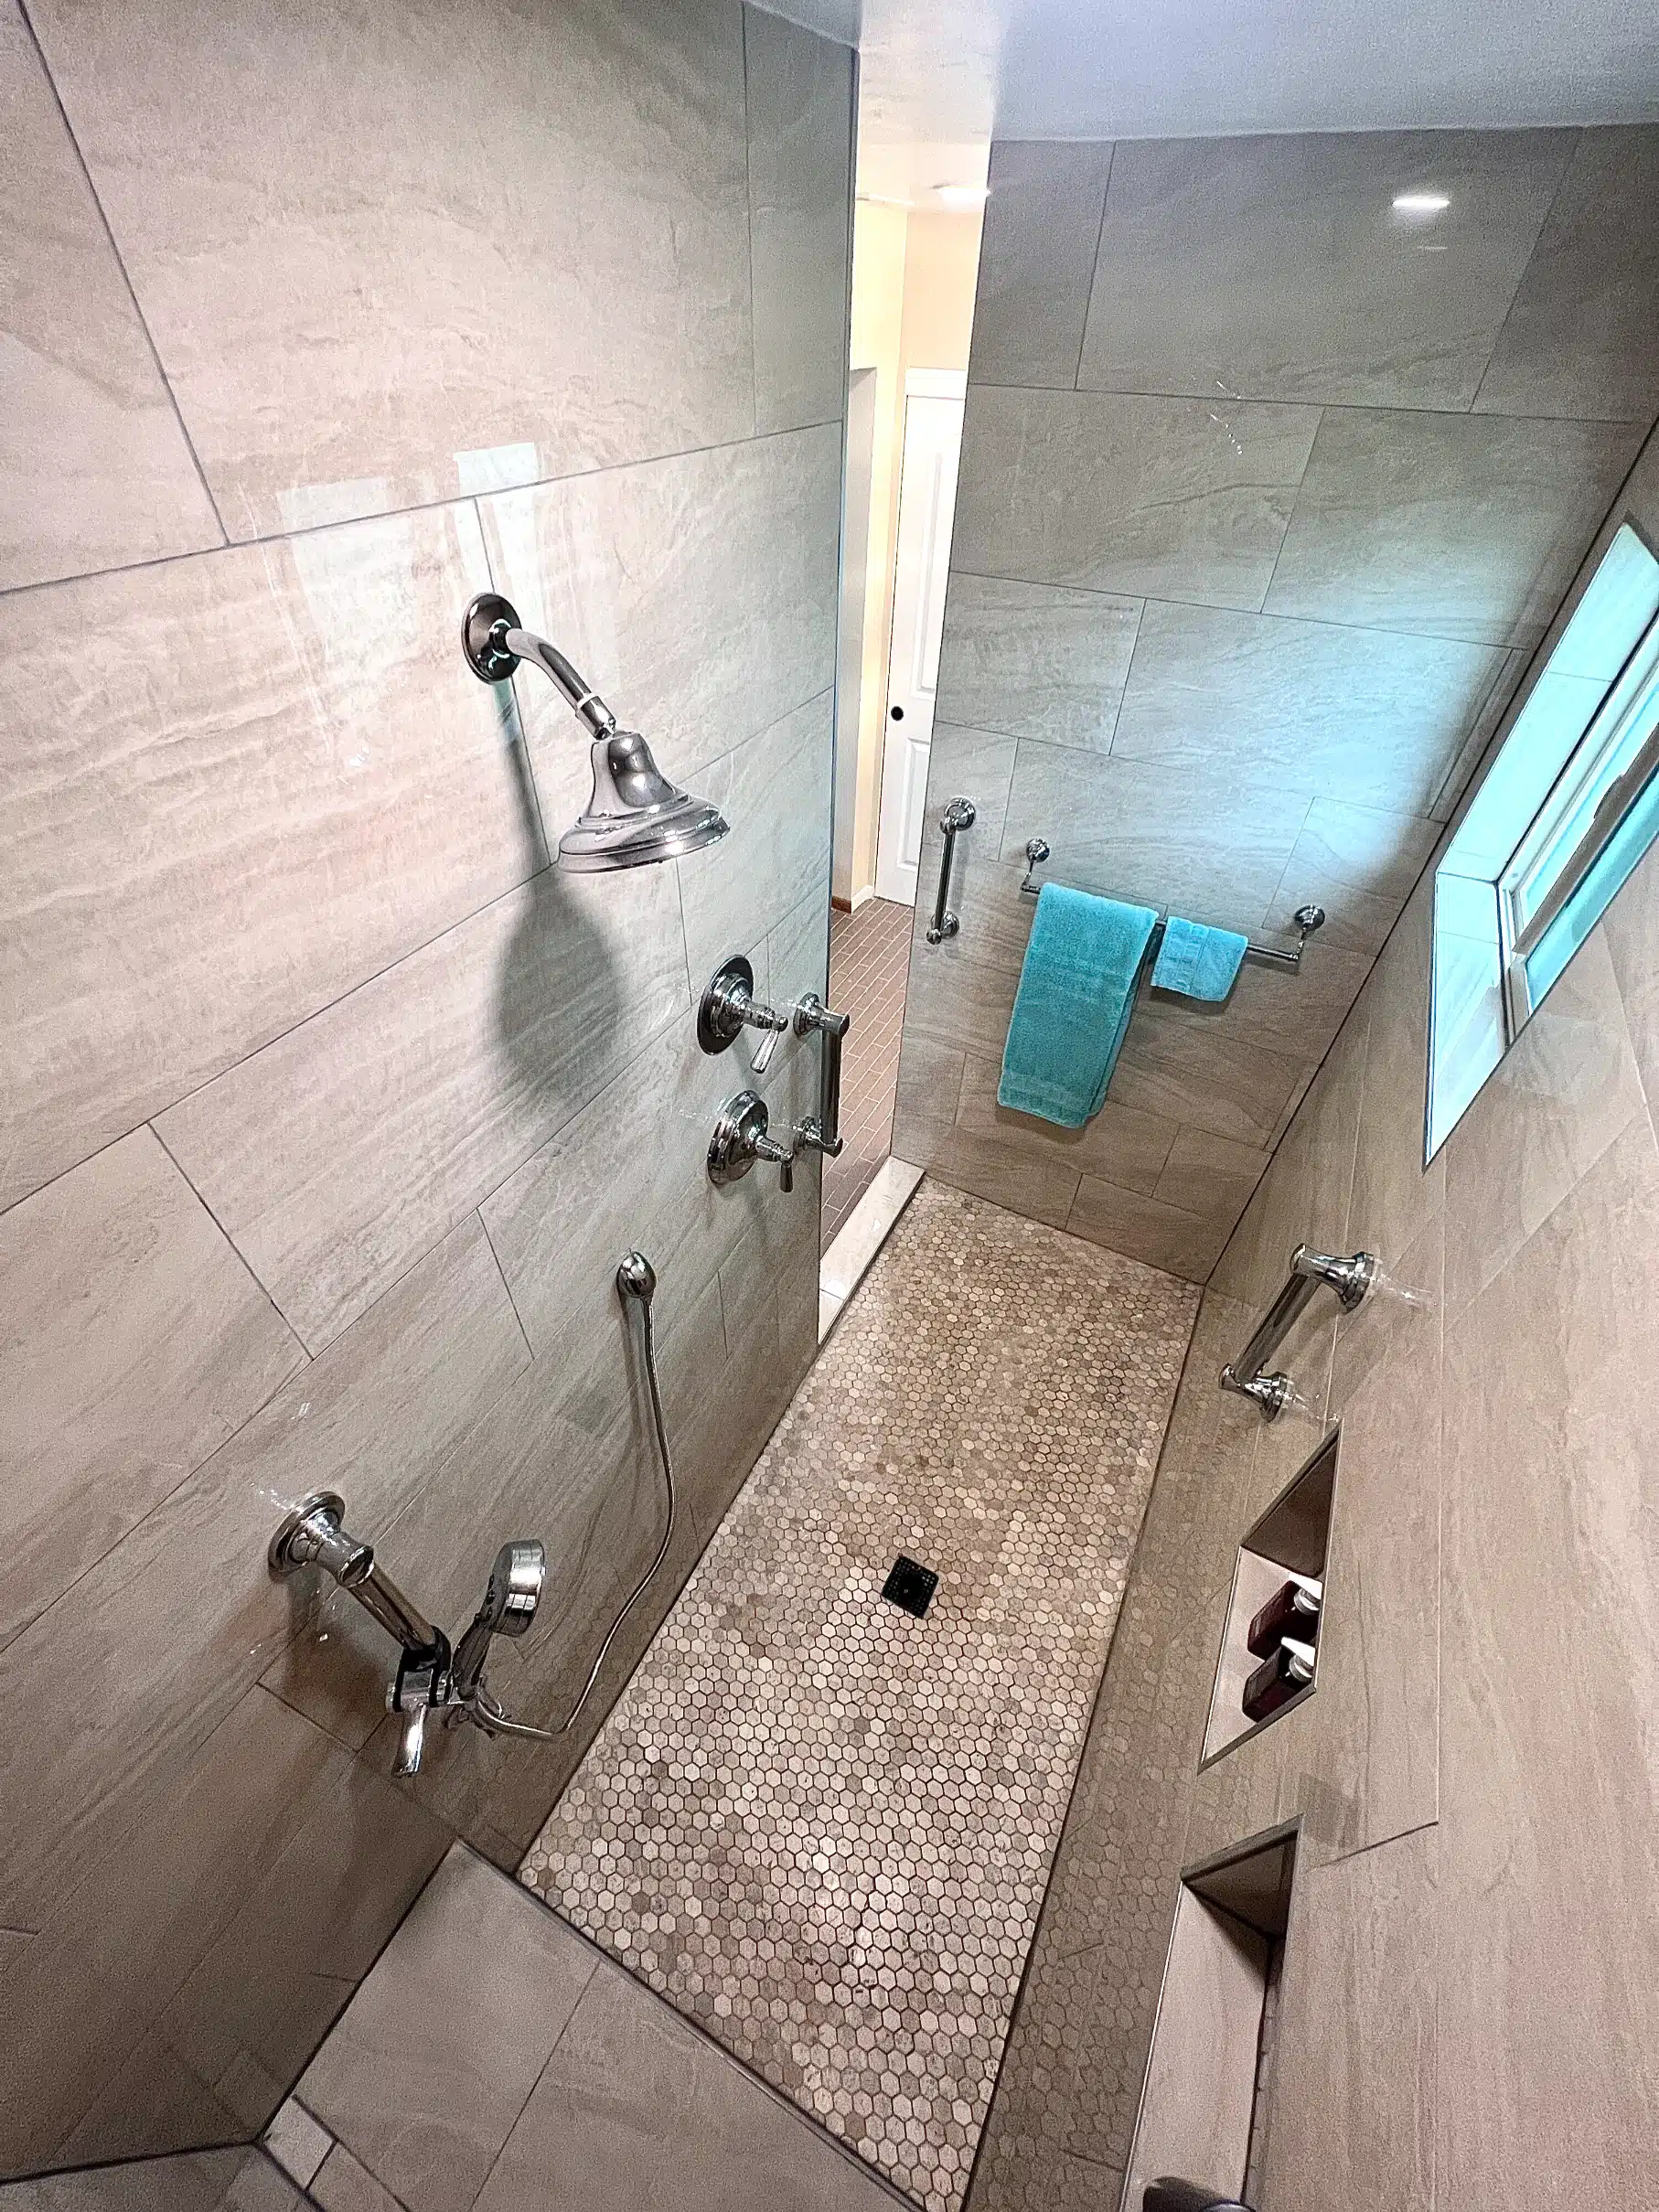
The accessible shower during tiling, with the grab bars and bench already set
Shower · During
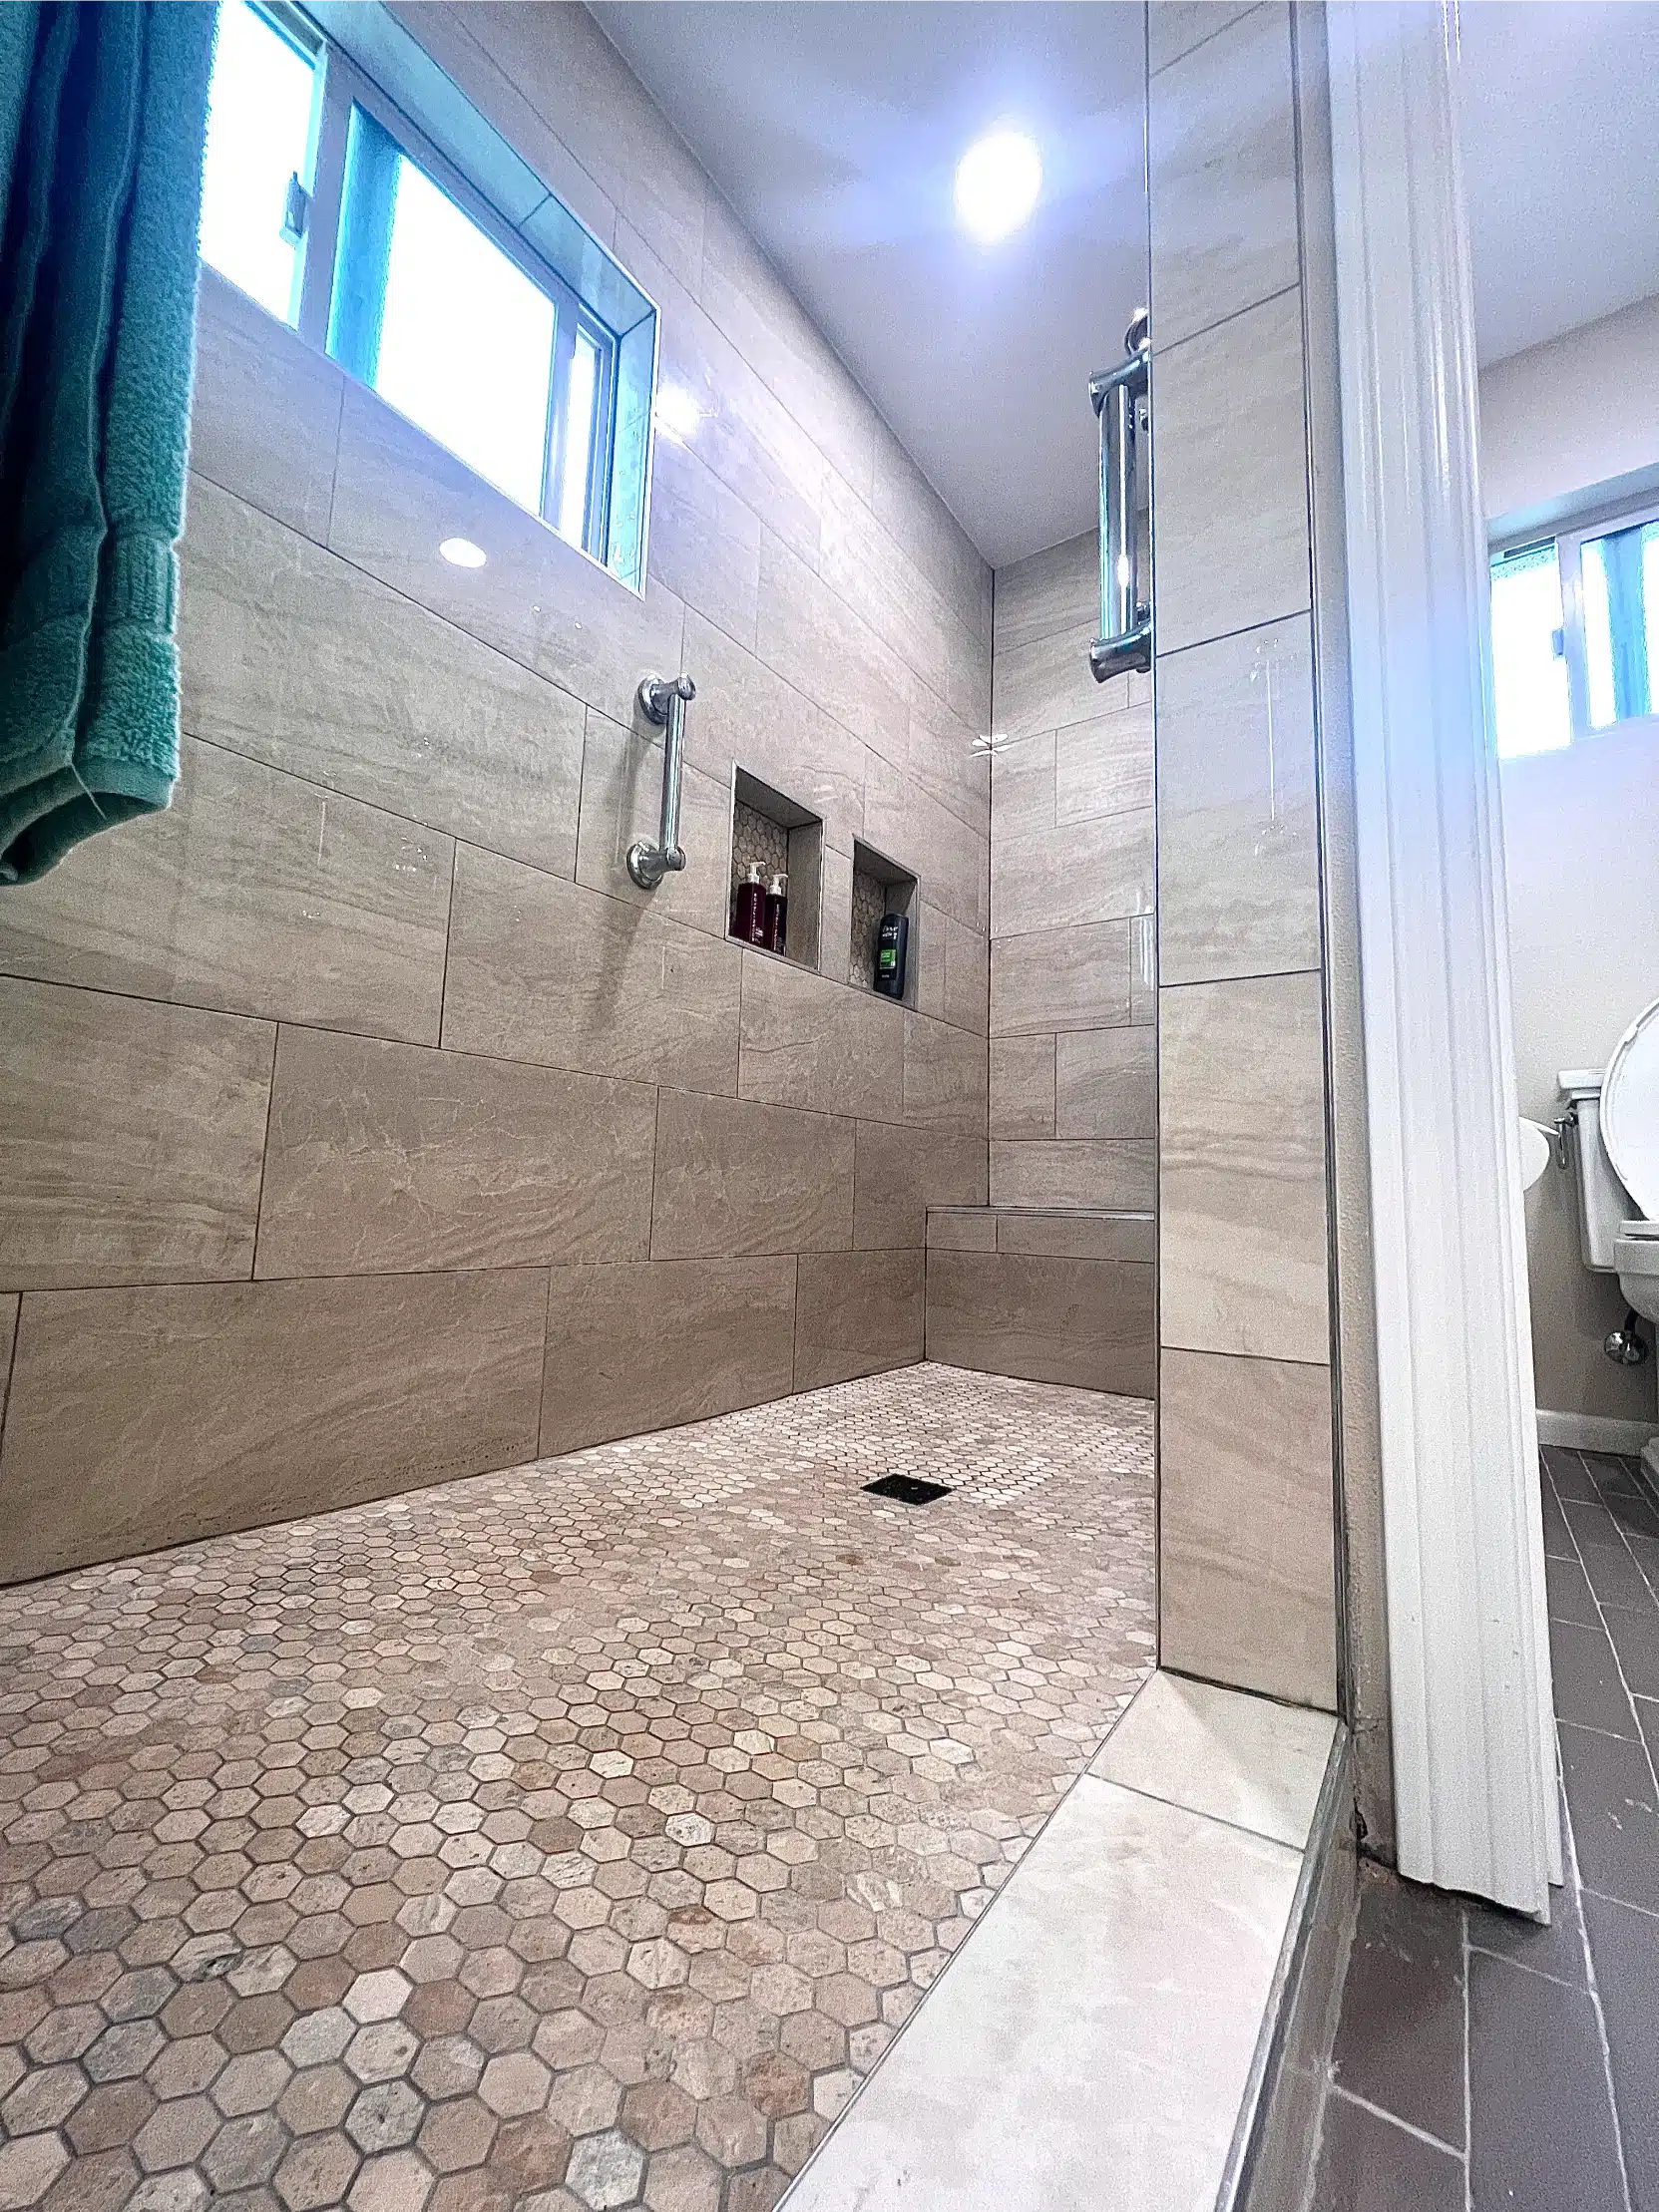
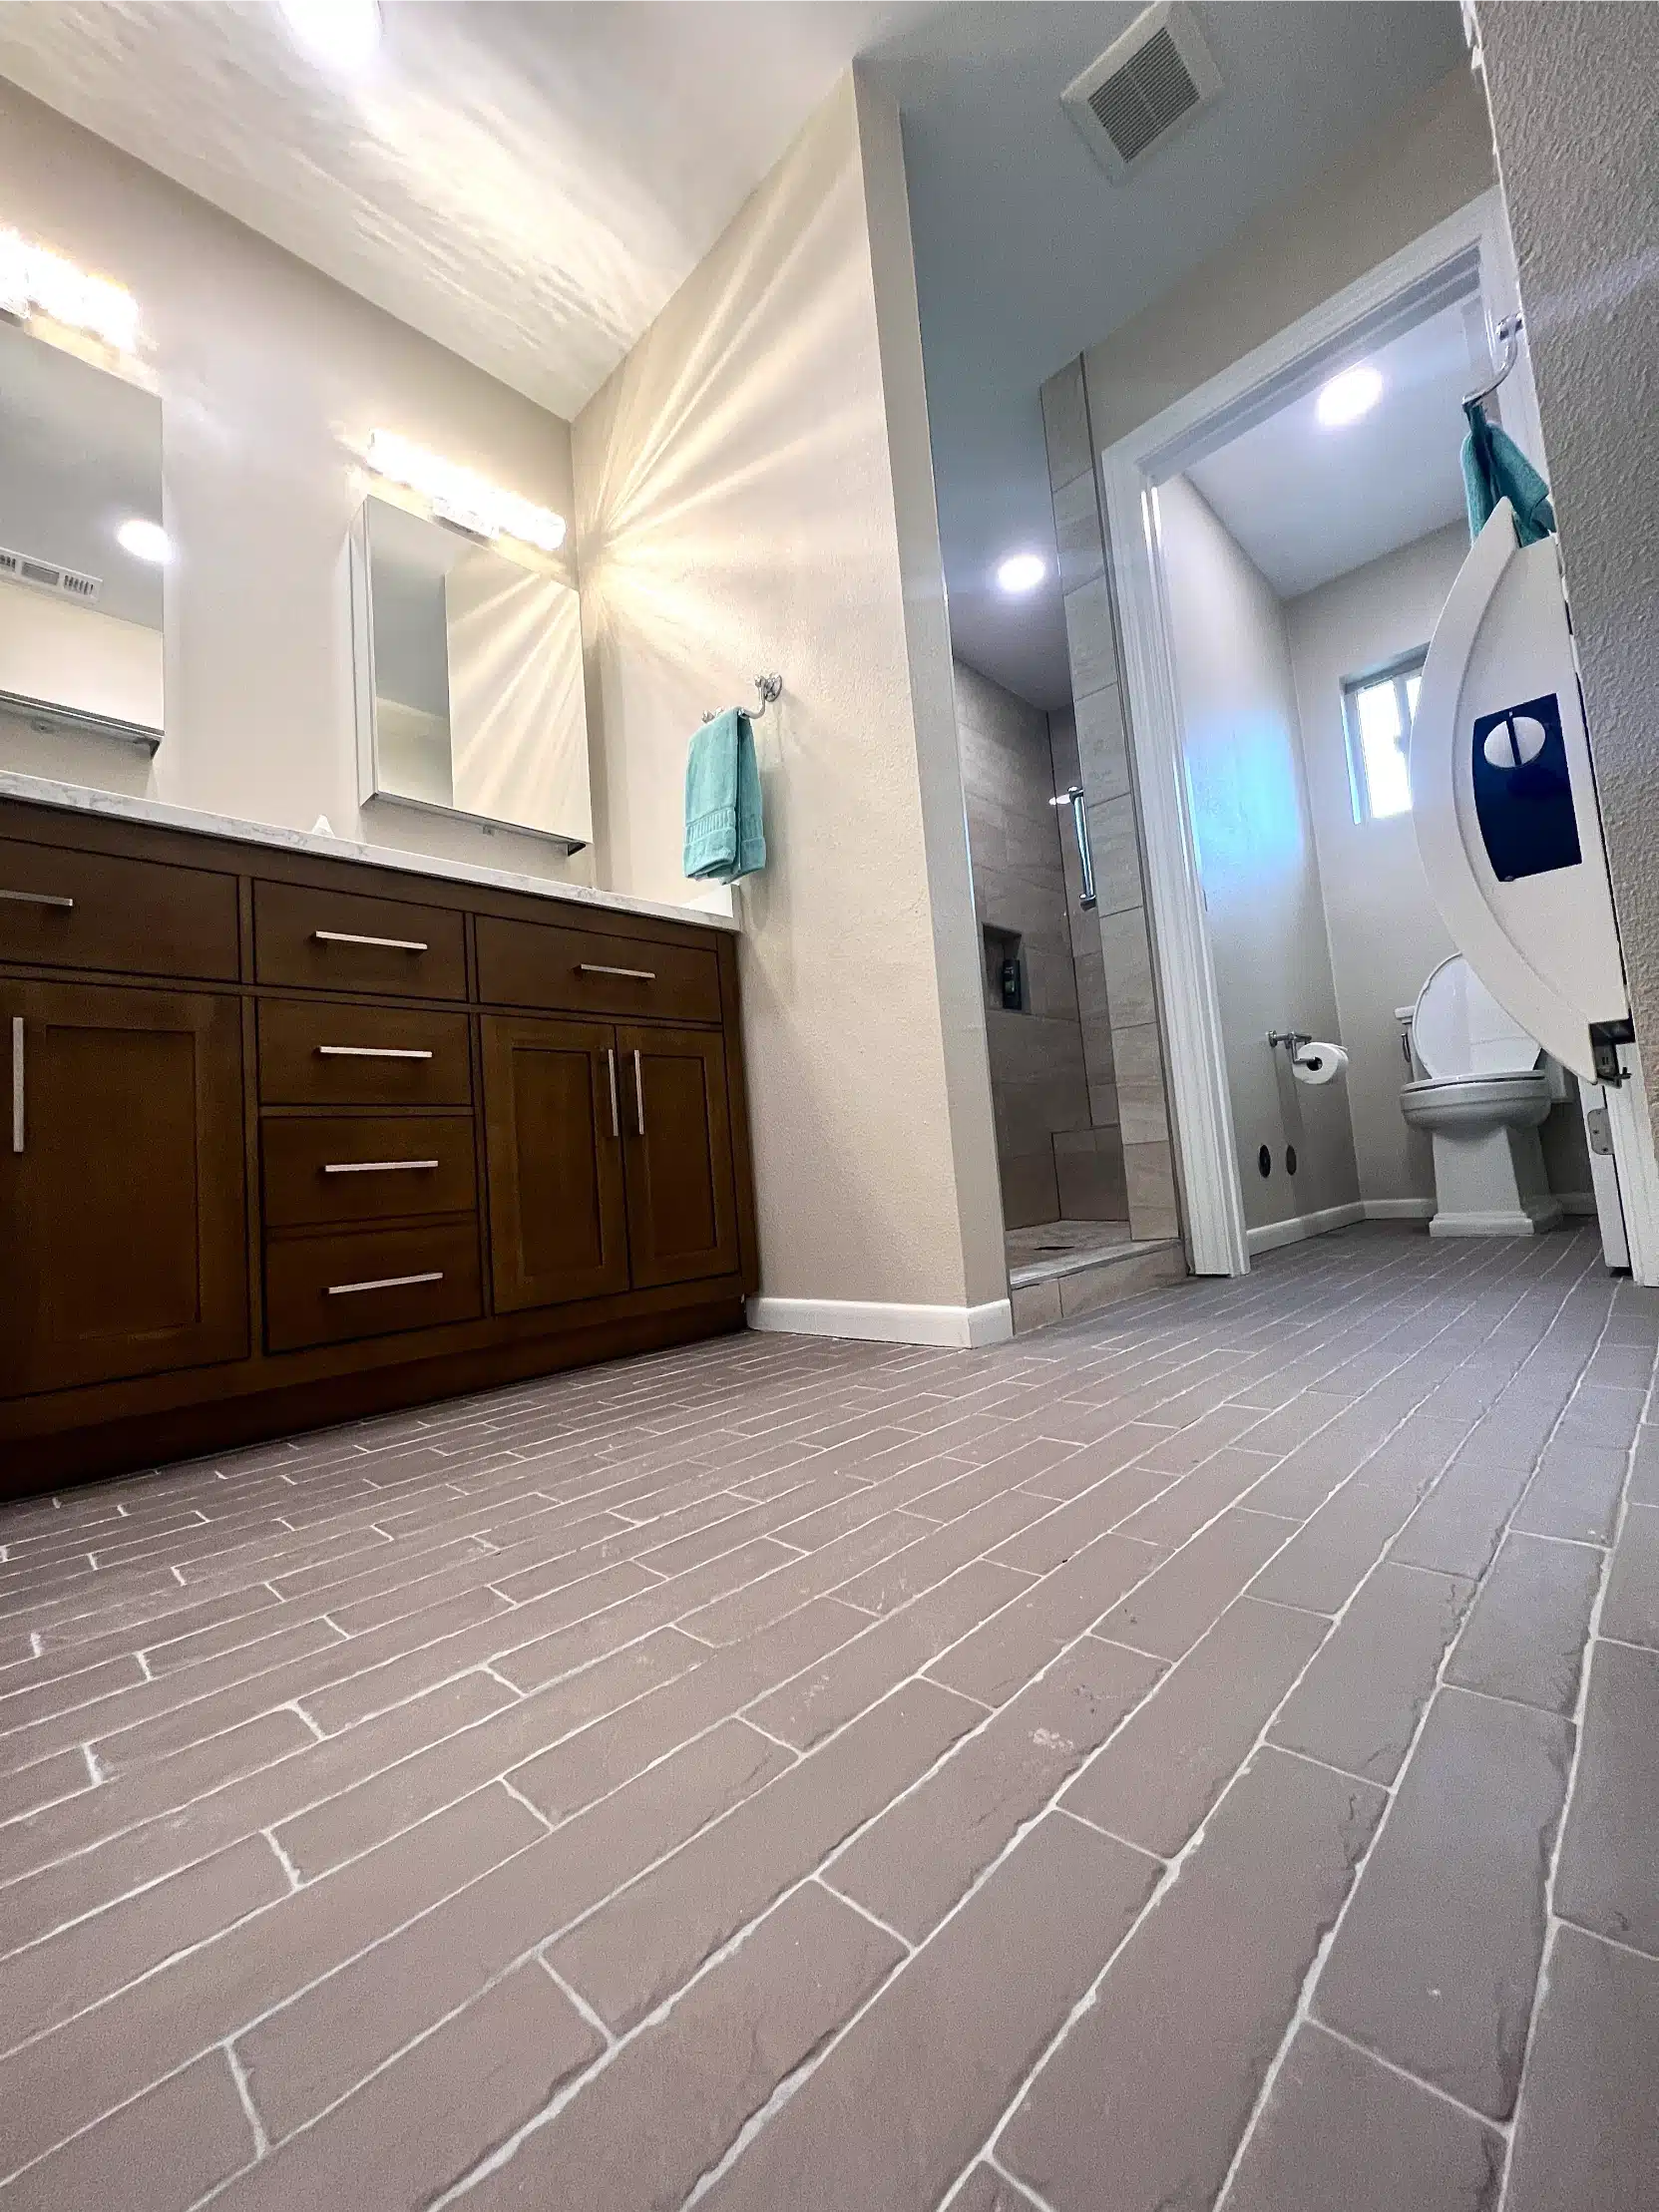
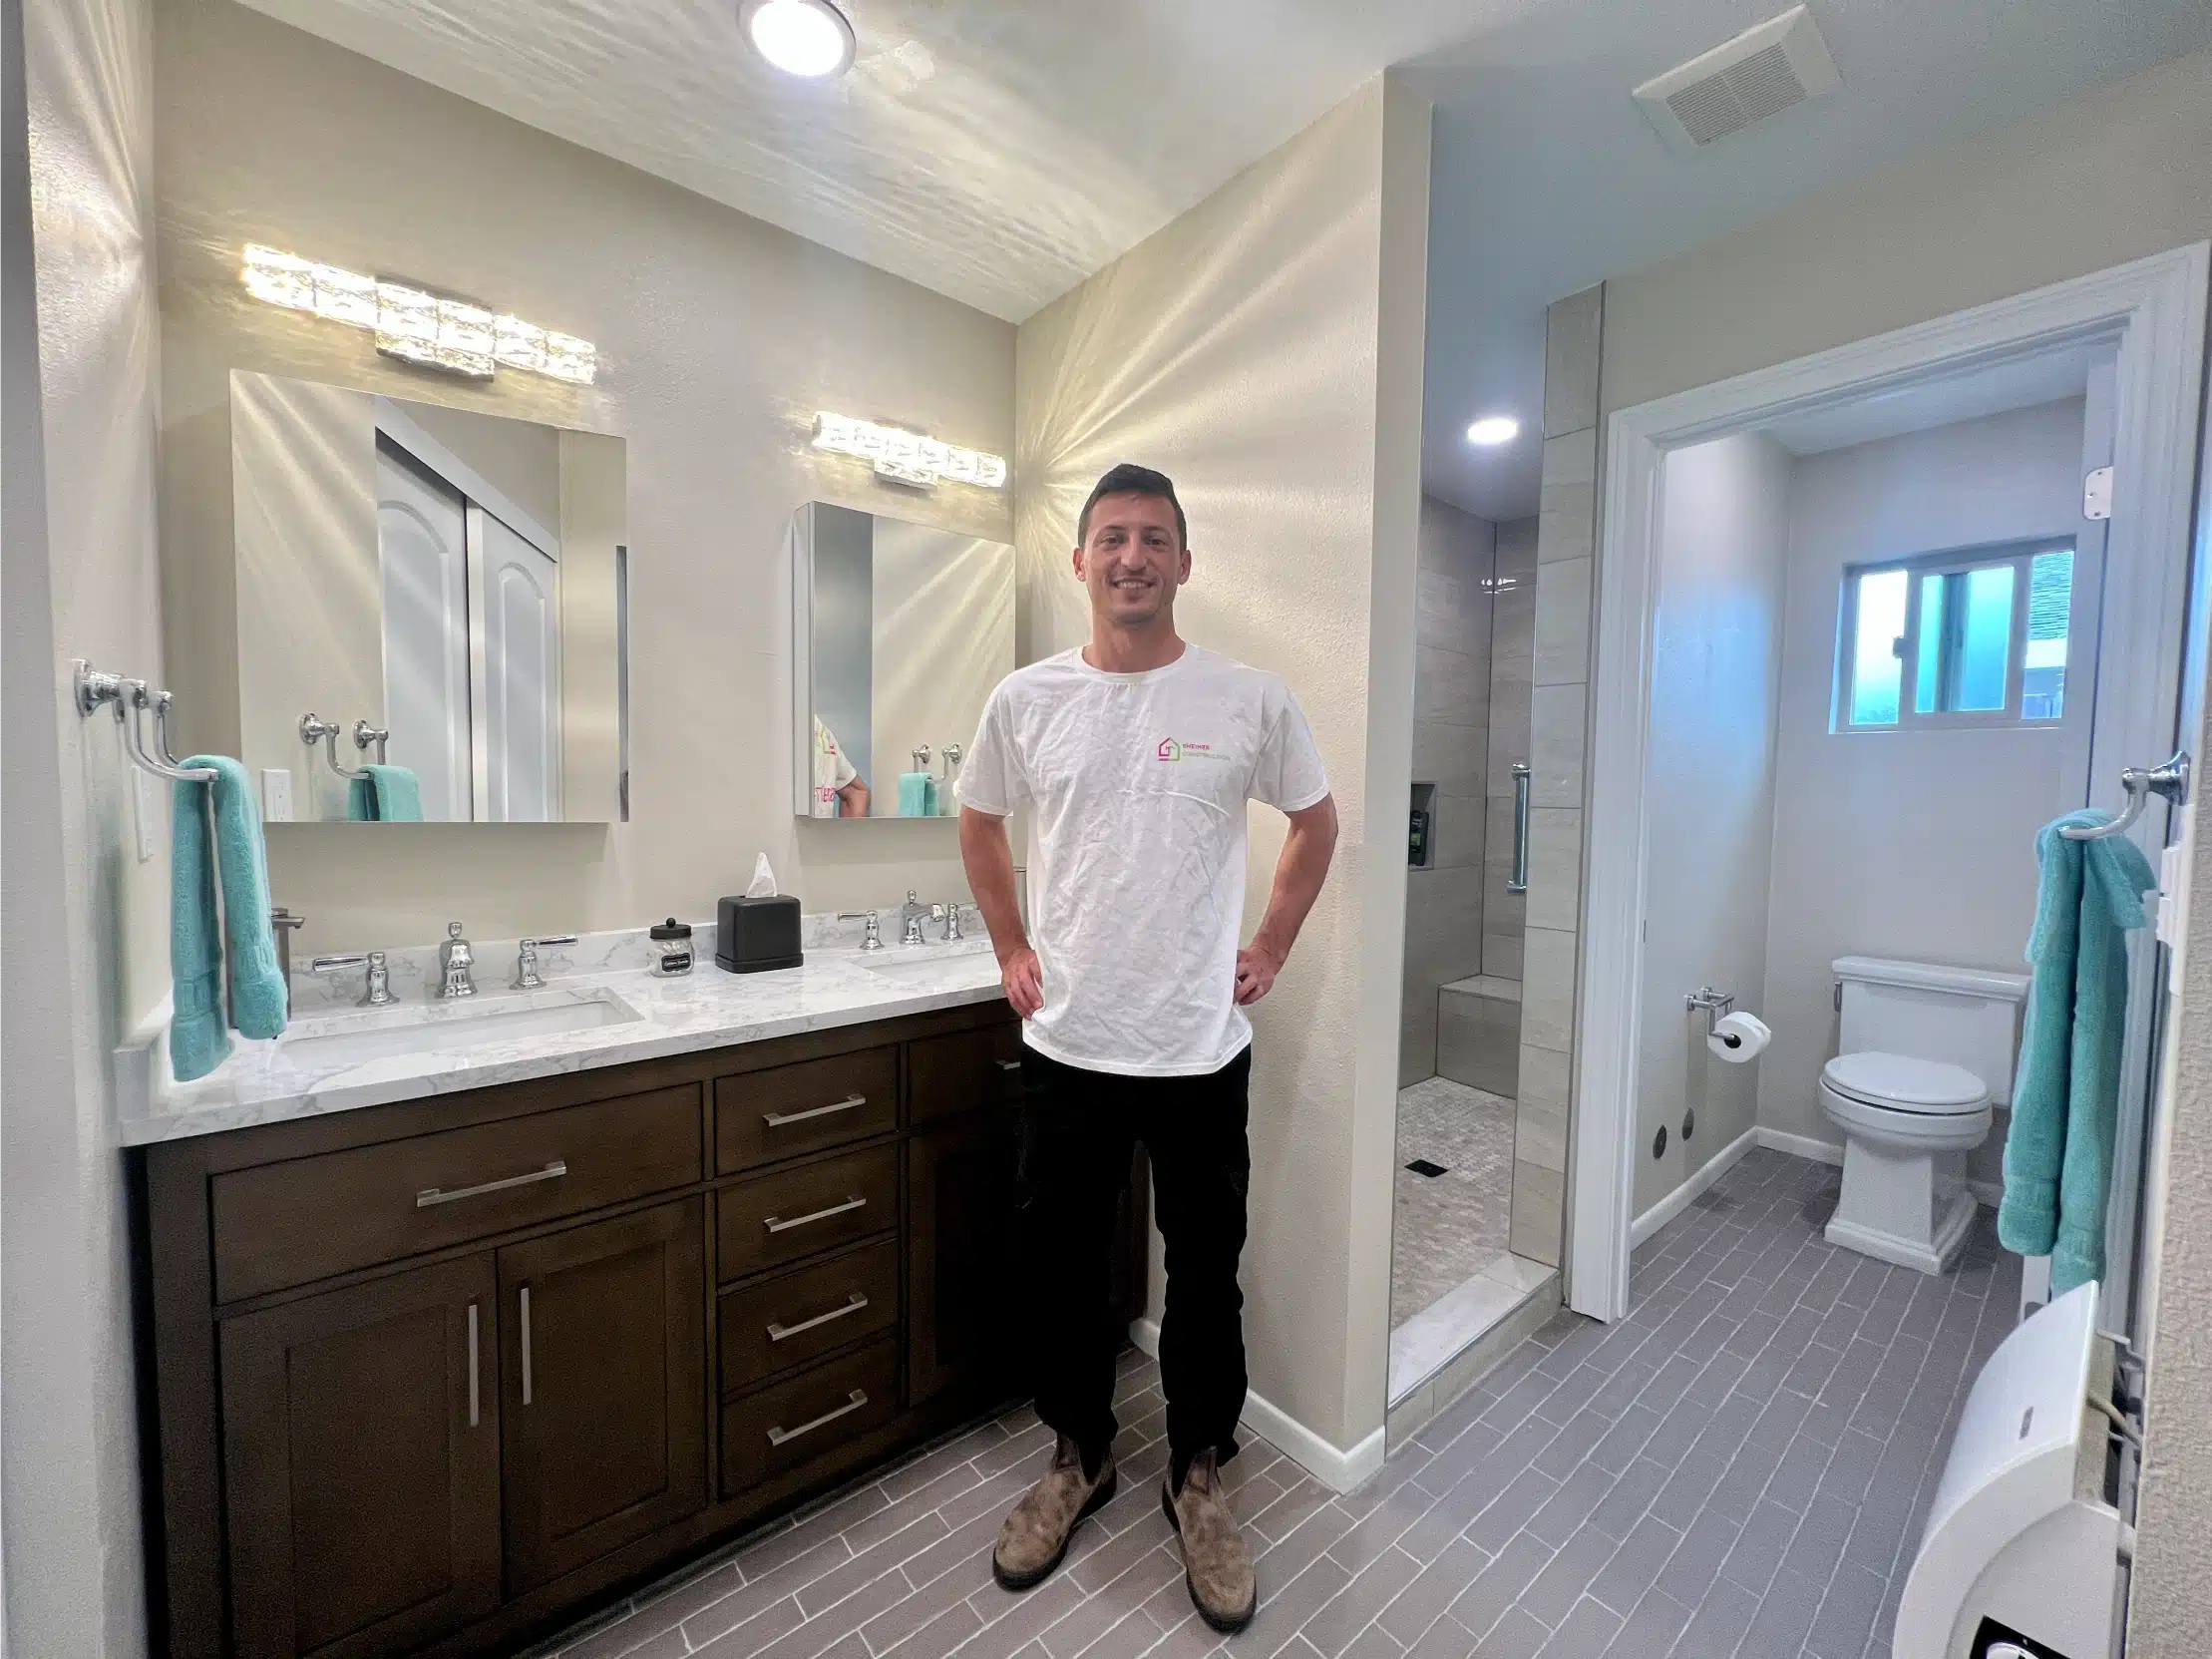
The finished accessible shower with grab bars, a bench and a pebble floor
The double vanity and twin mirrors seen from the doorway
Patterned floor tile running through the new bathroom
Sheiner Construction in the completed bathroom addition

The shower was specified with grab bars, a built-in bench and a flush entry from the outset. Designing that in from the start costs very little; retrofitting it later means opening the wall again to add blocking, because a grab bar screwed into tile alone will not hold.

The completed addition from the rear, stuccoed and matched to the original elevation
The result

A bedroom that finally works as a suite

The bedroom did not change. What changed is that it now opens onto a full bathroom and a walk-in closet, and the exterior reads as though the house was always this shape.

Every stage was permitted and inspected under CSLB License #1083621, from the footing inspection through to final sign-off. If you have a bedroom that needs a bathroom rather than a house that needs another bedroom, this is the cheaper of the two projects.

SHEINER
Start your project

Planning an addition?

We verify zoning, setbacks and lot coverage at your parcel before you pay for a single drawing.

Services used on this project

CSLB License #1083621 · Licensed, bonded & insured